Epson 2250U Users Guide - Page 60
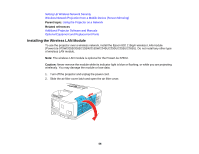
Installing the Wireless LAN Module into the USB-A port, Parent topic, USB-A, Caution
 |
View all Epson 2250U manuals
Add to My Manuals
Save this manual to your list of manuals |
Page 60 highlights
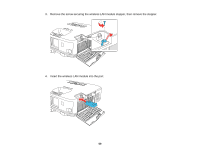
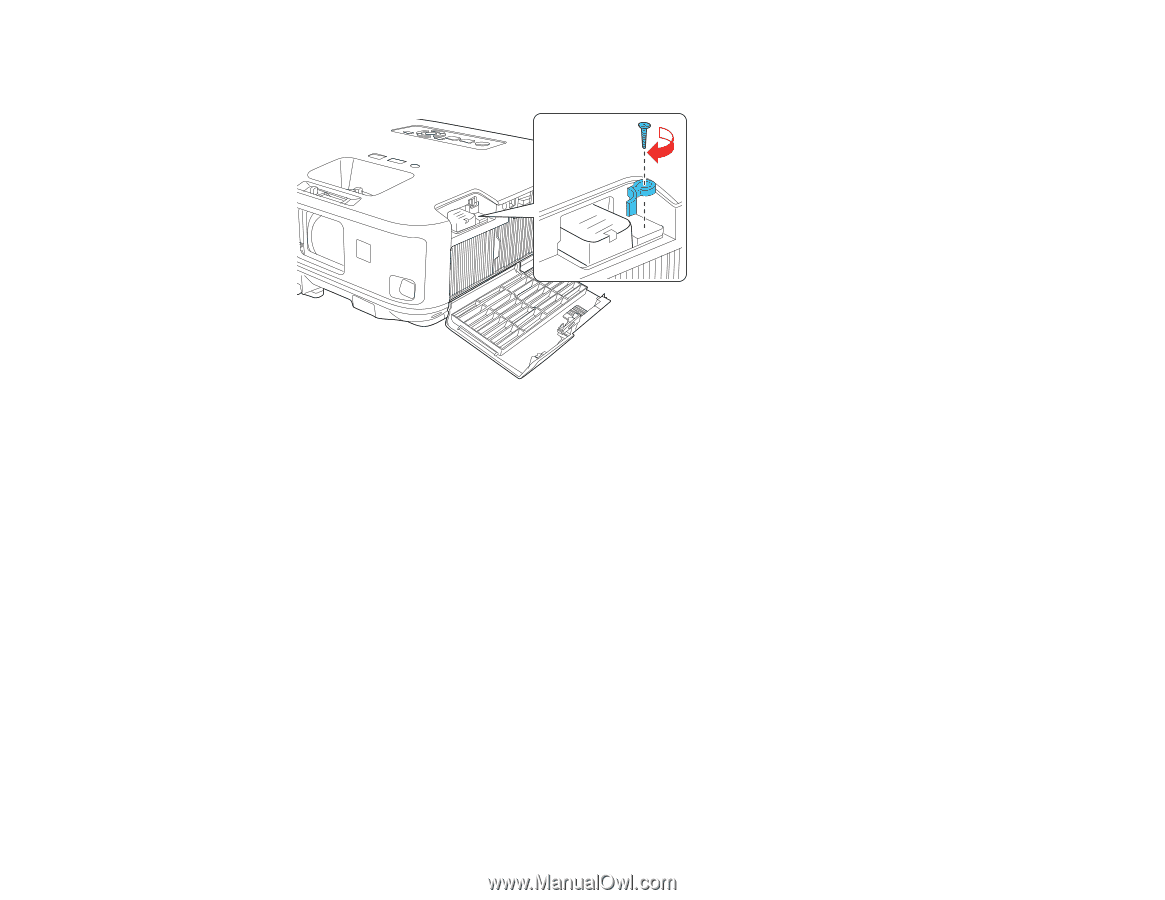
5. Replace the wireless LAN module stopper and secure it using the screw you removed. 6. Close the air filter cover. 7. Plug in and turn on the projector. Parent topic: Wireless Network Projection Installing the Wireless LAN Module into the USB-A port To use the projector over a wireless network, install the Epson 802.11b/g/n wireless LAN module into the projector's USB-A port (PowerLite 2040/2140W). Do not install any other type of wireless module. Note: The wireless LAN module and module cover are not included with your projector. Caution: Never remove the module while its indicator light is blue or flashing, or while you are projecting wirelessly. You may damage the module or lose data. 60
-
 1
1 -
2
-
3
-
4
-
5
-
6
-
7
-
8
-
9
-
10
-
11
-
12
-
13
-
14
-
15
-
16
-
17
-
18
-
19
-
20
-
21
-
22
-
23
-
24
-
25
-
26
-
27
-
28
-
29
-
30
-
31
-
32
-
33
-
34
-
35
-
36
-
37
-
38
-
39
-
40
-
41
-
42
-
43
-
44
-
45
-
46
-
47
-
48
-
49
-
50
-
51
-
52
-
53
-
54
-
 55
55 -
 56
56 -
 57
57 -
 58
58 -
 59
59 -
 60
60 -
 61
61 -
 62
62 -
 63
63 -
 64
64 -
 65
65 -
66
-
67
-
68
-
69
-
70
-
71
-
72
-
73
-
74
-
75
-
76
-
77
-
78
-
79
-
80
-
81
-
82
-
83
-
84
-
85
-
86
-
87
-
88
-
89
-
90
-
91
-
92
-
93
-
94
-
95
-
96
-
97
-
98
-
99
-
100
-
101
-
102
-
103
-
104
-
105
-
106
-
107
-
108
-
109
-
110
-
111
-
112
-
113
-
114
-
115
-
116
-
117
-
118
-
119
-
120
-
121
-
122
-
123
-
124
-
125
-
126
-
127
-
128
-
129
-
130
-
131
-
132
-
133
-
134
-
135
-
136
-
137
-
138
-
139
-
140
-
141
-
142
-
143
-
144
-
145
-
146
-
147
-
148
-
149
-
150
-
151
-
152
-
153
-
154
-
155
-
156
-
157
-
158
-
159
-
160
-
161
-
162
-
163
-
164
-
165
-
166
-
167
-
168
-
169
-
170
-
171
-
172
-
173
-
174
-
175
-
176
-
177
-
178
-
179
-
180
-
181
-
182
-
183
-
184
-
185
-
186
-
187
-
188
-
189
-
190
-
191
-
192
-
193
-
194
-
195
-
196
-
197
-
198
-
199
-
200
-
201
-
202
-
203
-
204
-
205
-
206
-
207
-
208
-
209
-
210
-
211
-
212
-
213
-
214
-
215
-
216
-
217
-
218
-
219
-
220
-
221
-
222
-
223
-
224
-
225
-
226
-
227
-
228
-
229
-
230
-
231
-
232
-
233
-
234
-
235
-
236
-
237
-
238
-
239
-
240
-
241
-
242
-
243
-
244
-
245
-
246
-
247
-
248
-
249
-
250
-
251
-
252
-
253
-
254
-
255
-
256
-
257
-
258
-
259
-
260
-
261
-
262
-
263
-
264
-
265
-
266
-
267
-
268
-
269
-
270
-
271
-
272
-
273
-
274
-
275
-
276
-
277
-
278
-
279
-
280
-
281
-
282
-
283
-
284
-
285
-
286
-
287
-
288
 |
 |
60
5.
Replace the wireless LAN module stopper and secure it using the screw you removed.
6.
Close the air filter cover.
7.
Plug in and turn on the projector.
Parent topic:
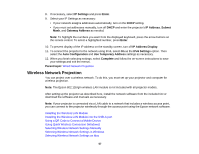
Wireless Network Projection
Installing the Wireless LAN Module into the USB-A port
To use the projector over a wireless network, install the Epson 802.11b/g/n wireless LAN module into the
projector's
USB-A
port (PowerLite 2040/2140W). Do not install any other type of wireless module.
Note:
The wireless LAN module and module cover are not included with your projector.
Caution:
Never remove the module while its indicator light is blue or flashing, or while you are projecting
wirelessly. You may damage the module or lose data.