Epson C11C605001 User's Guide - Page 7
Installing the Printer Software, Installing and Viewing the Online Reference Guide, Reference Guide - dfx
 |
UPC - 010343853614
View all Epson C11C605001 manuals
Add to My Manuals
Save this manual to your list of manuals |
Page 7 highlights
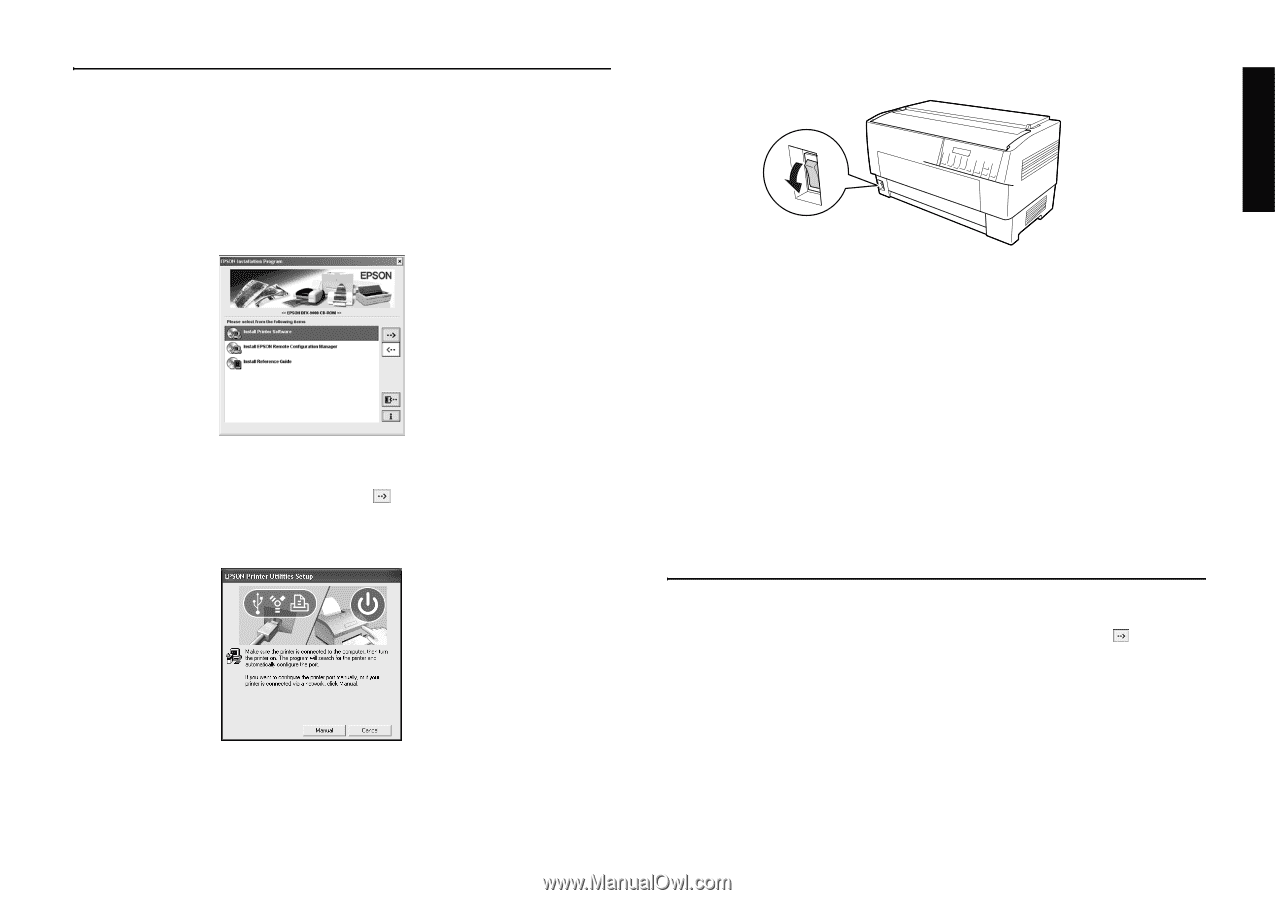
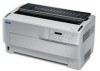
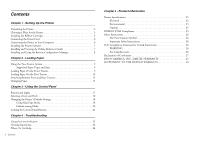
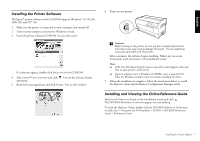
English Installing the Printer Software The Epson® printer software on the CD-ROM supports Windows® 95, 98, Me, 2000, XP, and NT® 4.0. 1. Make sure the printer is connected to your computer, but turned off. 2. Turn on your computer and wait for Windows to load. 3. Insert the printer software CD-ROM. You see this screen: If it does not appear, double-click Setup.exe on the CD-ROM. 4. Select Install Printer Software and click . You see the software license agreement. 5. Read the license agreement and click Accept. You see this window: 6. Turn on your printer. c Caution: Before turning on the printer, be sure you have removed all protective materials or you may seriously damage the printer. (See the unpacking instructions provided with the printer.) After a moment, the software begins installing. Follow any on-screen instructions until you return to the Installation screen. Note: ❏ If the New Hardware Found screen or any other wizard appears when you turn on your printer, click Cancel. ❏ If you're asked to insert a Windows CD-ROM, insert it and click OK. Close the Windows installer screen to continue installing the driver. 7. When the installation is complete, follow the instructions below to install the Reference Guide and the Remote Configuration Manager utility. Installing and Viewing the Online Reference Guide Select Install Reference Guide on the Installation screen and click . The DFX-9000 Reference Guide icon appears on your desktop. To view the Reference Guide, double-click the DFX-9000 Reference Guide icon or click Start > Programs (or All Programs) > EPSON > DFX-9000 Reference Guide > Reference Guide. Installing the Printer Software 7
-
 1
1 -
 2
2 -
 3
3 -
 4
4 -
 5
5 -
 6
6 -
 7
7 -
 8
8 -
 9
9 -
 10
10 -
 11
11 -
 12
12 -
13
-
14
-
15
-
16
-
17
-
18
-
19
-
20
-
21
-
22
-
23
-
24
-
25
-
26
-
27
-
28
 |
 |