Epson CX6000 Product Information Guide - Page 14
Cleaning the Print Head, Replacing Ink Cartridges, Checking the Ink Cartridge Status - ink for
 |
UPC - 010343858992
View all Epson CX6000 manuals
Add to My Manuals
Save this manual to your list of manuals |
Page 14 highlights
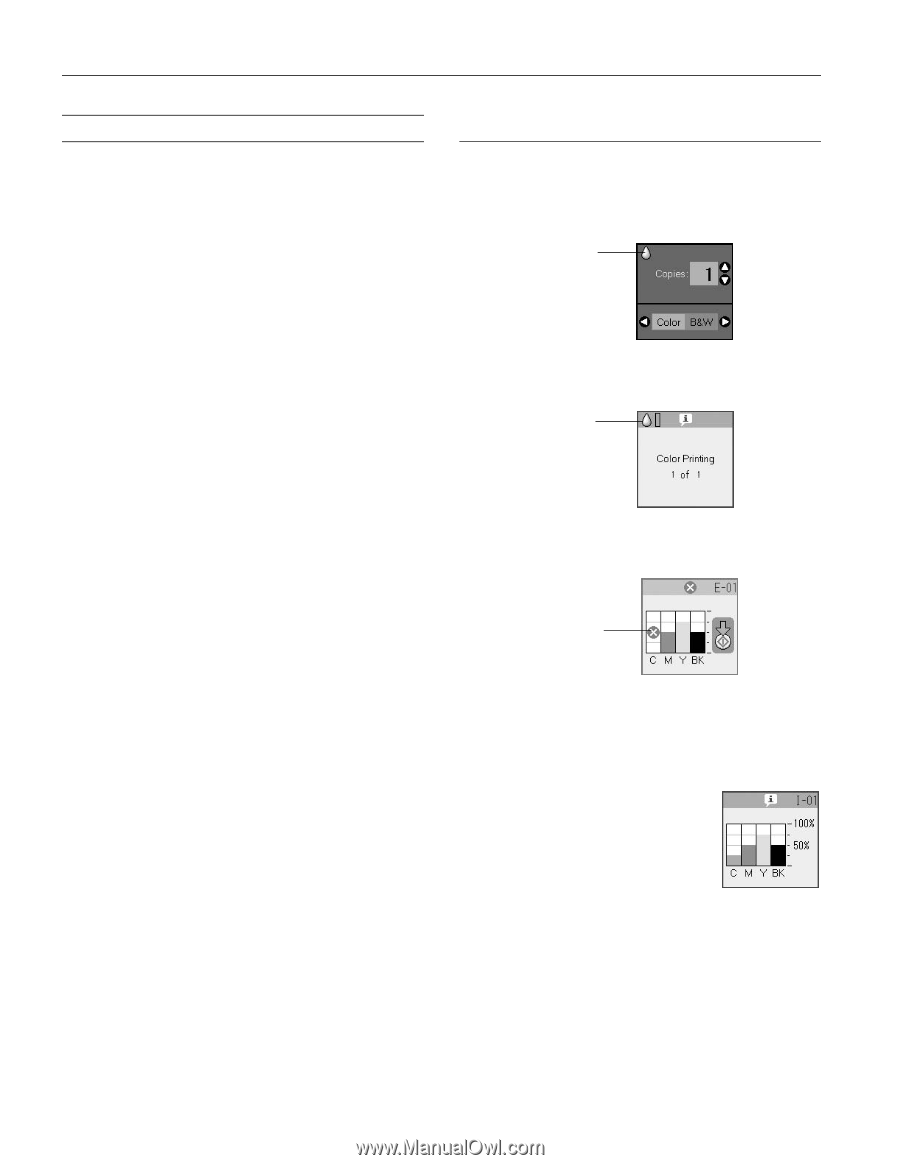
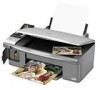
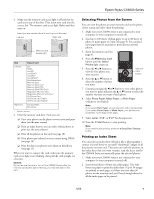
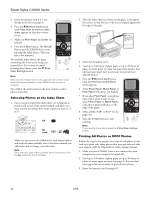
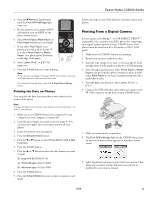
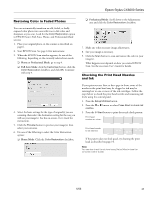
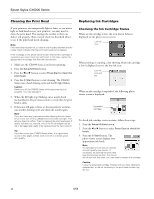
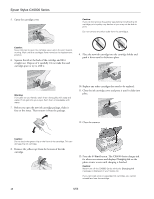
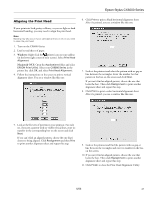
Epson Stylus CX6000 Series Cleaning the Print Head If your printouts are unexpectedly light or faint, or you notice light or dark bands across your printout, you may need to clean the print head. This unclogs the nozzles so they can deliver ink properly. Run a nozzle check (as described above) to see if the print head needs cleaning. Note: Print head cleaning uses ink, so clean it only if quality declines and the nozzle check indicates that the print head needs to be cleaned. If the message on the photo viewer screen shows that a cartridge is expended, you cannot clean the print head. In this case, replace the appropriate ink cartridge first (see the next section). 1. Make sure the CX6000 Series is on but not printing. 2. Press the Setup/Utilities button. 3. Press the l or r button to select Press Start to clean the print head. 4. Press the x Start button to start cleaning. The CX6000 Series runs a head cleaning cycle and the On light flashes. Caution: Never turn off the CX6000 Series while head cleaning is in progress. You may damage it. 5. When the On light stops flashing, run a nozzle check (as described in the previous section) to verify that the print head is clean. 6. If there are still gaps or lines, or the test patterns are faint, run another cleaning cycle and check the nozzles again. Note: If you don't see any improvement after cleaning the print head three times, turn off the CX6000 Series and wait overnight. This lets any dried ink soften. Then try cleaning the print head again. If quality still does not improve, one of the ink cartridges may be old or damaged and needs to be replaced (see the next section). Tip: If you do not use your CX6000 Series often, it is a good idea to print a few pages at least once a month to maintain good print quality. Replacing Ink Cartridges Checking the Ink Cartridge Status When an ink cartridge is low, the icon shown below is displayed on the photo viewer screen: Low ink icon When printing or copying, a bar showing which ink cartridge is low is displayed next to the low ink icon: Low ink icon and bar When an ink cartridge is expended, the following photo viewer screen is displayed: Expended cartridge To check ink cartridge status anytime, follow these steps: 1. Press the Setup/Utilities button. 2. Press the l or r button to select Press Start to check ink levels. 3. Press the x Start button. The photo viewer screen displays your approximate ink levels. Note: If a cartridge is more than six months old, print quality may decline. If necessary, try cleaning the print head (see the previous section). If printouts still do not look their best, you may need to replace the cartridge. Caution: Leave the expended cartridge installed until you have obtained a replacement, or the ink remaining in the print head nozzles may dry out. 14 6/06
-
 1
1 -
2
-
3
-
4
-
5
-
6
-
7
-
8
-
 9
9 -
 10
10 -
 11
11 -
 12
12 -
 13
13 -
 14
14 -
 15
15 -
 16
16 -
 17
17 -
 18
18
 |
 |