Epson CX6000 Product Information Guide - Page 9
Selecting Photos from the Screen, Printing an Index Sheet, button to view other photos - stylus series
 |
UPC - 010343858992
View all Epson CX6000 manuals
Add to My Manuals
Save this manual to your list of manuals |
Page 9 highlights
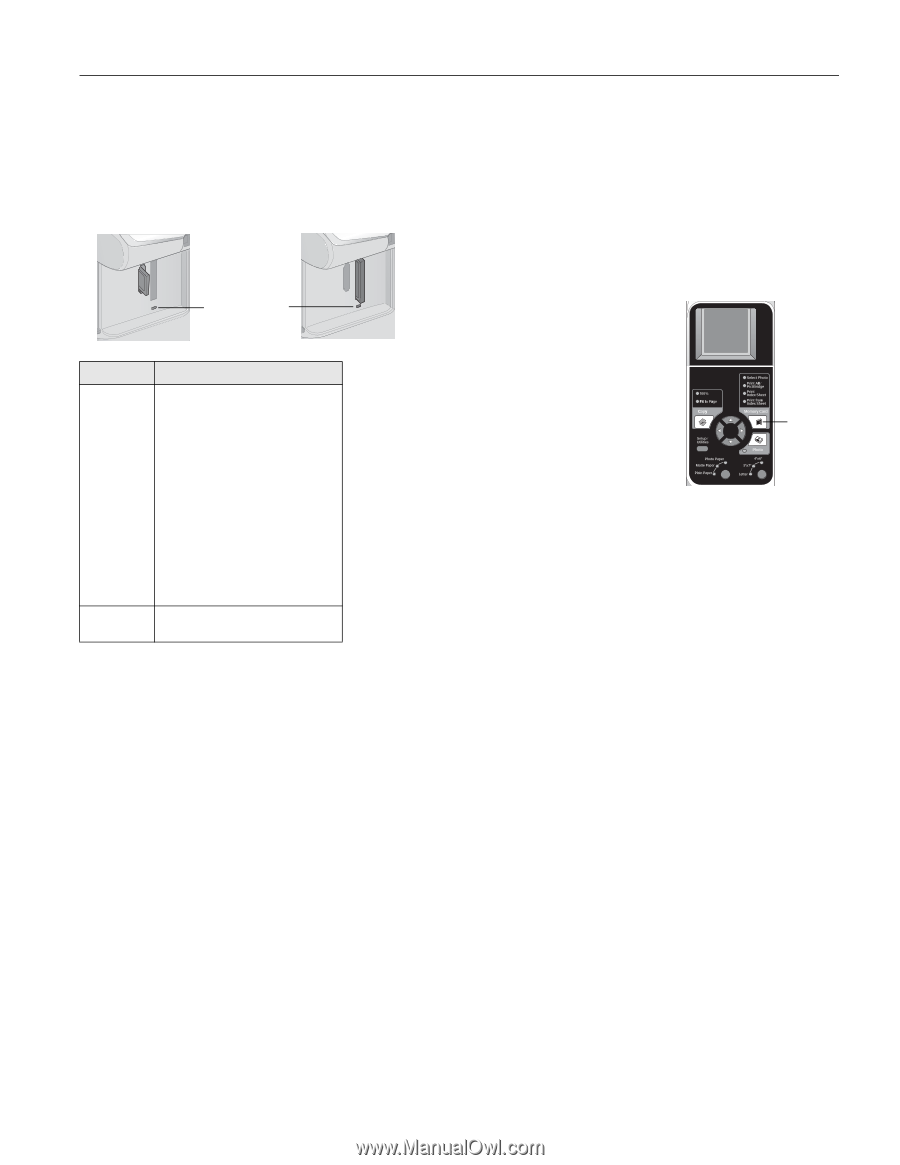
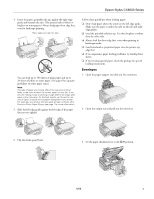
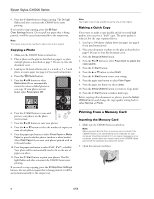
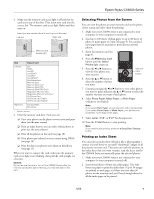
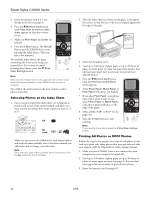
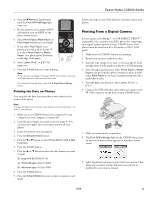
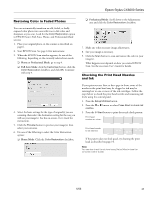
Epson Stylus CX6000 Series 3. Make sure the memory card access light is off and that no cards are in any of the slots. Then insert your card into the correct slot. The memory card access light flashes and then stays on. Insert just one card at a time (it won't go in all the way) Left slot Right slot Memory card access light Slot Left slot Right slot Type of card SD SDHC miniSD* miniSDHC* microSD* microSDHC* MultiMediaCard Memory Stick Memory Stick Duo* Memory Stick PRO Memory Stick PRO Duo* MagicGate Memory Stick MagicGate Memory Stick Duo* xD-Picture Card xD-Picture Card Type H xD-Picture Card Type M CompactFlash Microdrive * Adapter required 4. Close the memory card door. Now you can: ❏ View your photos on the photo viewer screen and print them (see the next section) ❏ Print an index sheet so you can select which photos to print (see the next column) ❏ Print all the photos on the card (see page 10) ❏ Print photos pre-selected on your camera using DPOF (see page 10) ❏ Print the date your photos were taken on the photos (see page 11) When you want to remove the card, make sure the memory card access light is not flashing, then pull the card straight out of its slot. Caution: Do not remove the card or turn off the CX6000 Series while the memory card access light is flashing; you may lose data on the card. Selecting Photos from the Screen You can view the photos on your memory card on the photo viewer screen and select them for printing. 1. Make sure your CX6000 Series is not connected to your computer (or your computer is turned off). 2. Load up to 100 sheets of plain paper or up to 20 sheets of photo or matte paper at a time (see page 4). You can load more paper later as necessary to print all your selected photos. 3. Insert the memory card (see page 8). 4. Press the C Memory Card button until the Select Photos light comes on. 5. Press the l or r button to view the first photos you want to print. Memory Card button 6. Press the u or d button to select the number of prints you want. 7. Continue pressing the l or r button to view other photos you want to print and press the u or d button to select the number of prints you want of each photo. 8. Select Photo Paper, Matte Paper, or Plain Paper (whichever you loaded). Note: If you select Plain Paper, your photos print with a white border. If you select Photo Paper or Matte Paper, your photos print borderless, to the edge of the paper. 9. Select Letter, 4"x6", or 5"x7" for the paper size. 10. Press the x Start button to start printing. Note: If you need to stop printing, press the y Stop/Clear Settings button. Printing an Index Sheet You can print an index sheet (which is like a photographer's contact or proof sheet) to see small "thumbnail" images of all the pictures on your card. Then you can mark the pictures on the index sheet that you want to print, scan the sheet, and let the CX6000 Series automatically print the selected photos. 1. Make sure your CX6000 Series is not connected to your computer (or your computer is turned off). 2. Load several sheets of letter-size, plain paper. (Use only letter-size paper to print the index sheet.) Up to 30 images are printed on each page, so if there are more than 30 photos on the memory card, you'll need enough sheets for all the index pages to be printed. 6/06 9
-
 1
1 -
2
-
3
-
 4
4 -
 5
5 -
 6
6 -
 7
7 -
 8
8 -
 9
9 -
 10
10 -
 11
11 -
 12
12 -
 13
13 -
 14
14 -
15
-
16
-
17
-
18
 |
 |