Epson ColorPage 8000 User Setup Information - Page 13
Installing The Extension Tray
 |
View all Epson ColorPage 8000 manuals
Add to My Manuals
Save this manual to your list of manuals |
Page 13 highlights
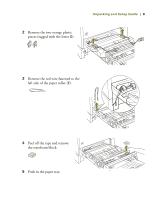
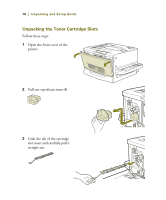
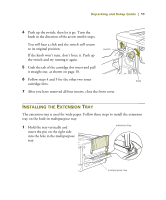
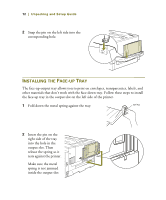
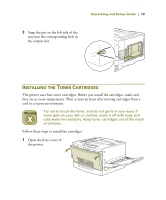
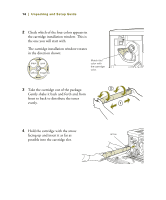
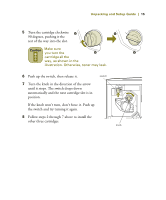
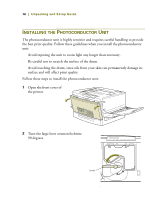
Unpacking and Setup Guide | 11 4 Push up the switch; then let it go. Turn the knob in the direction of the arrow until it stops. You will hear a click and the switch will return to its original position. If the knob won't turn, don't force it. Push up the switch and try turning it again. switch 5 Grab the tab of the cartridge slot insert and pull it straight out, as shown on page 10. 6 Follow steps 4 and 5 for the other two toner knob cartridge slots. 7 After you have removed all four inserts, close the front cover. INSTALLING THE EXTENSION TRAY The extension tray is used for wide paper. Follow these steps to install the extension tray on the built-in multipurpose tray: . 1 Hold the tray vertically and insert the pin on the right side into the hole in the multipurpose tray. extension tray multipurpose tray
-
 1
1 -
2
-
3
-
4
-
5
-
6
-
7
-
 8
8 -
 9
9 -
 10
10 -
 11
11 -
 12
12 -
 13
13 -
 14
14 -
 15
15 -
 16
16 -
 17
17 -
 18
18 -
19
-
20
-
21
-
22
-
23
-
24
-
25
-
26
-
27
-
28
-
29
-
30
 |
 |
