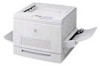
Epson ColorPage 8000 User Setup Information - Page 17
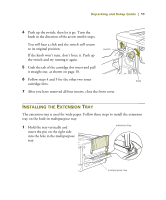
If the knob won't turn, don't force it. Push up, the switch and try turning it again.
 |
View all Epson ColorPage 8000 manuals
Add to My Manuals
Save this manual to your list of manuals |
Page 17 highlights
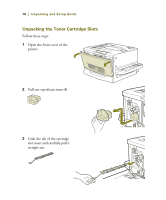
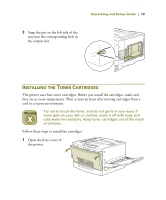
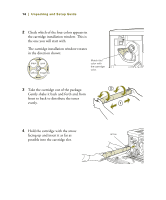
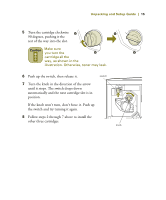
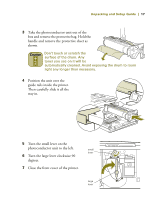
Unpacking and Setup Guide | 15 5 Turn the cartridge clockwise 90 degrees, pushing it the rest of the way into the slot. Make sure you turn the cartridge all the way, as shown in the illustration. Otherwise, toner may leak. 6 Push up the switch, then release it. switch 7 Turn the knob in the direction of the arrow until it stops. The switch drops down automatically and the next cartridge slot is in position. If the knob won't turn, don't force it. Push up the switch and try turning it again. 8 Follow steps 2 through 7 above to install the other three cartridges. knob
-
 1
1 -
2
-
3
-
4
-
5
-
6
-
7
-
8
-
9
-
10
-
11
-
 12
12 -
 13
13 -
 14
14 -
 15
15 -
 16
16 -
 17
17 -
 18
18 -
 19
19 -
 20
20 -
 21
21 -
 22
22 -
23
-
24
-
25
-
26
-
27
-
28
-
29
-
30
 |
 |

Unpacking and Setup Guide
|
15
5
Turn the cartridge clockwise
90 degrees, pushing it the
rest of the way into the slot.
Make sure
you turn the
cartridge all the
way, as shown in the
illustration. Otherwise, toner may leak.
6
Push up the switch, then release it.
7
Turn the knob in the direction of the arrow
until it stops. The switch drops down
automatically and the next cartridge slot is in
position.
If the knob won’t turn, don’t force it. Push up
the switch and try turning it again.
8
Follow steps 2 through 7 above to install the
other three cartridges.
switch
knob