Epson PowerLite 7200 User Manual - Page 108
Setting Effects Options, Detail Setting
 |
View all Epson PowerLite 7200 manuals
Add to My Manuals
Save this manual to your list of manuals |
Page 108 highlights
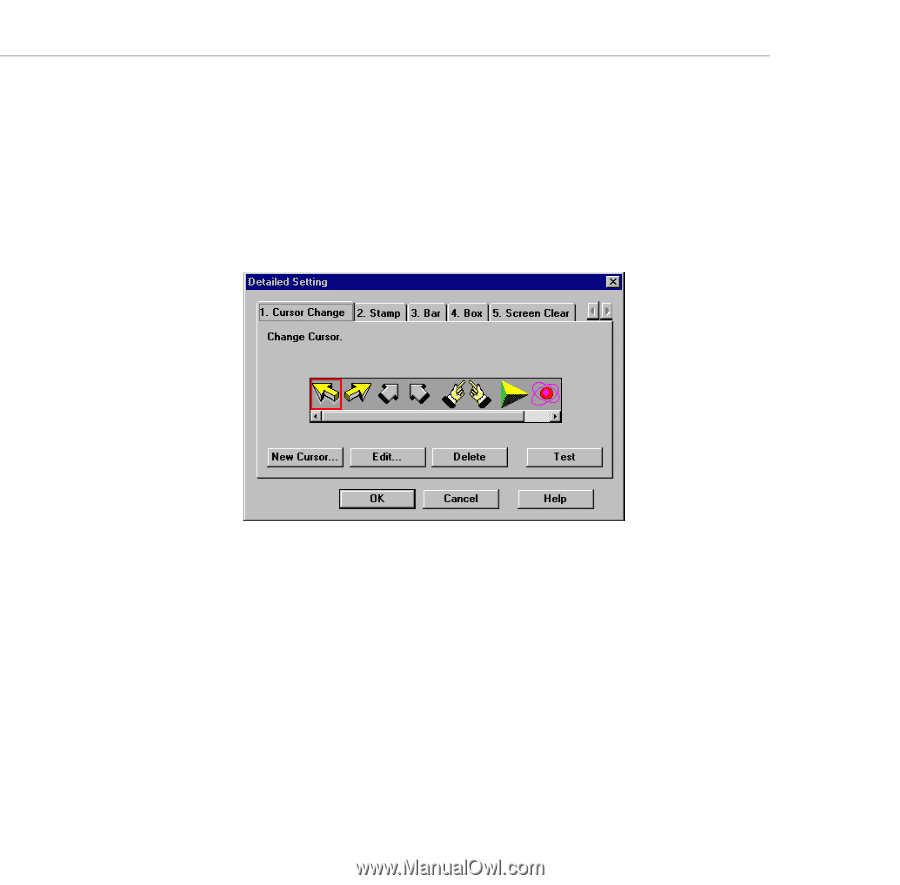
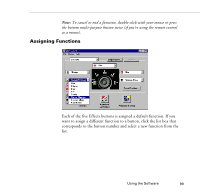
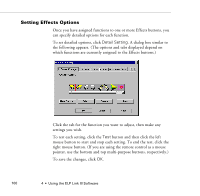
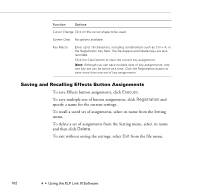
Setting Effects Options Once you have assigned functions to one or more Effects buttons, you can specify detailed options for each function. To set detailed options, click Detail Setting. A dialog box similar to the following appears. (The options and tabs displayed depend on which functions are currently assigned to the Effects buttons.) Click the tab for the function you want to adjust, then make any settings you wish. To test each setting, click the Test button and then click the left mouse button to start and stop each setting. To end the test, click the right mouse button. (If you are using the remote control as a mouse pointer, use the bottom and top multi-purpose buttons, respectively.) To save the changes, click OK. 100 4 • Using the ELP Link III Software
-
 1
1 -
2
-
3
-
4
-
5
-
6
-
7
-
8
-
9
-
10
-
11
-
12
-
13
-
14
-
15
-
16
-
17
-
18
-
19
-
20
-
21
-
22
-
23
-
24
-
25
-
26
-
27
-
28
-
29
-
30
-
31
-
32
-
33
-
34
-
35
-
36
-
37
-
38
-
39
-
40
-
41
-
42
-
43
-
44
-
45
-
46
-
47
-
48
-
49
-
50
-
51
-
52
-
53
-
54
-
55
-
56
-
57
-
58
-
59
-
60
-
61
-
62
-
63
-
64
-
65
-
66
-
67
-
68
-
69
-
70
-
71
-
72
-
73
-
74
-
75
-
76
-
77
-
78
-
79
-
80
-
81
-
82
-
83
-
84
-
85
-
86
-
87
-
88
-
89
-
90
-
91
-
92
-
93
-
94
-
95
-
96
-
97
-
98
-
99
-
100
-
101
-
102
-
 103
103 -
 104
104 -
 105
105 -
 106
106 -
 107
107 -
 108
108 -
 109
109 -
 110
110 -
 111
111 -
 112
112 -
 113
113 -
114
-
115
-
116
-
117
-
118
-
119
-
120
-
121
-
122
-
123
-
124
-
125
-
126
-
127
-
128
-
129
-
130
-
131
-
132
-
133
-
134
-
135
-
136
-
137
-
138
-
139
-
140
-
141
-
142
-
143
-
144
-
145
-
146
-
147
-
148
-
149
-
150
-
151
-
152
-
153
-
154
 |
 |