Epson PowerLite Home 10 User Manual - Page 13
Using the Projector, Choosing a Location
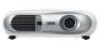 |
View all Epson PowerLite Home 10 manuals
Add to My Manuals
Save this manual to your list of manuals |
Page 13 highlights
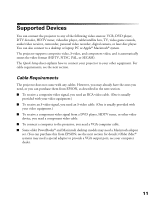
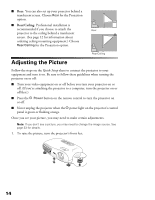
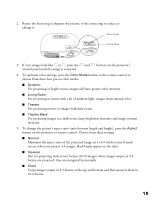
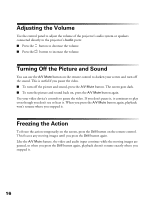
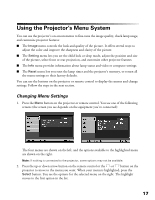
Using the Projector Follow the instructions in this section to choose a location for the projector, adjust the image and volume, turn off picture and sound, freeze the action, or use the projector menus. Choosing a Location The distance from the projector to the screen or wall determines the size of the picture. The picture will be larger when you place the projector further from the screen. See the Quick Setup sheet for details about the relationship between distance and picture size. You can also choose from five different viewing setups. If you install the projector in a rear or overhead position, you'll need to choose the correct Projection option (identified below) from the projector's Setting menu. ■ Table: For temporary front projection, place the projector on a low table in front of the screen. If possible, place the projector directly in front of the screen, facing the screen squarely. The base of the lens should be about level with the bottom of the screen. Table ■ Shelf: You can also place the projector on a high shelf behind you. Attach the three rubber feet that came with the projector to the top of the projector, then place the projector upside-down. After you turn on the projector, choose Front/Ceiling for the Projection option in the Setting menu. ■ Ceiling: You can purchase special equipment from EPSON to Shelf attach the projector to your ceiling (see page 12 for ordering information). If you choose this setup, professional installation is recommended. Choose Front/Ceiling for the Projection option. Ceiling 13
-
 1
1 -
2
-
3
-
4
-
5
-
6
-
7
-
 8
8 -
 9
9 -
 10
10 -
 11
11 -
 12
12 -
 13
13 -
 14
14 -
 15
15 -
 16
16 -
 17
17 -
 18
18 -
19
-
20
-
21
-
22
-
23
-
24
-
25
-
26
-
27
-
28
-
29
-
30
-
31
-
32
-
33
-
34
-
35
-
36
-
37
-
38
-
39
-
40
-
41
-
42
-
43
-
44
 |
 |
