Genie ScrewDrive Owner's Manual - Page 28
Settings, Sect 8-battery & Visor Clip - remote
 |
View all Genie ScrewDrive manuals
Add to My Manuals
Save this manual to your list of manuals |
Page 28 highlights
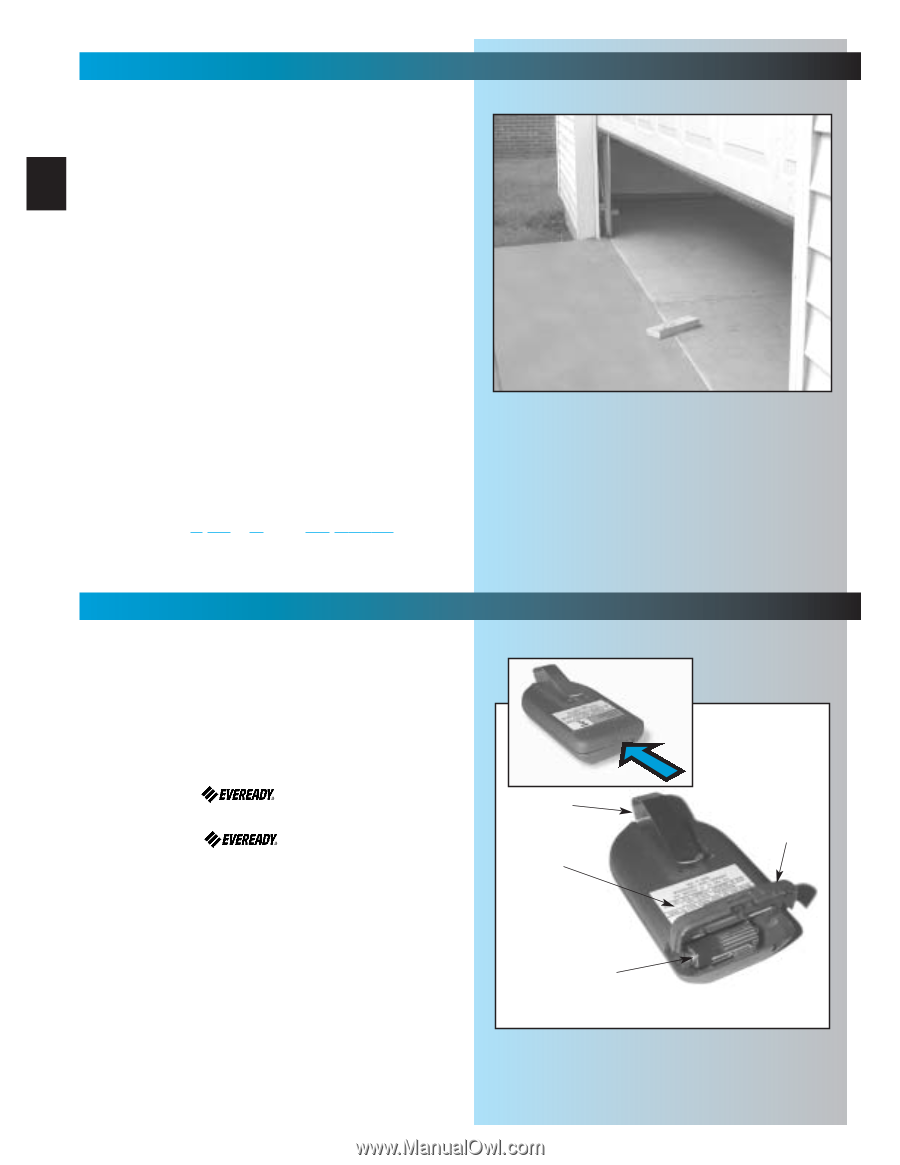
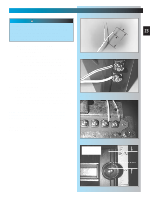
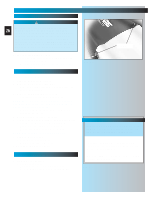
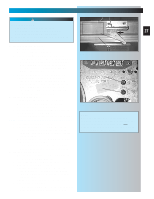
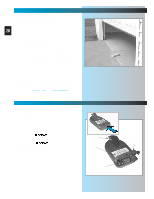
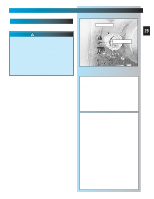
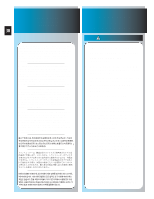
SETTINGS (CONTACT REVERSE) FOR HELP-1.800.354.3643 OR GENIECOMPANY.COM Limit switch adjustments must be completed before running contact reverse test. 28 1. Test contact reverse. • Open door using wall control. • Lay 2" x 4" board* on floor in center of garage door opening. Fig. 7-3. • Close door using wall control. - Door should stop and reverse within 2 seconds of contacting the board. - If door does not reverse properly: a. Decrease closing force a small amount by turning the "CLOSE" force adjustment screw slightly counterclockwise. b. Test contact reverse again. c. Repeat steps a. and b. until contact reverse works properly. Fig. 7-3 *If you don't have a 2" x 4" board handy, any object 1-1/2 inches high that can withstand being hit by the garage door without sustaining damage is fine. NOTE: If door is stopping but not reversing, "CLOSE" limit switch must be moved closer to door. SECT 8-BATTERY & VISOR CLIP FOR HELP-1.800.354.3643 OR GENIECOMPANY.COM 1. Install / replace battery Fig. 8-1. • Using a pen or similar object, gently push in on tab. • Cover snaps open. Remove old battery. • Observe polarity markings (+,-) inside battery compartment. • Match new battery to polarity markings and instal new A23, 12 Volt battery. • Replace battery cover. NOTE: Use only A23, 12 Volt battery. 2. Attach visor clip Fig. 6-1. • Slide clip in slot on back of remote control. - Snap in place. Visor Clip Model Number Battery Cover Battery Fig. 8-1
-
 1
1 -
2
-
3
-
4
-
5
-
6
-
7
-
8
-
9
-
10
-
11
-
12
-
13
-
14
-
15
-
16
-
17
-
18
-
19
-
20
-
21
-
22
-
 23
23 -
 24
24 -
 25
25 -
 26
26 -
 27
27 -
 28
28 -
 29
29 -
 30
30 -
 31
31 -
 32
32 -
 33
33 -
34
-
35
 |
 |