HP 3500c HP Scanjet 2300c or 3500c series - (English) User Manual - Page 18
uninstall the software - scanjet installation
 |
UPC - 808736090452
View all HP 3500c manuals
Add to My Manuals
Save this manual to your list of manuals |
Page 18 highlights
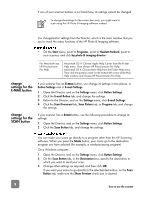
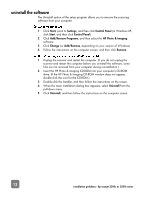
uninstall the software The Uninstall option of the setup program allows you to remove the scanning software from your computer. 1 Click Start, point to Settings, and then click Control Panel (in Windows XP, click Start, and then click Control Panel). 2 Click Add/Remove Programs, and then select the HP Photo & Imaging software. 3 Click Change (or Add/Remove, depending on your version of Windows). 4 Follow the instructions on the computer screen, and then click Remove. 1 Unplug the scanner and restart the computer. (If you do not unplug the scanner and restart the computer before you uninstall the software, some files are not removed from your computer during uninstallation.) 2 Insert the HP Photo & Imaging CD-ROM into your computer's CD-ROM drive. (If the HP Photo & Imaging CD-ROM window does not appear, double-click the icon for the CD-ROM.) 3 Double-click the Installer, and then follow the instructions on the screen. 4 When the main installation dialog box appears, select Uninstall from the pull-down menu. 5 Click Uninstall, and then follow the instructions on the computer screen. 13 installation problems - hp scanjet 2300c or 3500c series
-
 1
1 -
2
-
3
-
4
-
5
-
6
-
7
-
8
-
9
-
10
-
11
-
12
-
 13
13 -
 14
14 -
 15
15 -
 16
16 -
 17
17 -
 18
18 -
 19
19 -
 20
20 -
 21
21 -
 22
22 -
 23
23 -
24
-
25
-
26
 |
 |