HP 882c (English) Windows Connect * User's Guide - C6413-90009 - Page 49
Selecting the Best Photo Paper, How to Print Photos, Setup, Select Paper Type, Photo Papers
 |
View all HP 882c manuals
Add to My Manuals
Save this manual to your list of manuals |
Page 49 highlights
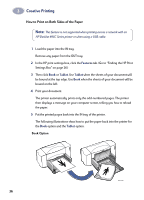
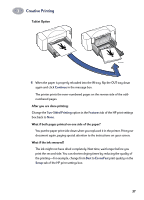
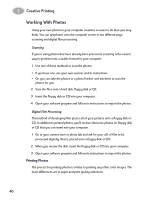
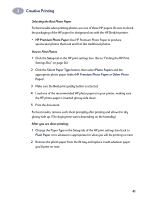
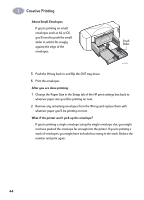
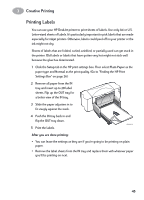
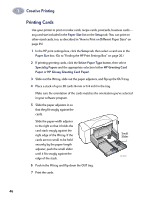
3 Creative Printing Selecting the Best Photo Paper For best results when printing photos, use one of these HP papers. Be sure to check the packaging of the HP paper for designated use with the HP DeskJet printer. • HP Premium Photo Paper: Use HP Premium Photo Paper to produce spectacular photos that look and feel like traditional photos. How to Print Photos 1 Click the Setup tab in the HP print settings box. (Go to "Finding the HP Print Settings Box" on page 26.) 2 Click the Select Paper Type button, then select Photo Papers and the appropriate photo paper (either HP Premium Photo Paper or Other Photo Paper). 3 Make sure the Best print quality button is selected. 4 Load one of the recommended HP photo papers in your printer, making sure the HP photo paper is inserted glossy-side down. 5 Print the document. For best results, remove each sheet promptly after printing and allow it to dry glossy-side up. (The drying time varies depending on the humidity.) After you are done printing: 1 Change the Paper Type in the Setup tab of the HP print settings box back to Plain Paper or to whatever is appropriate for what you will be printing on next. 2 Remove the photo paper from the IN tray and replace it with whatever paper you'll print on next. 41
-
 1
1 -
2
-
3
-
4
-
5
-
6
-
7
-
8
-
9
-
10
-
11
-
12
-
13
-
14
-
15
-
16
-
17
-
18
-
19
-
20
-
21
-
22
-
23
-
24
-
25
-
26
-
27
-
28
-
29
-
30
-
31
-
32
-
33
-
34
-
35
-
36
-
37
-
38
-
39
-
40
-
41
-
42
-
43
-
 44
44 -
 45
45 -
 46
46 -
 47
47 -
 48
48 -
 49
49 -
 50
50 -
 51
51 -
 52
52 -
 53
53 -
 54
54 -
55
-
56
-
57
-
58
-
59
-
60
-
61
-
62
-
63
-
64
-
65
-
66
-
67
-
68
-
69
-
70
-
71
-
72
-
73
-
74
-
75
-
76
-
77
-
78
-
79
-
80
-
81
-
82
-
83
-
84
-
85
-
86
-
87
-
88
-
89
-
90
-
91
-
92
-
93
-
94
-
95
-
96
-
97
-
98
-
99
-
100
-
101
-
102
-
103
-
104
-
105
-
106
-
107
-
108
-
109
-
110
-
111
-
112
-
113
-
114
-
115
-
116
-
117
-
118
 |
 |