HP B8550 User Guide - Page 19
Print a diagnostic Turn off the HP Photosmart - continuous ink
 |
UPC - 884420048510
View all HP B8550 manuals
Add to My Manuals
Save this manual to your list of manuals |
Page 19 highlights
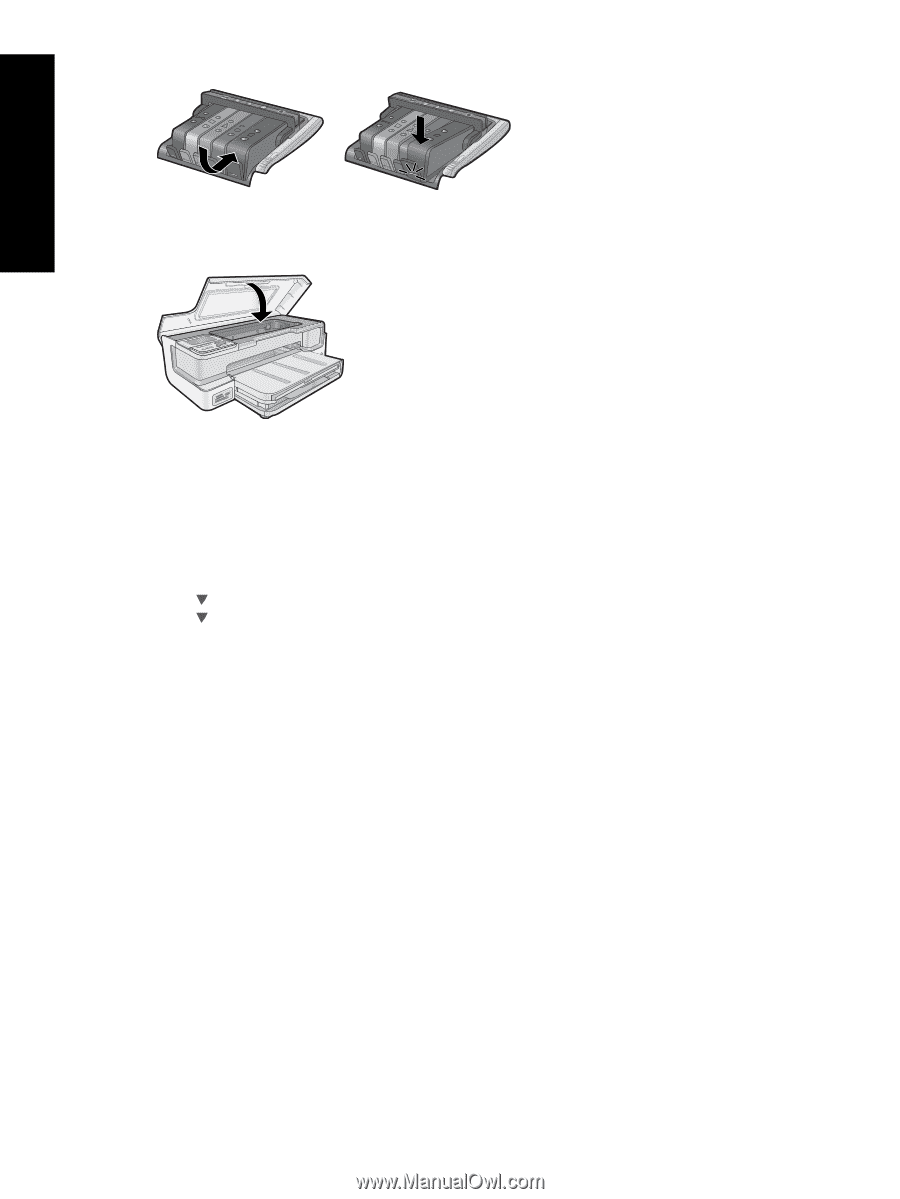
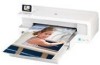
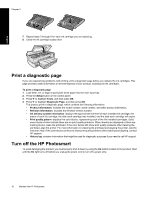
Chapter 2 7. Repeat steps 3 through 6 for each ink cartridge you are replacing. 8. Close the ink cartridge access door. English Print a diagnostic page If you are experiencing problems with printing, print a diagnostic page before you replace the ink cartridges. This page provides useful information on several aspects of your product, including the ink cartridges. To print a diagnostic page 1. Load letter, A4, or legal unused plain white paper into the main input tray. 2. Press the Setup button on the control panel. 3. Press to highlight Tools, and then press OK. 4. Press to highlight Diagnostic Page, and then press OK. The product prints a diagnostic page, which contains the following information: • Product information: includes the model number, serial number, and other product information. • Revision information: includes the firmware version number. • Ink delivery system information: displays the approximate ink level of each installed ink cartridge, the status of each ink cartridge, the date each cartridge was installed, and the date each cartridge will expire. • Print quality pattern: displays five color blocks, representing each of the five installed cartridges. Solid, even blocks of color indicate there are no print quality problems. When streaks are displayed or there are missing blocks, clean the printhead. If the color blocks still show print quality problems after cleaning the printhead, align the printer. For more information on cleaning the printhead and aligning the printer, see the onscreen Help. If the color blocks continue to show print quality problems after cleaning and aligning, contact HP support. • History log: contains information that might be used for diagnostic purposes if you need to call HP support. Turn off the HP Photosmart To avoid damaging the product, you must properly shut it down by using the On button located on the product. Wait until the On light turns off before you unplug the power cord or turn off a power strip. 16 Maintain the HP Photosmart
-
 1
1 -
2
-
3
-
4
-
5
-
6
-
7
-
8
-
9
-
10
-
11
-
12
-
13
-
 14
14 -
 15
15 -
 16
16 -
 17
17 -
 18
18 -
 19
19 -
 20
20 -
 21
21 -
 22
22 -
 23
23 -
 24
24 -
25
-
26
-
27
-
28
-
29
-
30
-
31
-
32
-
33
-
34
-
35
-
36
-
37
-
38
-
39
-
40
-
41
-
42
-
43
-
44
-
45
-
46
-
47
-
48
-
49
-
50
-
51
-
52
-
53
-
54
-
55
-
56
-
57
-
58
-
59
-
60
-
61
-
62
-
63
-
64
-
65
-
66
-
67
-
68
-
69
-
70
-
71
-
72
-
73
-
74
 |
 |