HP Color LaserJet 2550 HP Color LaserJet 2550 series - User Guide - Page 39
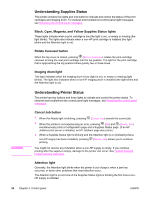
Loading optional tray 2, CAUTION
 |
View all HP Color LaserJet 2550 manuals
Add to My Manuals
Save this manual to your list of manuals |
Page 39 highlights
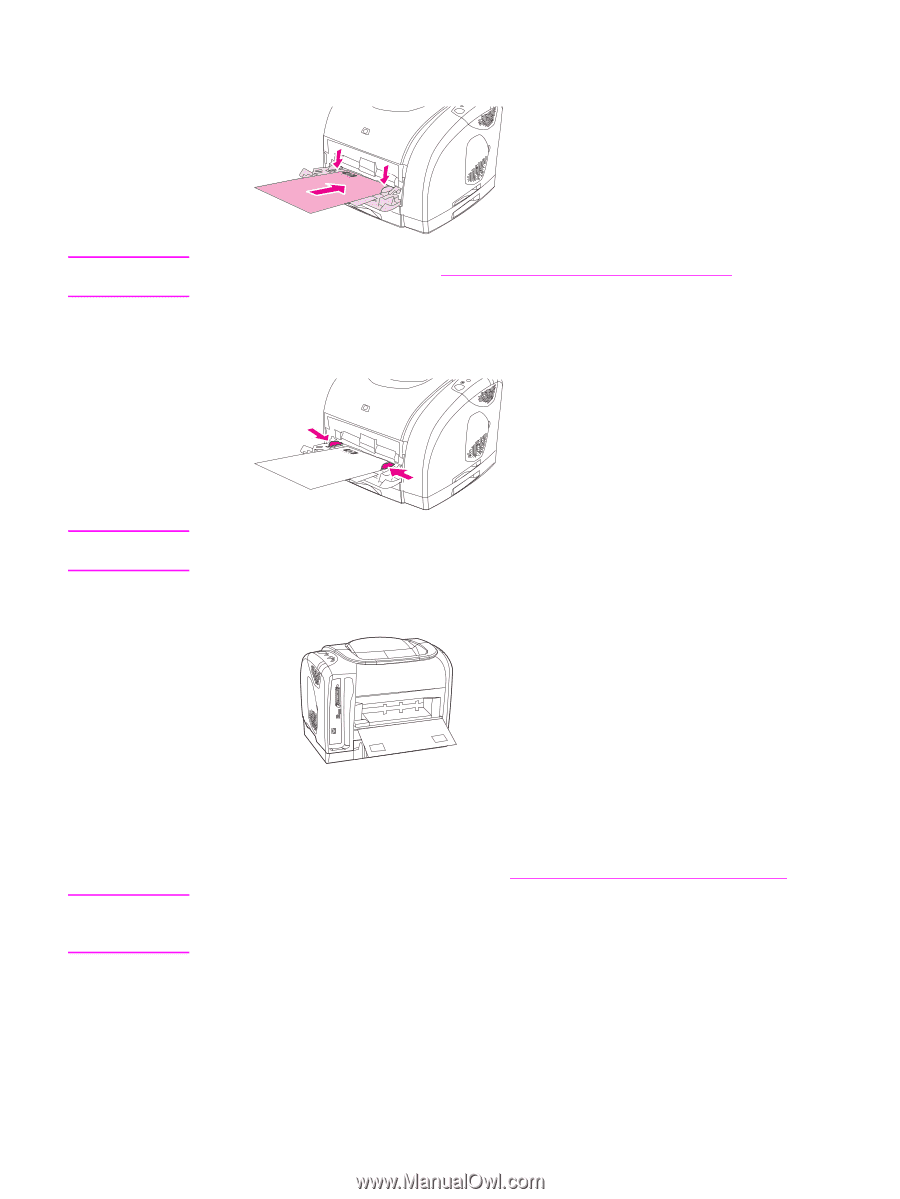
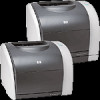
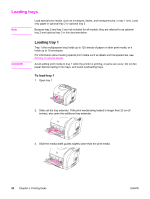
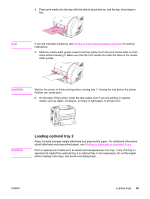
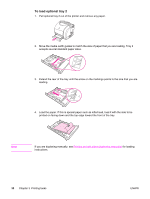
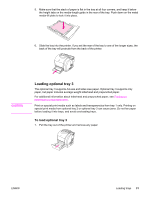
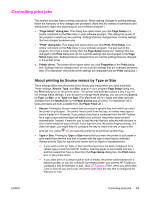
4. Place print media into the tray with the side to be printed up, and the top, short edge in first. Note If you are manually duplexing, see Printing on both sides (duplexing manually) for loading instructions. 5. Slide the media-width guides inward until they lightly touch the print media stack on both sides without bending it. Make sure that the print media fits under the tabs on the mediawidth guides. CAUTION Wait for the printer to finish printing before closing tray 1. Closing the tray before the printer finishes can cause jams. 6. On the back of the printer, lower the rear output door if you are printing on special media, such as labels, envelopes, or heavy or light paper, to prevent curl. CAUTION Loading optional tray 2 Paper includes average-weight letterhead and prepunched paper. For additional information about letterhead and prepunched paper, see Printing on letterhead or preprinted forms. Print on special print media such as labels and transparencies from tray 1 only. Printing on special print media from optional tray 2 or optional tray 3 can cause jams. Do not fan paper before loading it into trays, and avoid overloading trays. ENWW Loading trays 29
-
 1
1 -
2
-
3
-
4
-
5
-
6
-
7
-
8
-
9
-
10
-
11
-
12
-
13
-
14
-
15
-
16
-
17
-
18
-
19
-
20
-
21
-
22
-
23
-
24
-
25
-
26
-
27
-
28
-
29
-
30
-
31
-
32
-
33
-
 34
34 -
 35
35 -
 36
36 -
 37
37 -
 38
38 -
 39
39 -
 40
40 -
 41
41 -
 42
42 -
 43
43 -
 44
44 -
45
-
46
-
47
-
48
-
49
-
50
-
51
-
52
-
53
-
54
-
55
-
56
-
57
-
58
-
59
-
60
-
61
-
62
-
63
-
64
-
65
-
66
-
67
-
68
-
69
-
70
-
71
-
72
-
73
-
74
-
75
-
76
-
77
-
78
-
79
-
80
-
81
-
82
-
83
-
84
-
85
-
86
-
87
-
88
-
89
-
90
-
91
-
92
-
93
-
94
-
95
-
96
-
97
-
98
-
99
-
100
-
101
-
102
-
103
-
104
-
105
-
106
-
107
-
108
-
109
-
110
-
111
-
112
-
113
-
114
-
115
-
116
-
117
-
118
-
119
-
120
-
121
-
122
-
123
-
124
-
125
-
126
-
127
-
128
-
129
-
130
-
131
-
132
-
133
-
134
-
135
-
136
-
137
-
138
-
139
-
140
-
141
-
142
-
143
-
144
-
145
-
146
-
147
-
148
-
149
-
150
-
151
-
152
-
153
-
154
-
155
-
156
-
157
-
158
-
159
-
160
-
161
-
162
-
163
-
164
-
165
-
166
-
167
-
168
-
169
-
170
-
171
-
172
-
173
-
174
-
175
-
176
 |
 |