HP Color LaserJet 2550 HP Color LaserJet 2550 series - User Guide - Page 41
Loading optional tray 3
 |
View all HP Color LaserJet 2550 manuals
Add to My Manuals
Save this manual to your list of manuals |
Page 41 highlights
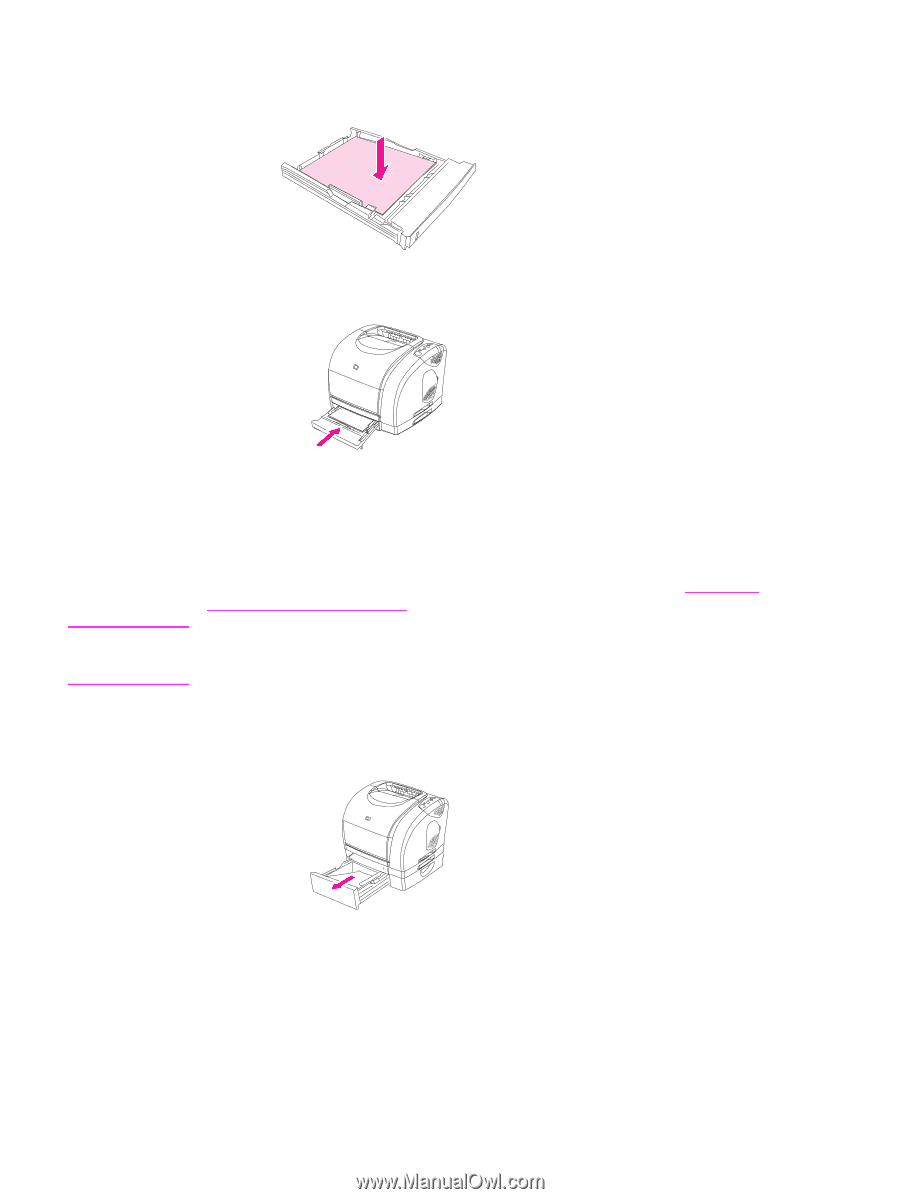
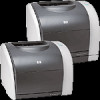
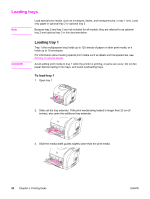
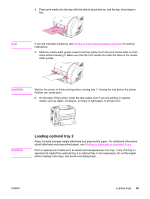
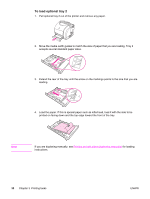
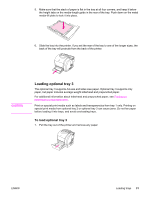
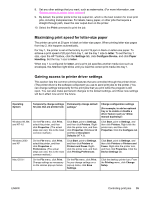
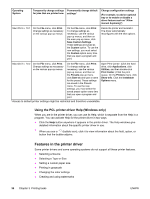
5. Make sure that the stack of paper is flat in the tray at all four corners, and keep it below the height tabs on the media-length guide in the rear of the tray. Push down on the metal media-lift plate to lock it into place. 6. Slide the tray into the printer. If you set the rear of the tray to one of the longer sizes, the back of the tray will protrude from the back of the printer. CAUTION Loading optional tray 3 The optional tray 3 supports A4-size and letter-size paper. Optional tray 3 supports only paper, but paper includes average-weight letterhead and prepunched paper. For additional information about letterhead and prepunched paper, see Printing on letterhead or preprinted forms. Print on special print media such as labels and transparencies from tray 1 only. Printing on special print media from optional tray 2 or optional tray 3 can cause jams. Do not fan paper before loading it into trays, and avoid overloading trays. To load optional tray 3 1. Pull the tray out of the printer and remove any paper. ENWW Loading trays 31
-
 1
1 -
2
-
3
-
4
-
5
-
6
-
7
-
8
-
9
-
10
-
11
-
12
-
13
-
14
-
15
-
16
-
17
-
18
-
19
-
20
-
21
-
22
-
23
-
24
-
25
-
26
-
27
-
28
-
29
-
30
-
31
-
32
-
33
-
34
-
35
-
 36
36 -
 37
37 -
 38
38 -
 39
39 -
 40
40 -
 41
41 -
 42
42 -
 43
43 -
 44
44 -
 45
45 -
 46
46 -
47
-
48
-
49
-
50
-
51
-
52
-
53
-
54
-
55
-
56
-
57
-
58
-
59
-
60
-
61
-
62
-
63
-
64
-
65
-
66
-
67
-
68
-
69
-
70
-
71
-
72
-
73
-
74
-
75
-
76
-
77
-
78
-
79
-
80
-
81
-
82
-
83
-
84
-
85
-
86
-
87
-
88
-
89
-
90
-
91
-
92
-
93
-
94
-
95
-
96
-
97
-
98
-
99
-
100
-
101
-
102
-
103
-
104
-
105
-
106
-
107
-
108
-
109
-
110
-
111
-
112
-
113
-
114
-
115
-
116
-
117
-
118
-
119
-
120
-
121
-
122
-
123
-
124
-
125
-
126
-
127
-
128
-
129
-
130
-
131
-
132
-
133
-
134
-
135
-
136
-
137
-
138
-
139
-
140
-
141
-
142
-
143
-
144
-
145
-
146
-
147
-
148
-
149
-
150
-
151
-
152
-
153
-
154
-
155
-
156
-
157
-
158
-
159
-
160
-
161
-
162
-
163
-
164
-
165
-
166
-
167
-
168
-
169
-
170
-
171
-
172
-
173
-
174
-
175
-
176
 |
 |