HP Designjet 8000 HP Designjet 8000s Printer Series - Maintenance Guide - Page 33
Charge the ink system
 |
View all HP Designjet 8000 manuals
Add to My Manuals
Save this manual to your list of manuals |
Page 33 highlights
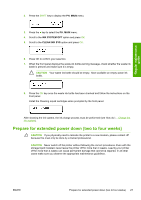
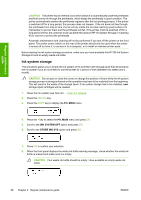
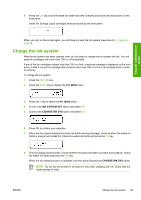
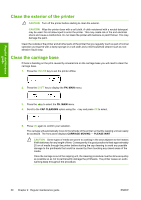
Regular maintenance guide 9. Press the OK key once the waste ink bottle has been checked and follow the instructions on the front panel. Install the Storage Liquid cartridges when prompted by the front panel. When you turn on the printer again, you will have to clean the ink system (see How do I... Clean ink system). Charge the ink system After the ink system has been cleaned, then you will need to charge the ink system with ink. You will need ink cartridges with more than 100 cc of ink available. If any of the ink cartridges contain less than 100 cc of ink, a warning message is displayed on the front panel. Install a correct ink cartridge that contains more than 100 cc of ink in the indicated slot in order to continue. To charge the ink system: 1. Press the ONLINE key. 2. Press the SHIFT key to display the PH. MAIN menu. 3. Press the key to select the PH. MAIN menu. 4. Scroll to the INK SYSTEM OPT option and press OK. 5. Scroll to the CHARGE INK SYS option and press OK. 6. Press OK to confirm your selection. 7. When the front panel displays the waste ink bottle warning message, check whether the waste ink bottle is present and is not full. Check the waste ink bottle and press the OK key. 8. The Ink Charge process starts. Check whether the waste ink bottle is present and is not full. Check the waste ink bottle and press the OK key. When the ink charge process is complete, the front panel displays the CHARGE INK SYS option. NOTE Do not use the printer for at least one hour after charging with ink. Check that the wiper sponge is moist. ENWW Charge the ink system 29
-
 1
1 -
2
-
3
-
4
-
5
-
6
-
7
-
8
-
9
-
10
-
11
-
12
-
13
-
14
-
15
-
16
-
17
-
18
-
19
-
20
-
21
-
22
-
23
-
24
-
25
-
26
-
27
-
 28
28 -
 29
29 -
 30
30 -
 31
31 -
 32
32 -
 33
33 -
 34
34 -
 35
35 -
 36
36 -
 37
37 -
 38
38 -
39
-
40
-
41
-
42
-
43
-
44
 |
 |
