HP Indigo 5000 HP DesignJet 5000 Series Printer - Setup Poster - Page 8
Installing a roll - full color press
 |
View all HP Indigo 5000 manuals
Add to My Manuals
Save this manual to your list of manuals |
Page 8 highlights
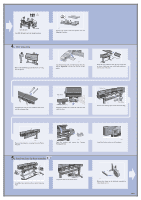
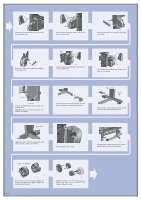
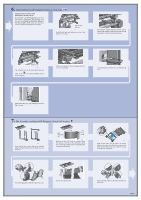
All printheads OK, Close cover and window to continue If all the printheads have been installed correctly, the front panel displays the above. Close the cover on the carriage and shut the window. INK STARTUP Open right door to access printhead cleaners The front panel displays the above. st050 Open the printer's right door below the front panel. st071 Insert each printhead cleaner into the correct color slot location, as indicated by the arrow shown above. st072 When the printhead cleaner has been pushed all the way in, press inwards and downwards as indicated by the arrow shown above, until it clicks into place. st073 When you have inserted the all printhead cleaners into the printhead service station, close the door. INK STARTUP Checking printhead CLEANERS The front panel displays the above. The printer will now start the printhead test. If it is successful, the front panel will instruct you to load the media; then the printer will run the printhead alignment check. 11. Installing a roll B A st002 Remove the blue colored stop A from the left-hand end of the spindle, and stand the spindle vertically, with the fixed stop B on the floor. st003 Slide the new roll of media on to the spindle. Make sure the orientation of the paper is loaded exactly as shown. The blue media guide must be on the left. st005 Put the removable stop onto the spindle and push it on as far as it will go. B A st006 With the blue colored roll stop on the left, slide the spindle into the printer as shown by the arrows A and B. The paper should hang down from the roll exactly as shown. Page 8
-
 1
1 -
2
-
 3
3 -
 4
4 -
 5
5 -
 6
6 -
 7
7 -
 8
8 -
 9
9 -
 10
10 -
 11
11 -
 12
12
 |
 |