HP LaserJet Pro M1217nfw HP LaserJet M1130/M1210 MFP User Guide Wireless Adden - Page 16
Network connection, Install the product on a wireless network with HP Smart Install - driver
 |
View all HP LaserJet Pro M1217nfw manuals
Add to My Manuals
Save this manual to your list of manuals |
Page 16 highlights
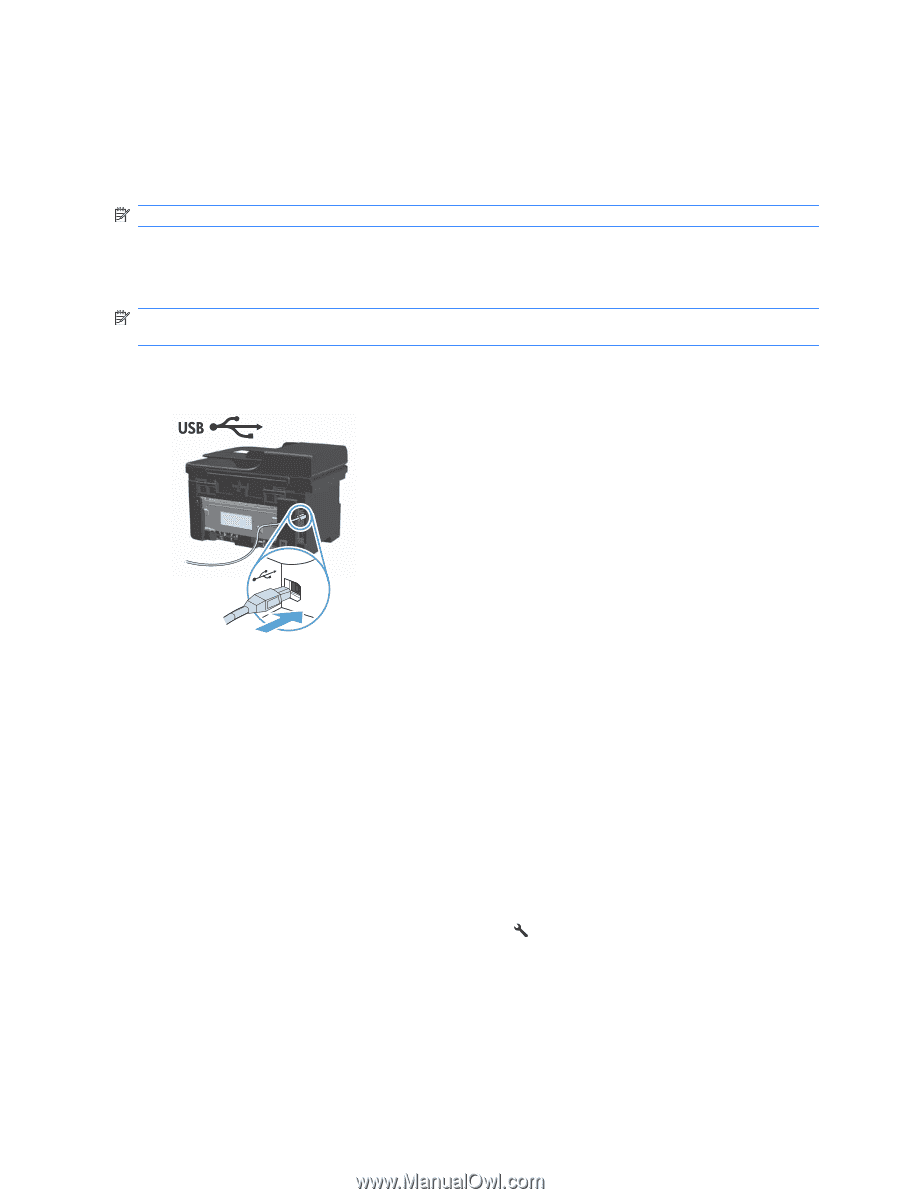
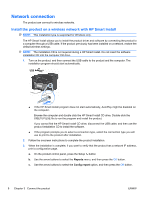
Network connection The product can connect to wireless networks. Install the product on a wireless network with HP Smart Install NOTE: This installation type is supported for Windows only. The HP Smart Install allows you to install the product driver and software by connecting the product to a computer through a USB cable. If the product previously has been installed on a network, restore the default wireless settings. NOTE: The installation CD is not required during a HP Smart Install. Do not insert the software installation CD into the computer CD drive. 1. Turn on the product, and then connect the USB cable to the product and the computer. The installation program should start automatically. ● If the HP Smart Install program does not start automatically, AutoPlay might be disabled on the computer. Browse the computer and double-click the HP Smart Install CD drive. Double-click the SISETUP.EXE file to run the program and install the product. If you cannot find the HP Smart Install CD drive, disconnect the USB cable, and then use the product installation CD to install the software. ● If the program prompts you to select a connection type, select the connection type you will use to print to the product after installation. 2. Follow the onscreen instructions to complete the product installation. 3. When the installation is complete, if you want to verify that the product has a network IP address, print a configuration page. a. On the product control panel, press the Setup button b. Use the arrow buttons to select the Reports menu, and then press the OK button. c. Use the arrow buttons to select the Config report option, and then press the OK button. 8 Chapter 3 Connect the product ENWW
-
 1
1 -
2
-
3
-
4
-
5
-
6
-
7
-
8
-
9
-
10
-
 11
11 -
 12
12 -
 13
13 -
 14
14 -
 15
15 -
 16
16 -
 17
17 -
 18
18 -
 19
19 -
 20
20 -
 21
21 -
22
-
23
-
24
-
25
-
26
-
27
-
28
-
29
-
30
-
31
-
32
-
33
-
34
 |
 |