HP LaserJet Pro MFP M148-M149 User Guide - Page 189
Check the error-correction settings, Fax Setup, All Faxes, Error Correction, Setup, Service
 |
View all HP LaserJet Pro MFP M148-M149 manuals
Add to My Manuals
Save this manual to your list of manuals |
Page 189 highlights
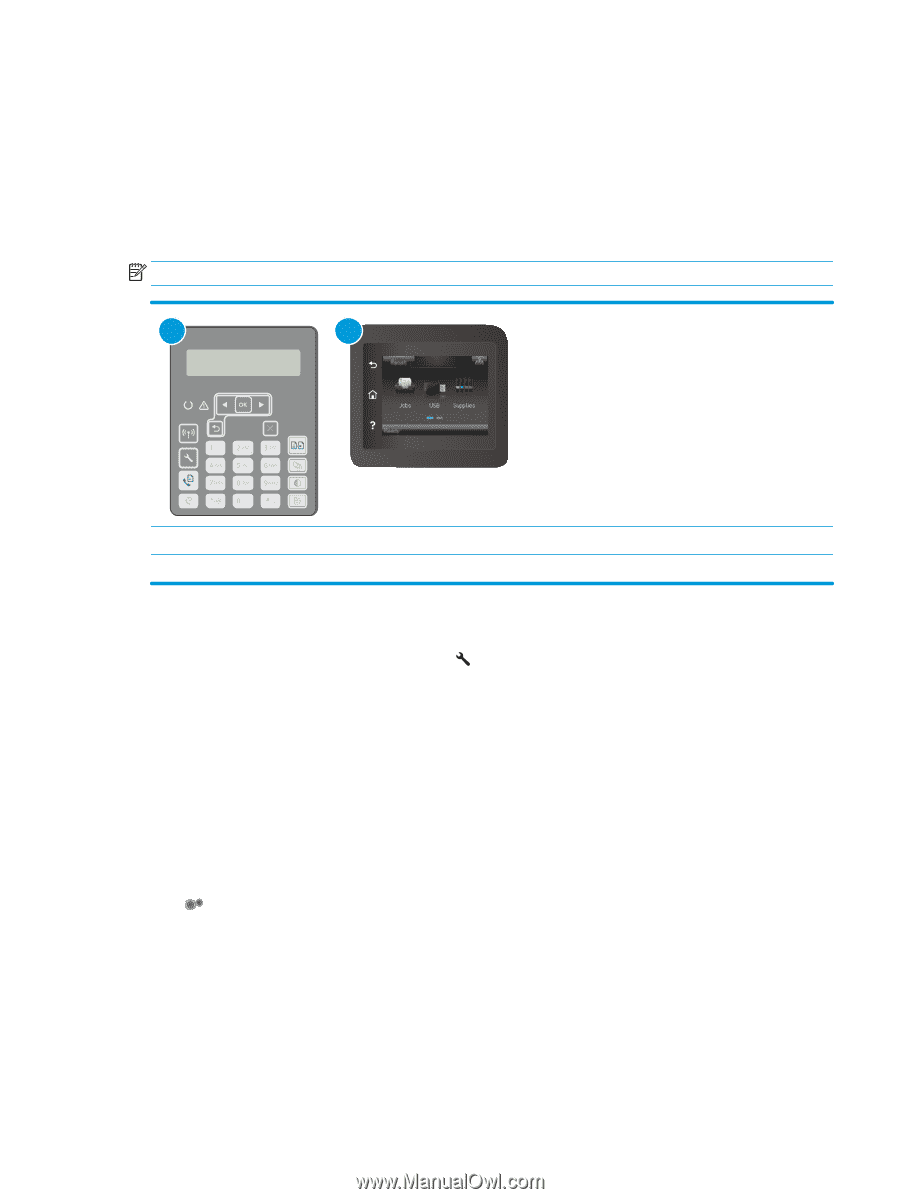
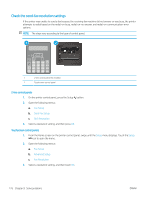
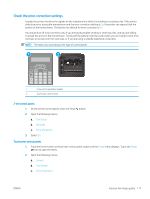
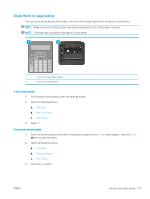
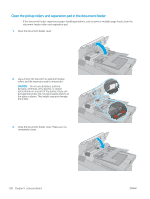
Check the error-correction settings Usually, the printer monitors the signals on the telephone line while it is sending or receiving a fax. If the printer detects an error during the transmission and the error-correction setting is On, the printer can request that the portion of the fax be resent. The factory-set default for error correction is On. You should turn off error correction only if you are having trouble sending or receiving a fax, and you are willing to accept the errors in the transmission. Turning off the setting might be useful when you are trying to send a fax overseas or receive one from overseas, or if you are using a satellite telephone connection. NOTE: The steps vary according to the type of control panel. 1 2 1 2-line control panel (fax models) 2 Touchscreen control panel 2-line control panels 1. On the printer control panel, press the Setup button. 2. Open the following menus: a. Fax Setup b. All Faxes c. Error Correction 3. Select On. Touchscreen control panels 1. From the Home screen on the printer control panel, swipe until the Setup menu displays. Touch the Setup icon to open the menu. 2. Open the following menus: a. Service b. Fax Service c. Error Correction ENWW Improve fax image quality 177
-
 1
1 -
2
-
3
-
4
-
5
-
6
-
7
-
8
-
9
-
10
-
11
-
12
-
13
-
14
-
15
-
16
-
17
-
18
-
19
-
20
-
21
-
22
-
23
-
24
-
25
-
26
-
27
-
28
-
29
-
30
-
31
-
32
-
33
-
34
-
35
-
36
-
37
-
38
-
39
-
40
-
41
-
42
-
43
-
44
-
45
-
46
-
47
-
48
-
49
-
50
-
51
-
52
-
53
-
54
-
55
-
56
-
57
-
58
-
59
-
60
-
61
-
62
-
63
-
64
-
65
-
66
-
67
-
68
-
69
-
70
-
71
-
72
-
73
-
74
-
75
-
76
-
77
-
78
-
79
-
80
-
81
-
82
-
83
-
84
-
85
-
86
-
87
-
88
-
89
-
90
-
91
-
92
-
93
-
94
-
95
-
96
-
97
-
98
-
99
-
100
-
101
-
102
-
103
-
104
-
105
-
106
-
107
-
108
-
109
-
110
-
111
-
112
-
113
-
114
-
115
-
116
-
117
-
118
-
119
-
120
-
121
-
122
-
123
-
124
-
125
-
126
-
127
-
128
-
129
-
130
-
131
-
132
-
133
-
134
-
135
-
136
-
137
-
138
-
139
-
140
-
141
-
142
-
143
-
144
-
145
-
146
-
147
-
148
-
149
-
150
-
151
-
152
-
153
-
154
-
155
-
156
-
157
-
158
-
159
-
160
-
161
-
162
-
163
-
164
-
165
-
166
-
167
-
168
-
169
-
170
-
171
-
172
-
173
-
174
-
175
-
176
-
177
-
178
-
179
-
180
-
181
-
182
-
183
-
 184
184 -
 185
185 -
 186
186 -
 187
187 -
 188
188 -
 189
189 -
 190
190 -
 191
191 -
 192
192 -
 193
193 -
 194
194 -
195
-
196
-
197
-
198
-
199
-
200
-
201
-
202
-
203
-
204
-
205
-
206
-
207
-
208
 |
 |