HP Photosmart 420 User Guide - Page 19
To use the GoGo Photo Studio menus, The GoGo Photo Studio Menu Tabs
 |
View all HP Photosmart 420 manuals
Add to My Manuals
Save this manual to your list of manuals |
Page 19 highlights
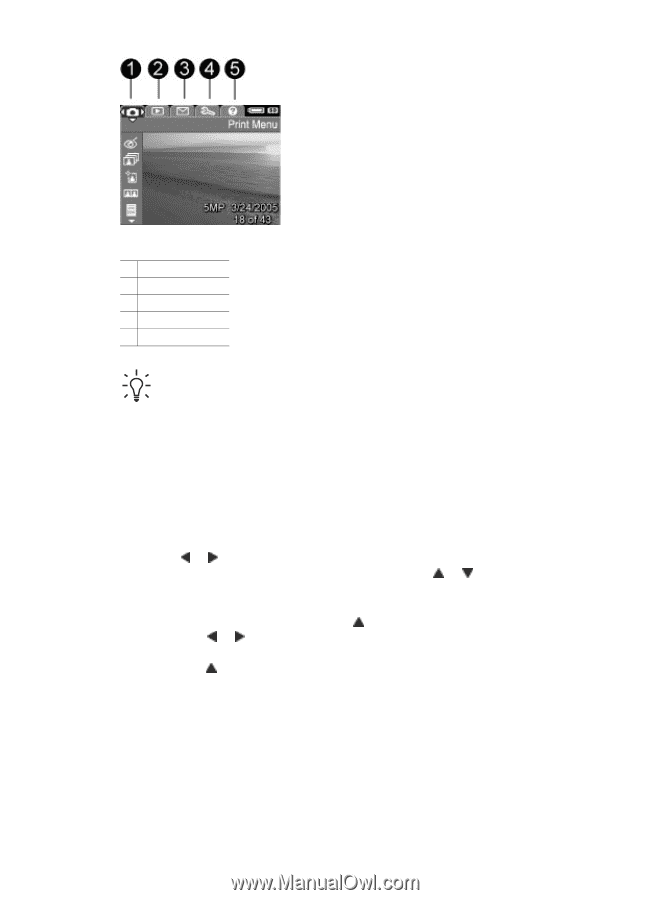
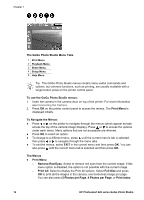
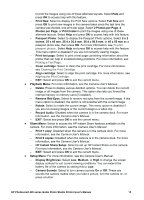
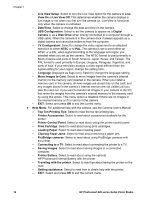
Chapter 1 The GoGo Photo Studio Menu Tabs 1 Print Menu 2 Playback Menu 3 Share Menu 4 Setup Menu 5 Help Menu Tip The GoGo Photo Studio menus contain many useful commands and options, but common functions, such as printing, are usually available with a single button press on the printer control panel. To use the GoGo Photo Studio menus: 1. Insert the camera in the camera dock on top of the printer. For more information see Connecting the Camera. 2. Press OK on the printer control panel to access the menus. The Print Menu is displayed initially. To Navigate the Menus: ● Press or on the printer to navigate through the menus (which appear as tabs across the top of the camera Image Display). Press or to access the options under each menu. Menu options that are not accessible are dimmed. ● Press OK to select an option. ● To change to a different menu, press until the current menu's tab is selected, then press or to navigate through the menu tabs. ● To exit the menus, select EXIT in the current menu and then press OK. You can also press until the current menu tab is selected and then press OK. The Menus ● Print Menu - Remove Red Eyes: Select to remove red eyes from the current image. If this menu option is disabled, the option is not possible with the current image. - Print All: Select to display the Print All options. Select Full Size and press OK to print all the images in the camera, one borderless image per page. You can also select 2 Photos per Page, 4 Photos per Page, or Print Index 14 HP Photosmart 420 series GoGo Photo Studio
-
 1
1 -
2
-
3
-
4
-
5
-
6
-
7
-
8
-
9
-
10
-
11
-
12
-
13
-
 14
14 -
 15
15 -
 16
16 -
 17
17 -
 18
18 -
 19
19 -
 20
20 -
 21
21 -
 22
22 -
 23
23 -
 24
24 -
25
-
26
-
27
-
28
-
29
-
30
-
31
-
32
-
33
-
34
-
35
-
36
-
37
-
38
-
39
-
40
-
41
-
42
-
43
-
44
-
45
-
46
-
47
-
48
-
49
-
50
-
51
-
52
-
53
-
54
-
55
-
56
-
57
-
58
-
59
-
60
-
61
 |
 |