HP Slate 8 Pro 7600us HP Slate8 Pro Maintenance and Service Guide - Page 39
from the display panel assembly. The power button
 |
View all HP Slate 8 Pro 7600us manuals
Add to My Manuals
Save this manual to your list of manuals |
Page 39 highlights
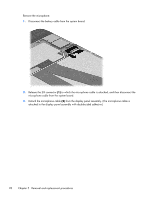
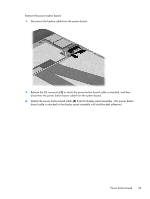
Remove the power button board: 1. Disconnect the battery cable from the system board. 2. Release the ZIF connector (1) to which the power button board cable is attached, and then disconnect the power button board cable from the system board. 3. Detach the power button board cable (2) from the display panel assembly. (The power button board cable is attached to the display panel assembly with double-sided adhesive.) Power button board 33
-
 1
1 -
2
-
3
-
4
-
5
-
6
-
7
-
8
-
9
-
10
-
11
-
12
-
13
-
14
-
15
-
16
-
17
-
18
-
19
-
20
-
21
-
22
-
23
-
24
-
25
-
26
-
27
-
28
-
29
-
30
-
31
-
32
-
33
-
 34
34 -
 35
35 -
 36
36 -
 37
37 -
 38
38 -
 39
39 -
 40
40 -
 41
41 -
 42
42 -
 43
43 -
 44
44 -
45
-
46
-
47
-
48
-
49
-
50
-
51
-
52
-
53
 |
 |
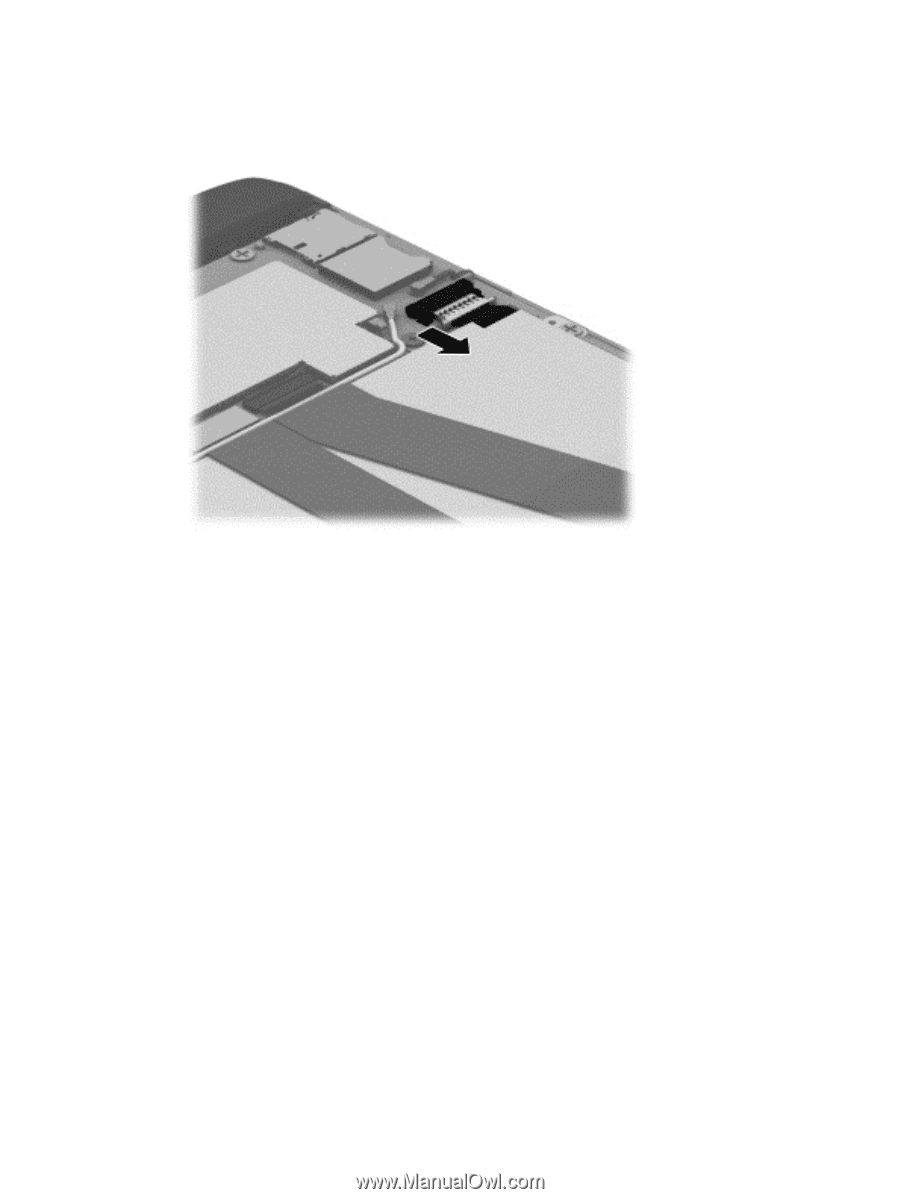
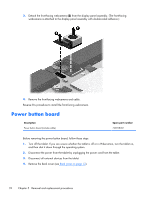
Remove the power button board:
1.
Disconnect the battery cable from the system board.
2.
Release the ZIF connector
(1)
to which the power button board cable is attached, and then
disconnect the power button board cable from the system board.
3.
Detach the power button board cable
(2)
from the display panel assembly. (The power button
board cable is attached to the display panel assembly with double-sided adhesive.)
Power button board
33