HP Sprocket 2-in-1 User Guide - Page 11
Edit a Photo, Share a Photo, Adjustments, Filters, Frames, Crop/Rotate, Brush, Focus, Brightness - won t connect
 |
View all HP Sprocket 2-in-1 manuals
Add to My Manuals
Save this manual to your list of manuals |
Page 11 highlights
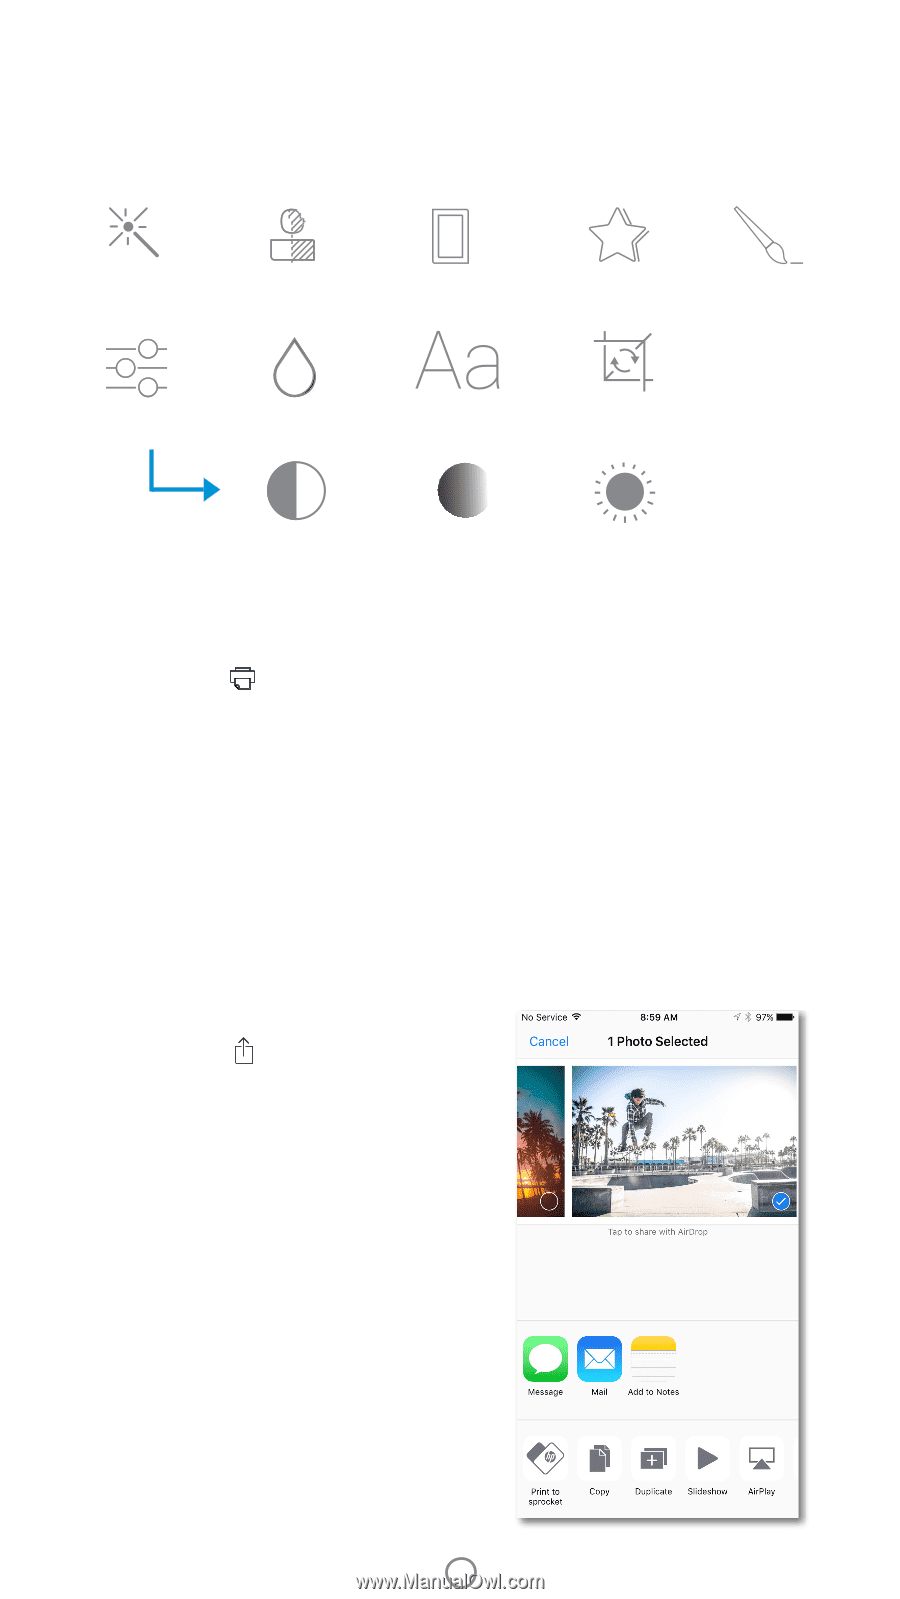
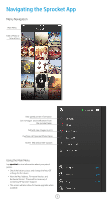
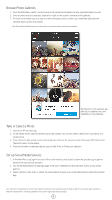
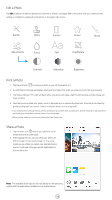
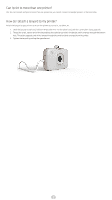
Edit a Photo Tap Edit to adjust the photo's appearance, add text or stickers, and apply filters. Be sure to save your creation when editing is complete by tapping the checkmark in the upper right corner. Autofix Filters Frames Stickers Brush Adjustments Focus Text Crop/Rotate Contrast Saturation Brightness Print a Photo 1. Tap the print icon to send your photo to your HP Sprocket 2-in-1. 2. A confirmation message will display, along with a progress bar, to let you know your print job is processing. 3. The Status Indicator LED Light will flash white, the device will make a light humming noise, and the image will begin printing. 4. Now that you've printed your photo, use it to decorate as is or remove the back liner from the photo sheet by gently peeling back on a corner. Stick it on a folder, binder, or in a scrapbook! • If you receive an error message that you are not connected to your printer when you press print, be sure the printer is still powered on and re-pair your mobile device with the printer to try printing again. • Before printing, make sure no items are blocking the Paper Output Slot. Share a Photo 1. Tap the share icon to post your photo to social media and send to other apps. 2. After tapping the icon, you can send your photo via SMS message, email, cloud storage, or to a social media source. When you select your desired sharing source, it will load in the appropriate application for that media outlet. Note: The available Share options will vary based on the operating system and the applications installed on the mobile device. 10
-
 1
1 -
2
-
3
-
4
-
5
-
 6
6 -
 7
7 -
 8
8 -
 9
9 -
 10
10 -
 11
11 -
 12
12 -
 13
13 -
 14
14 -
 15
15 -
 16
16
 |
 |