Insignia NS-LCD19W-09 User Manual (English) - Page 13
Using the on-screen menus - 19
 |
View all Insignia NS-LCD19W-09 manuals
Add to My Manuals
Save this manual to your list of manuals |
Page 13 highlights
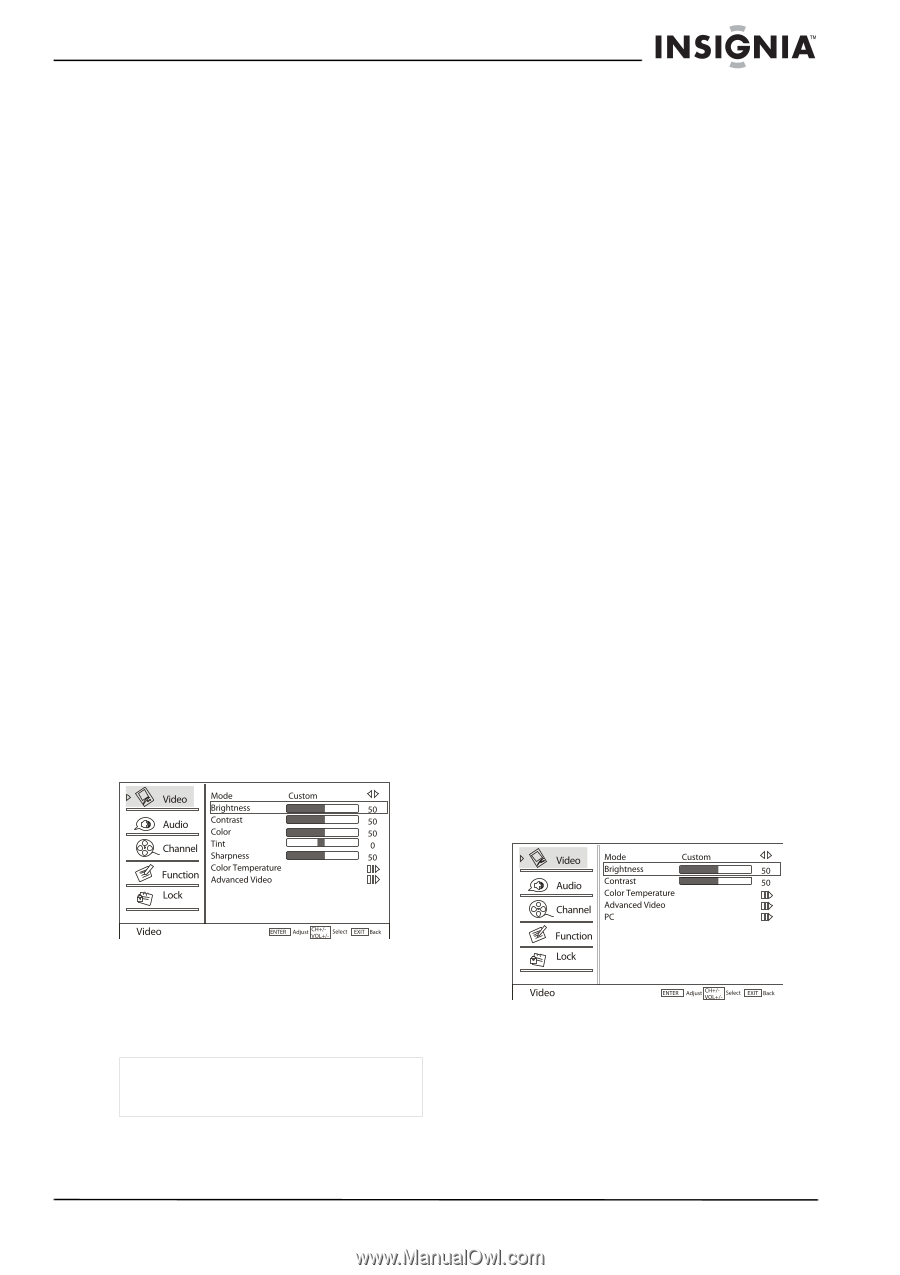
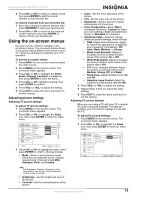
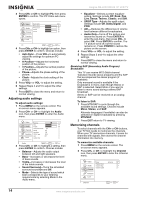
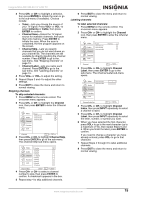
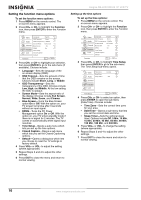
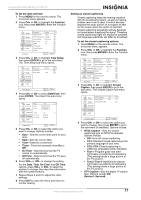
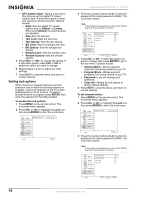
Insignia NS-LCD19W-09 19" LCD TV 2 Press CH+ or CH- to select to a blank record, then press ENTER to add the current channel to your favorites list. To remove channels from your favorites list: 1 Go to the channel you want to remove, then press FAVORITE to open your favorites list. 2 Press CH+ or CH- to select to the record of current channel, then press ENTER to remove it from your favorites list. Using the on-screen menus Use your remote control to navigate in the on-screen menus. The on-screen menus shown in this guide may be different from those on your TV. These are examples to illustrate your TV's operation. To use the on-screen menus: 1 Press INPUT on the remote control to select the video source. 2 Press MENU on the remote control. The on-screen menu appears. 3 Press CH+ or CH- to highlight the Video, Audio, Channel, Function, or Lock icon, then press ENTER to enter the menu. 4 Press CH+ or CH- highlight a setting, then press ENTER to confirm. 5 Press VOL+ or VOL- to adjust the setting. 6 Press EXIT to close the menu and return to normal viewing. Adjusting picture settings Adjusting TV picture settings To adjust TV picture settings: 1 Press MENU on the remote control. The on-screen menu appears. 2 Press CH+ or CH- to highlight the Video icon, then press ENTER to enter the Video menu. • Color-Set the color saturation of the picture. • Tint-Set the color tone of the picture. • Sharpness-Set the amount of detail enhancement of the picture. • Color Temperature-Select Warm (increased red tones), Custom (to make your own settings), Cool (increased blue tones), or Standard for a balance. • Advanced Video-Select to change advanced picture settings, which include: • DNR-Digital Noise Reduction. Adjust to reduce the appearance of digitizing error caused by compression: Off, Auto, Weak, Medium, or Strong. • Black Level Extender-Adjust to increase the level of detail in black areas of the picture: On or Off. • White Peak Limiter-Adjust to increase the level of detail in white areas of the picture: On or Off. • CTI-Color Transient Intensity. Adjust the picture to eliminate color errors: Medium, Strong, Off, and Weak. • Flesh Tone-Adjust the flesh colors: On and Off. • Adaptive Luma Control-Adjust the luminance of the picture: On and Off. 4 Press VOL+ or VOL- to adjust the setting. 5 Repeat Steps 3 and 4 to adjust the other settings. 6 Press EXIT to close the menu and return to normal viewing. Adjusting PC picture settings When you are using a PC with your TV, a special PC option becomes available. This lets you optimize your TV's picture settings for use with the PC. To adjust PC picture settings: 1 Press MENU on the remote control. The on-screen menu appears. 2 Press CH+ or CH- to highlight the Video icon, then press ENTER to enter the Video menu. 3 Press CH+ or CH- to highlight an option, then press ENTER to confirm. Choices include: • Mode-Select a preset picture mode which best corresponds to your viewing requirements. Choices include Mild, Standard, Vivid, and Custom. Note The Brightness, Contrast, Sharpness, Color Temperature, and Tint can only be adjusted if Custom mode is selected. • Brightness-Set the brightness level of the picture. • Contrast-Set the contrast balance of the picture. www.insignia-products.com 13
-
 1
1 -
2
-
3
-
4
-
5
-
6
-
7
-
 8
8 -
 9
9 -
 10
10 -
 11
11 -
 12
12 -
 13
13 -
 14
14 -
 15
15 -
 16
16 -
 17
17 -
 18
18 -
19
-
20
-
21
-
22
-
23
-
24
-
25
-
26
-
27
-
28
-
29
-
30
-
31
-
32
-
33
-
34
-
35
-
36
-
37
-
38
-
39
-
40
-
41
-
42
-
43
-
44
-
45
-
46
-
47
-
48
 |
 |