Insignia NS-LCD19W-09 User Manual (English) - Page 16
Setting the function menu options
 |
View all Insignia NS-LCD19W-09 manuals
Add to My Manuals
Save this manual to your list of manuals |
Page 16 highlights
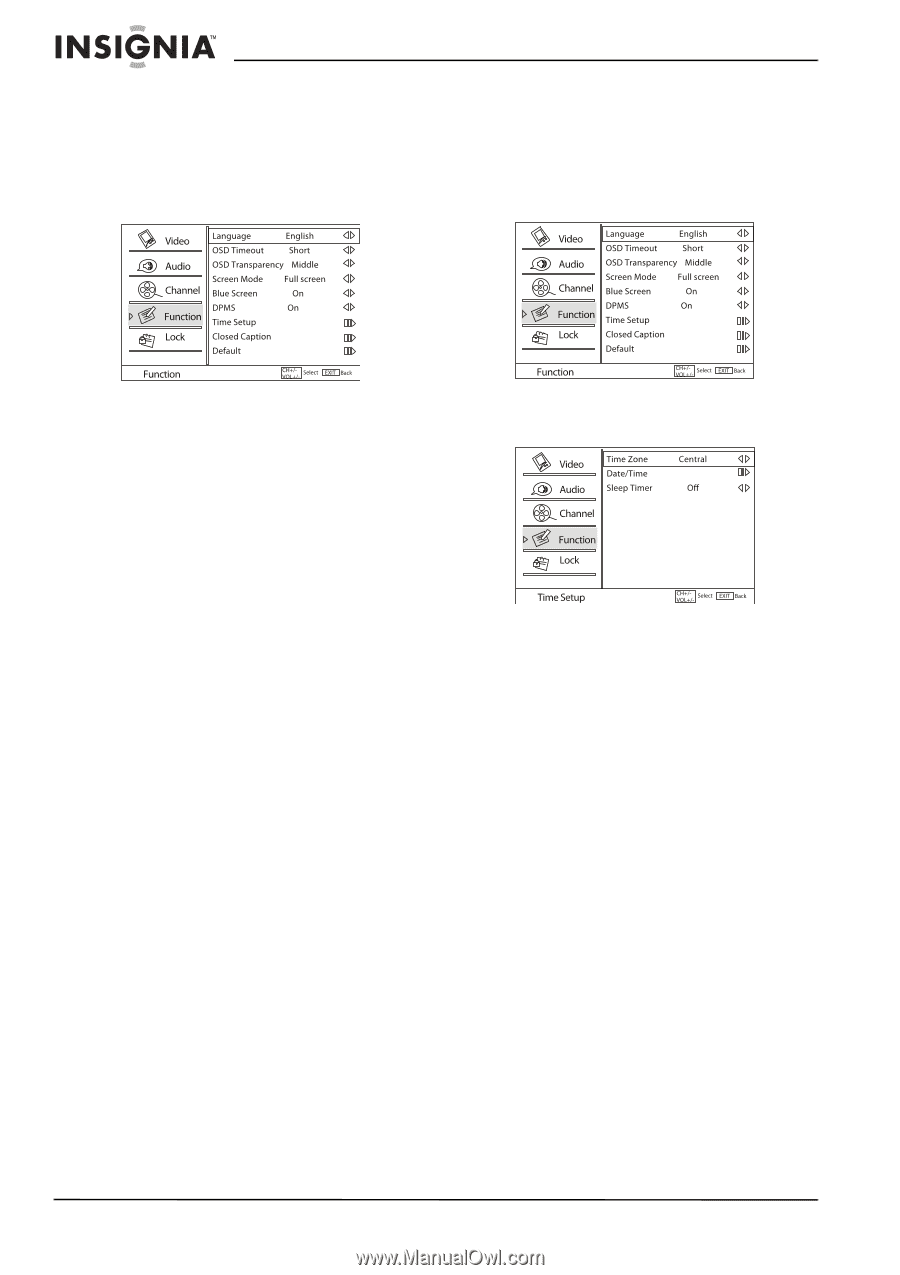
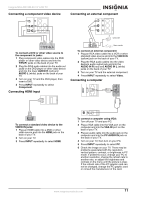
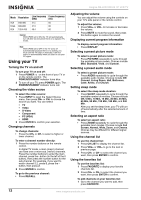
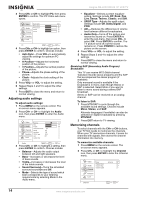
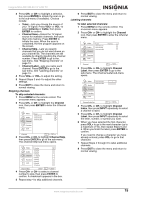
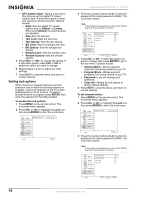
Insignia NS-LCD19W-09 19" LCD TV Setting the function menu options To set the function menu options: 1 Press MENU on the remote control. The on-screen menu appears. 2 Press CH+ or CH- to highlight the Function icon, then press ENTER to enter the Function menu. Setting up the time options To set up the time options: 1 Press MENU on the remote control. The on-screen menu appears. 2 Press CH+ or CH- to highlight the Function icon, then press ENTER to enter the Function menu. 3 Press CH+ or CH- to highlight your selection, then press ENTER to go to the sub-menu (if available). Choices include: • Language-Sets the language of the on-screen display (OSD). • OSD Timeout-Sets the amount of time that the OSD remains on the screen. Choices include Short, Long, or Middle. • OSD Transparency-Sets the transparency of the OSD. Choices include Low, High, and Middle. At the low setting the OSD is opaque. • Screen Mode-Sets the aspect ratio of the display. Choices include Full Screen, Normal, Wide, Zoom, and Cinema. • Blue Screen-Turns the Blue Screen option On or Off. With the option on, your TV screen turns blue after 3 seconds without an input signal. • DPMS-Turns the PC Power Management option On or Off. With the option on, your TV enters standby mode if there is no signal for 2 minutes. The TV comes on automatically when signal input resumes. • Time Setup-Opens a sub-menu which lets you set up the time options. • Closed Caption-Opens a sub-menu which lets you set the Closed Captioning options. • Default-Opens a dialog box which lets you choose to reset the TV settings to factory default. 4 Press VOL+ or VOL- to adjust the setting (where appropriate). 5 Repeat Steps 3 and 4 to adjust the other settings. 6 Press EXIT to close the menu and return to normal viewing. 3 Press CH+ or CH- to highlight Time Setup, then press ENTER to go to the sub-menu. The Time Setup sub-menu opens. 4 Press CH+ or CH- to select an option, then press ENTER to open the sub-menu (Date/Time). Choices include: • Time Zone-Sets the correct time zone for your area. • Date/Time-Opens a sub-menu that lets you set the correct date and time. • Sleep Timer-Sets the optional sleep timer. Options include Off, 5 Min, 10 Min, 15 Min, 30 Min, 45 Min, 60 Min, 90 Min, 120 Min, 180 Min, and 240 Min. 5 Press VOL+ or VOL- to change the setting (where appropriate). 6 Repeat Steps 3 and 4 to adjust the other settings. 7 Press EXIT to close the menu and return to normal viewing. 16 www.insignia-products.com
-
 1
1 -
2
-
3
-
4
-
5
-
6
-
7
-
8
-
9
-
10
-
 11
11 -
 12
12 -
 13
13 -
 14
14 -
 15
15 -
 16
16 -
 17
17 -
 18
18 -
 19
19 -
 20
20 -
 21
21 -
22
-
23
-
24
-
25
-
26
-
27
-
28
-
29
-
30
-
31
-
32
-
33
-
34
-
35
-
36
-
37
-
38
-
39
-
40
-
41
-
42
-
43
-
44
-
45
-
46
-
47
-
48
 |
 |