Kenmore 4500 Use and Care Guide - Page 9
Before Setting, Cooktop - sears
 |
View all Kenmore 4500 manuals
Add to My Manuals
Save this manual to your list of manuals |
Page 9 highlights
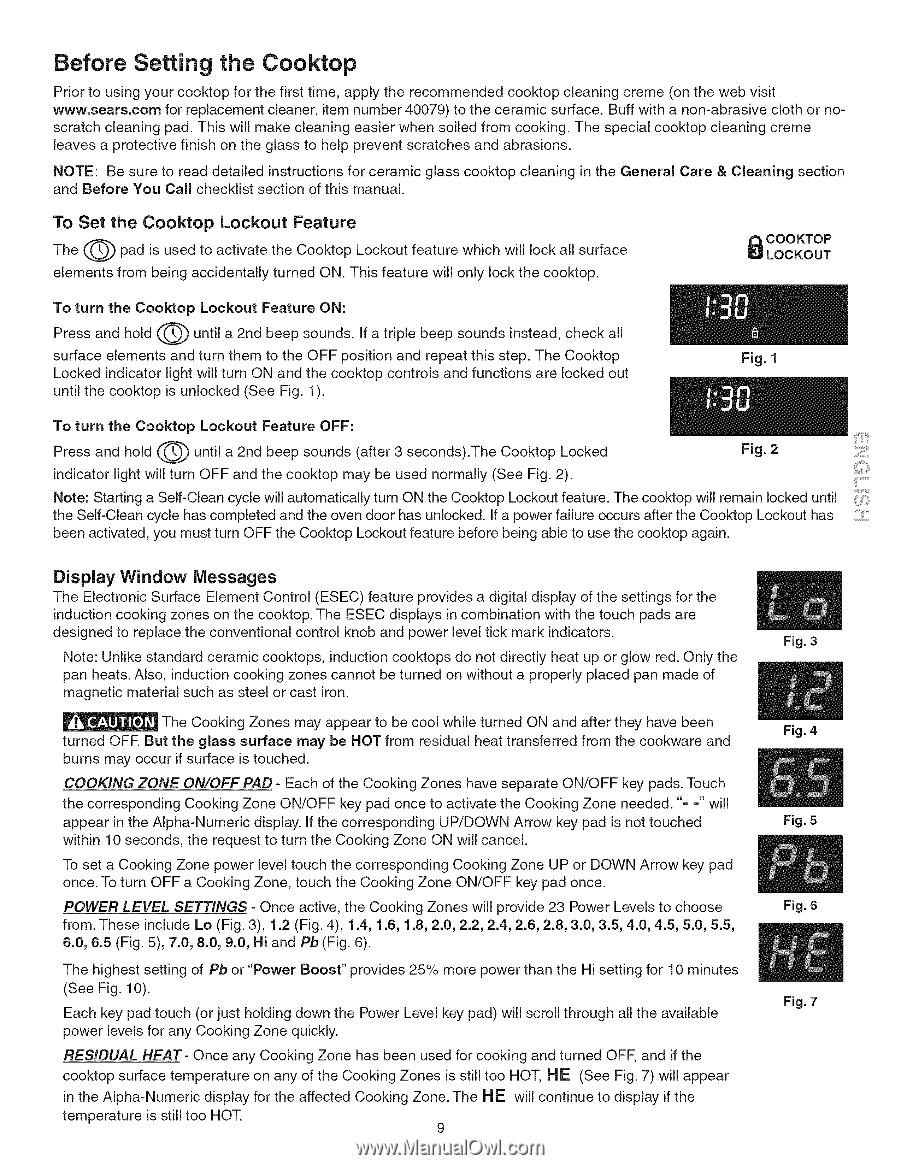
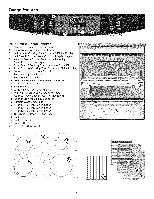
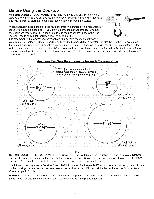
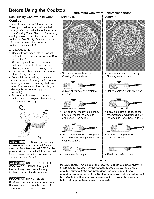
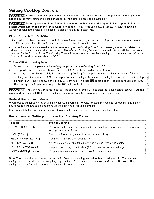
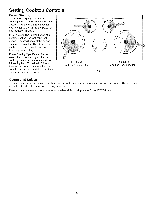
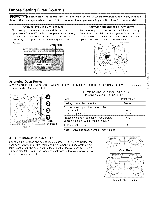
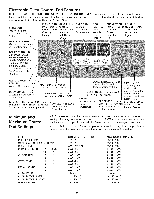
Before Setting the Cooktop Prior to using your cooktop for the first time, apply the recommended cooktop cleaning creme (on the web visit www.sears.com for replacement cleaner, item number 40079) to the ceramic surface. Buff with a non-abrasive cloth or noscratch cleaning pad. This will make cleaning easier when soiled from cooking. The special cooktop cleaning creme leaves a protective finish on the glass to help prevent scratches and abrasions. NOTE: Be sure to read detailed instructions for ceramic glass cooktop cleaning in the General Care & Cleaning section and Before You Call checklist section of this manual. To Set the Cooktop Lockout Feature The _(_ pad is used to activate the Cooktop Lockout feature which will lock all surface elements from being accidentally turned ON. This feature will only lock the cooktop. _ LOOCOKKOTOUTP To turn the Cooktop Lockout Feature ON: Press and hold _ until a 2nd beep sounds. If a triple beep sounds instead, check all surface elements and turn them to the OFF position and repeat this step. The Cooktop Locked indicator light will turn ON and the cooktop controls and functions are locked out until the cooktop is unlocked (See Fig. 1). Fig. 1 To turn the Cooktop Lockout Feature OFF: Press and hold _(_ until a 2nd beep sounds (after 3 seconds).The Cooktop Locked Fig. 2 indicator light will turn OFF and the cooktop may be used normally (See Fig. 2). Note: Starting a Self-Clean cycle will automatically turn ON the Cooktop Lockout feature. The cooktop will remain locked until the Self-Clean cycle has completed and the oven door has unlocked. If a power failure occurs after the Cooktop Lockout has been activated, you must turn OFF the Cooktop Lockout feature before being able to use the cooktop again. _..ii.i.l........ Display Window Messages The Electronic Surface Element Control (ESEC) feature provides a digital display of the settings for the induction cooking zones on the cooktop. The ESEC displays in combination with the touch pads are designed to replace the conventional control knob and power level tick mark indicators. Note: Unlike standard ceramic cooktops, induction cooktops do not directly heat up or glow red. Only the pan heats. Also, induction cooking zones cannot be turned on without a properly placed pan made of magnetic material such as steel or cast iron. The Cooking Zones may appear to be cool while turned ON and after they have been turned OFR But the glass surface may be HOT from residual heat transferred from the cookware and burns may occur if surface is touched. COOKING ZONE ON/OFF PAD - Each of the Cooking Zones have separate ON/OFF key pads. Touch the corresponding Cooking Zone ON/OFF key pad once to activate the Cooking Zone needed. % =" will appear in the Alpha-Numeric display. If the corresponding UP/DOWN Arrow key pad is not touched within 10 seconds, the request to turn the Cooking Zone ON will cancel. To set a Cooking Zone power level touch the corresponding Cooking Zone UP or DOWN Arrow key pad once. To turn OFF a Cooking Zone, touch the Cooking Zone ON/OFF key pad once. POWER LEVEL SETTINGS - Once active, the Cooking Zones will provide 23 Power Levels to choose from. These include Lo (Fig. 3), 1.2 (Fig. 4), 1.4, 1.6, 1.8, 2.0, 2.2, 2.4, 2.6, 2.8, 3.0, 3.5, 4.0, 4.5, 5.0, 5.5, 6.0, 6.5 (Fig. 5), 7.0, 8.0, 9.0, Hi and Pb (Fig. 6). The highest setting of Pb or "Power Boost" provides 25% more power than the Hi setting for 10 minutes (See Fig. 10). Each key pad touch (or just holding down the Power Level key pad) will scroll through all the available power levels for any Cooking Zone quickly. RESIDUAL HEAT- Once any Cooking Zone has been used for cooking and turned OFF, and if the cooktop surface temperature on any of the Cooking Zones is still too HOT, HE (See Fig. 7) will appear in the Alpha-Numeric display for the affected Cooking Zone. The HE will continue to display if the temperature is still too HOT. 9 Fig. 3 Fig. 4 Fig. 5 Fig. 6 Fig. 7
-
 1
1 -
2
-
3
-
 4
4 -
 5
5 -
 6
6 -
 7
7 -
 8
8 -
 9
9 -
 10
10 -
 11
11 -
 12
12 -
 13
13 -
 14
14 -
15
-
16
-
17
-
18
-
19
-
20
-
21
-
22
-
23
-
24
-
25
-
26
-
27
-
28
-
29
-
30
-
31
-
32
-
33
-
34
-
35
-
36
-
37
-
38
-
39
-
40
-
41
-
42
-
43
-
44
-
45
-
46
-
47
-
48
 |
 |