Kenmore 7952 Installation Instructions - Page 7
Kenmore 7952 - Pro 30 in. Dual Fuel Range Manual
 |
View all Kenmore 7952 manuals
Add to My Manuals
Save this manual to your list of manuals |
Page 7 highlights
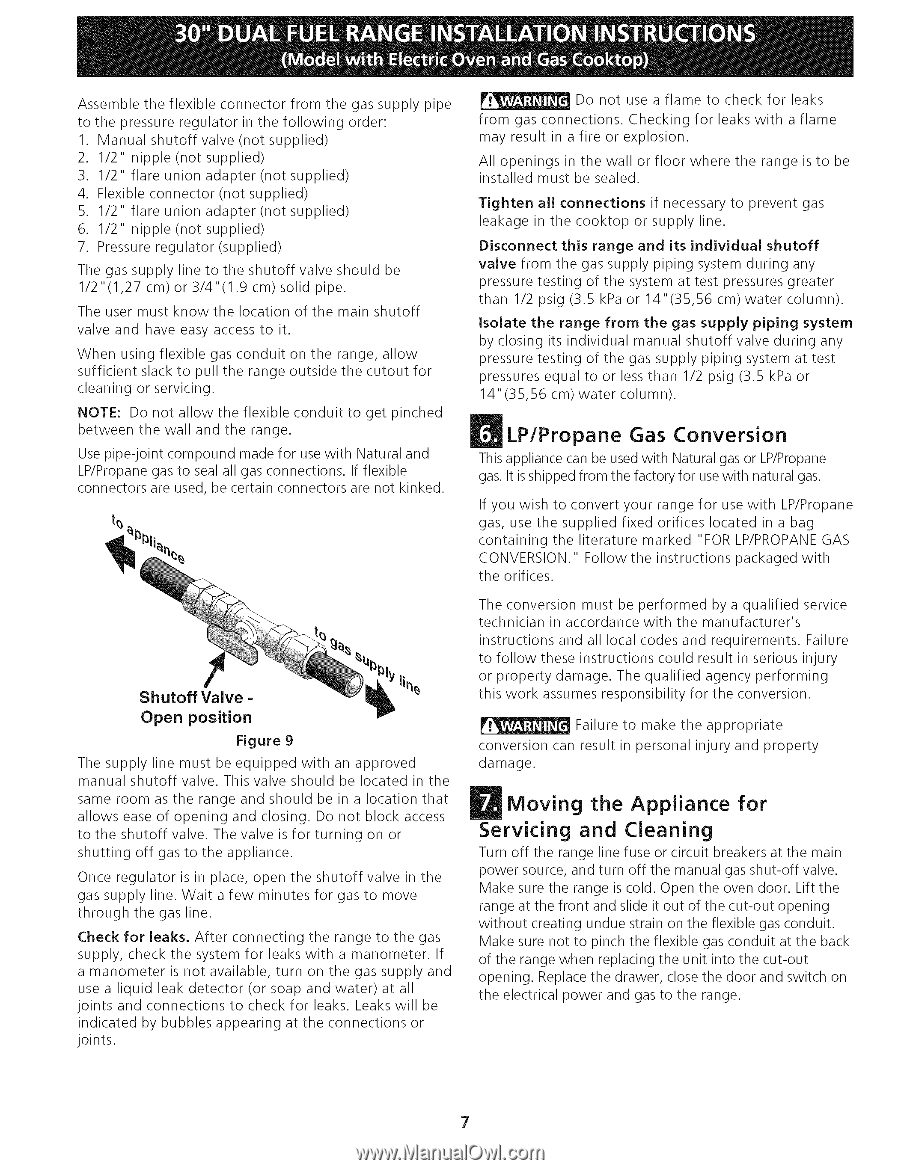
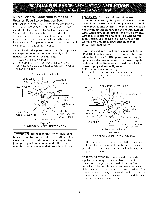
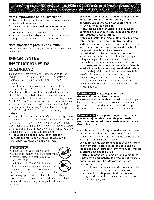
Donot usea flameto check for leaks Assemble theflexible connector fromthe gassupply pipe fromgasconnections. Checking f or leaks witha flame tothe pressure regulator inthefollowingorder: mayresult i n afire or explosion. 1. Manual shutoffvalve (notsupplied) 2. I/2" nipple(notsupplied) Allopenings inthe wallorfloorwhere the range isto be 3. 1/2"flareunionadapter (notsupplied) installed mustbesealed. 4. Flexible connector (notsupplied) Tightenall connectionsif necessary to prevent gas 5. I/2" flareunionadapter (notsupplied) leakage in thecooktopor supply line. 6. 1/2"nipple(notsupplied) Disconnect this range and its individual shutoff 7. Pressure regulator (supplied) valve from the gas supply piping system during any Thegassupply lineto theshutoffvalve shouldbe pressure testing of the system at test pressures greater 1/2"(1,27 cm)or 3/4"(1.9cm)solidpipe. than 1/2 psig (3.5 kPa or 14"(35,56 cm) water column). Theusermustknowthe location of themainshutoff isolate the range from the gas supply piping system valve andhave easyaccess to it. by closing its individual manual shutoff valve during any Whenusing flexible gasconduit onthe range, allow pressure testing of the gas supply piping system at test sufficient slack to pulltherange outside the cutoutfor pressures equal to or less than I/2 psig (3.5 kPa or cleaning or servicing. 14"(35,56 cm) water column). NOTE:Donotallowtheflexibleconduit to getpinched between the wallandthe range. LP/Propane Gas Conversion Use pipe-joint compound made foruse withNatural and This appliance can be used with Natural gas or LP/Propane LP/Propane gasto seal allgasconnections. If flexible gas. It isshipped from the factory for use with natural gas. connectors areused, becertain connectors arenotkinked. If you wish to convert your range for use with LP/Propane gas, use the supplied fixed orifices located in a bag containing the literature marked "FOR LP/PROPANEGAS CONVERSION." Follow the instructions packaged with the orifices. The conversion must be performed by a qualified service technician in accordance with the manufacturer's instructions and all local codes and requirements. Failure to follow these instructions could result in serious injury or property damage. The qualified agency performing this work assumes responsibility for the conversion. Failure to make the appropriate Figure 9 The supply line must be equipped with an approved manual shutoff valve. This valve should be located in the same room as the range and should be in a location that allows ease of opening and closing. Do not block access to the shutoff valve. The valve is for turning on or shutting off gas to the appliance. Once regulator is in place, open the shutoff valve in the gas supply line. Wait a few minutes for gas to move through the gas line. Check for leaks. After connecting the range to the gas supply, check the system for leaks with a manometer. If a manometer is not available, turn on the gas supply and use a liquid leak detector (or soap and water) at all joints and connections to check for leaks. Leaks will be indicated by bubbles appearing at the connections or joints. conversion can result in personal injury and property damage. Shutoff Open Valve position = Moving the Appliance Servicing and Cleaning for Turn off the range line fuse or circuit breakers at the main power source, and turn off the manual gas shut-off valve. Make sure the range is cold. Open the oven door. Lift the range at the front and slide it out of the cut-out opening without creating undue strain on the flexible gas conduit. Make sure not to pinch the flexible gas conduit at the back of the range when replacing the unit into the cut-out opening. Replace the drawer, close the door and switch on the electrical power and gas to the range.
-
 1
1 -
 2
2 -
 3
3 -
 4
4 -
 5
5 -
 6
6 -
 7
7 -
 8
8 -
 9
9 -
 10
10 -
 11
11 -
 12
12 -
13
-
14
-
15
-
16
-
17
-
18
-
19
-
20
-
21
-
22
-
23
-
24
 |
 |