Kenmore 7952 Installation Instructions - Page 8
Kenmore 7952 - Pro 30 in. Dual Fuel Range Manual
 |
View all Kenmore 7952 manuals
Add to My Manuals
Save this manual to your list of manuals |
Page 8 highlights
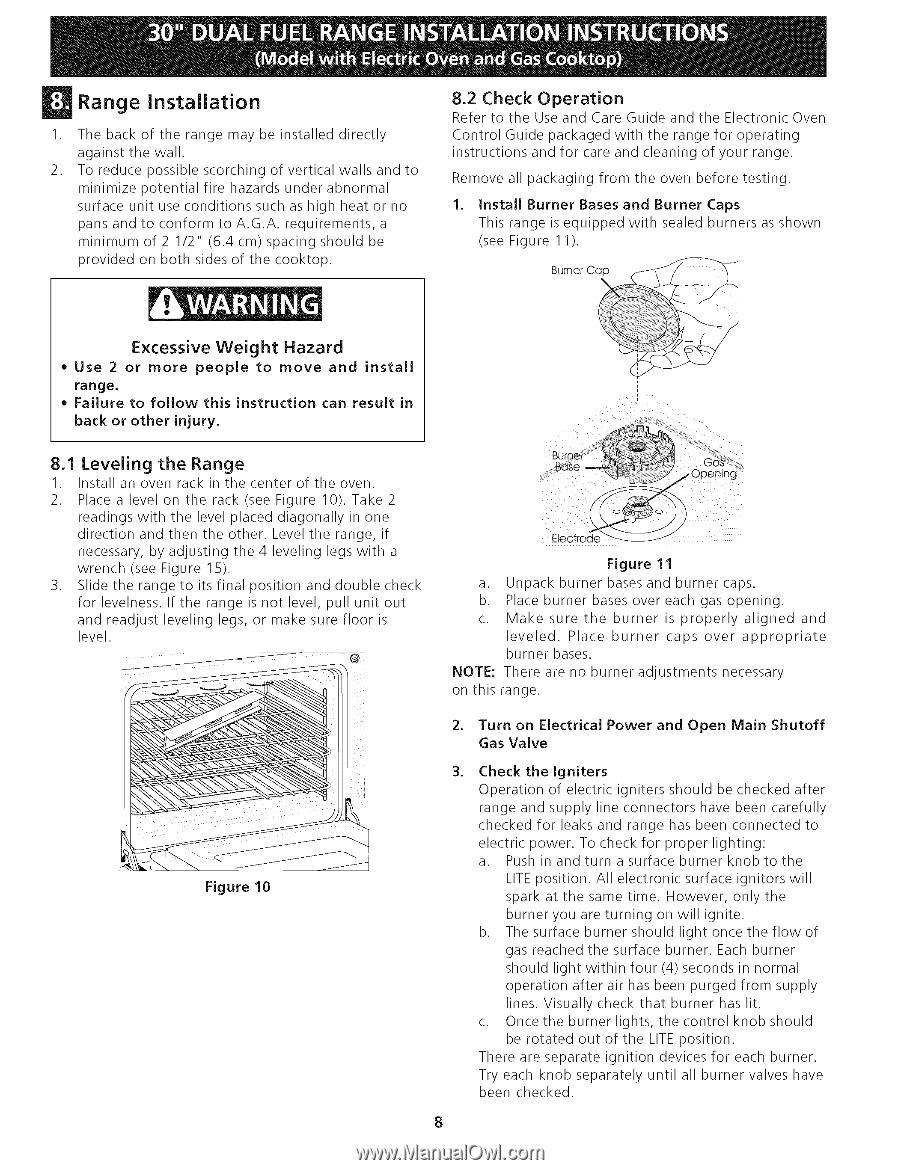
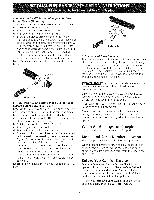
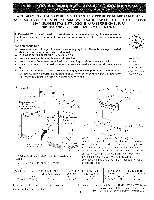
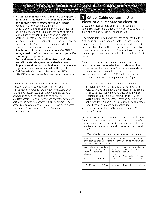
Range Installation The back of the range may be installed directly against the wall. To reduce possible scorching of vertical walls and to minimize potential fire hazards under abnormal surface unit use conditions such as high heat or no pans and to conform to A.G.A. requirements, a minimum of 2 I/2" (6.4 cm) spacing should be provided on both sides of the cooktop. 8,2 Check Operation Refer to the Use and Care Guide and the Electronic Oven Control Guide packaged with the range for operating instructions and for care and cleaning of your range. Remove all packaging from the oven before testing. I. Install Burner Bases and Burner Caps This range is equipped with sealed burners as shown (see Figure 1 I). Excessive Weight Hazard • Use 2 or more people to move and install range. • Failure to follow this instruction can result in back or other injury. 8.1 Leveling 1. 2. the Range 3. Install an oven rack in the center of the oven. Place a level on the rack (see Figure 10). Take 2 readings with the level placed diagonally in one direction and then the other. Level the range, if necessary, by adjusting the 4 leveling legs with a wrench (see Figure 15). Slide the range to its final position and double check for levelness. If the range is not level, pull unit out and readjust leveling legs, or make sure floor is level. Figure 11 Unpack burner bases and burner caps. Place burner bases over each gas opening. Make sure the burner is properly aligned and leveled. Place burner caps over appropriate burner bases. NOTE: There are no burner adjustments necessary on this range. a. b. c. 2. Turn on Electrical Power and Open Main Shutoff Gas Valve Check the Igniters Operation of electric igniters should be checked after range and supply line connectors have been carefully checked for leaks and range has been connected to electric power. To check for proper lighting: a. Push in and turn a surface burner knob to the LITE position. All electronic surface ignitors will spark at the same time. However, only the burner you are turning on will ignite. b. The surface burner should light once the flow of gas reached the surface burner. Each burner should light within four (4) seconds in normal operation after air has been purged from supply lines. Visually check that burner has lit. c. Once the burner lights, the control knob should be rotated out of the LITE position. There are separate ignition devices for each burner. Try each knob separately until all burner valves have been checked. . Figure 10
-
 1
1 -
2
-
 3
3 -
 4
4 -
 5
5 -
 6
6 -
 7
7 -
 8
8 -
 9
9 -
 10
10 -
 11
11 -
 12
12 -
 13
13 -
14
-
15
-
16
-
17
-
18
-
19
-
20
-
21
-
22
-
23
-
24
 |
 |