Kyocera KX444 User Guide - Page 27
Saving a contact entry
 |
View all Kyocera KX444 manuals
Add to My Manuals
Save this manual to your list of manuals |
Page 27 highlights
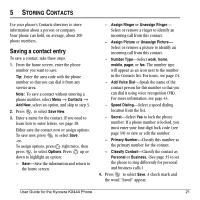
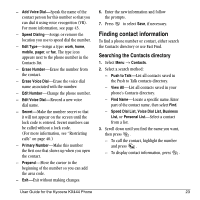
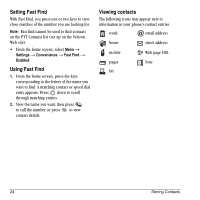
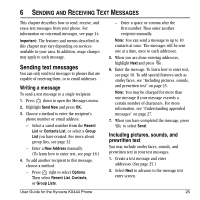
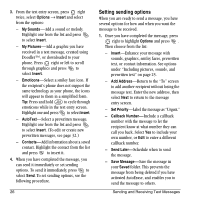
5 STORING CONTACTS Use your phone's Contacts directory to store information about a person or company. Your phone can hold, on average, about 200 phone numbers. Saving a contact entry To save a contact, take these steps. 1. From the home screen, enter the phone number you want to save. Tip: Enter the area code with the phone number so that you can dial it from any service area. Note: To save a contact without entering a phone number, select Menu → Contacts → Add New, select an option, and skip to step 3. 2. Press to select Save New. 3. Enter a name for the contact. If you need to learn how to enter letters, see page 18. Either save the contact now or assign options. To save now, press to select Save. -orTo assign options, press right twice, then press to select Options. Press up or down to highlight an option: - Save-Save the information and return to the home screen. - Assign Ringer or Unassign Ringer- Select or remove a ringer to identify an incoming call from this contact. - Assign Picture or Unassign Picture- Select or remove a picture to identify an incoming call from this contact. - Number Type-Select work, home, mobile, pager, or fax. The number type will appear as an icon next to the number in the Contacts list. For icons, see page 24. - Add Voice Dial-Speak the name of the contact person for this number so that you can dial it using voice recognition (VR). For more information, see page 43. - Speed Dialing-Select a speed dialing location from the list. - Secret-Select Yes to lock the phone number. If a phone number is locked, you must enter your four-digit lock code (see page 39) to view or edit the number. - Primary Number-Classify this number as the primary number for the contact. - Classify Contact-Classify the contact as Personal=or Business. (See page 35 to set the phone to ring differently for personal and business calls.) 4. Press to select Save. A check mark and the word "Saved" appear. User Guide for the Kyocera KX444 Phone 21
-
 1
1 -
2
-
3
-
4
-
5
-
6
-
7
-
8
-
9
-
10
-
11
-
12
-
13
-
14
-
15
-
16
-
17
-
18
-
19
-
20
-
21
-
 22
22 -
 23
23 -
 24
24 -
 25
25 -
 26
26 -
 27
27 -
 28
28 -
 29
29 -
 30
30 -
 31
31 -
 32
32 -
33
-
34
-
35
-
36
-
37
-
38
-
39
-
40
-
41
-
42
-
43
-
44
-
45
-
46
-
47
-
48
-
49
-
50
-
51
-
52
-
53
-
54
-
55
-
56
-
57
-
58
-
59
-
60
-
61
-
62
-
63
-
64
 |
 |
