Kyocera KX444 User Guide - Page 31
Sending text messages - manual
 |
View all Kyocera KX444 manuals
Add to My Manuals
Save this manual to your list of manuals |
Page 31 highlights
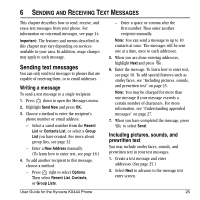
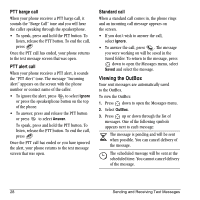
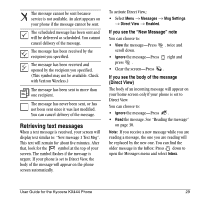
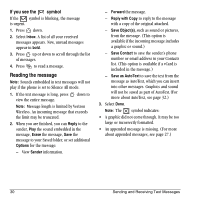
6 SENDING AND RECEIVING TEXT MESSAGES This chapter describes how to send, receive, and erase text messages from your phone. For information on voicemail messages, see page 14. Important: The features and menus described in this chapter may vary depending on services available in your area. In addition, usage charges may apply to each message. Sending text messages You can only send text messages to phones that are capable of receiving them, or to email addresses. Writing a message To send a text message to a single recipient: 1. Press down to open the Messages menu. 2. Highlight Send New and press OK. 3. Choose a method to enter the recipient's phone number or email address: - Select a saved number from the Recent List or Contacts List, or select a Group List you have created. For more about group lists, see page 32. - Enter a New Address manually. (To learn how to enter text, see page 18.) 4. To add another recipient to this message, choose a method: - Press right to select Options. Then select Recent List, Contacts, or Group Lists. User Guide for the Kyocera KX444 Phone - Enter a space or comma after the first number. Then enter another recipient manually. Note: You can send a message to up to 10 contacts at once. The messages will be sent one at a time, once to each addressee. 5. When you are done entering addresses, highlight Next=and press= . 6. Enter the message. To learn how to enter text, see page 18. To add special features such as smiley faces, see "Including pictures, sounds, and prewritten text" on page 25. Note: You may be charged for more than one message if your message exceeds a certain number of characters. For more information, see "Understanding appended messages" on page 27. 7. When you have completed the message, press to select Send. Including pictures, sounds, and prewritten text You may include smiley faces, sounds, and prewritten text in your text messages. 1. Create a text message and enter addresses.(See page 25.) 2. Select Next to advance to the message text entry screen. 25
-
 1
1 -
2
-
3
-
4
-
5
-
6
-
7
-
8
-
9
-
10
-
11
-
12
-
13
-
14
-
15
-
16
-
17
-
18
-
19
-
20
-
21
-
22
-
23
-
24
-
25
-
 26
26 -
 27
27 -
 28
28 -
 29
29 -
 30
30 -
 31
31 -
 32
32 -
 33
33 -
 34
34 -
 35
35 -
 36
36 -
37
-
38
-
39
-
40
-
41
-
42
-
43
-
44
-
45
-
46
-
47
-
48
-
49
-
50
-
51
-
52
-
53
-
54
-
55
-
56
-
57
-
58
-
59
-
60
-
61
-
62
-
63
-
64
 |
 |