Lenovo ThinkPad A21e TP A21e, A22e Hardware Maintenance Manual (June 2001) - Page 75
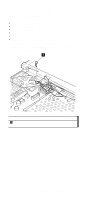
After the fastening of two screws of bottom side, push, and the PC Card slot.
 |
View all Lenovo ThinkPad A21e manuals
Add to My Manuals
Save this manual to your list of manuals |
Page 75 highlights
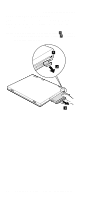
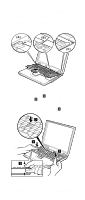
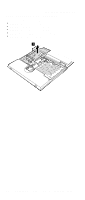
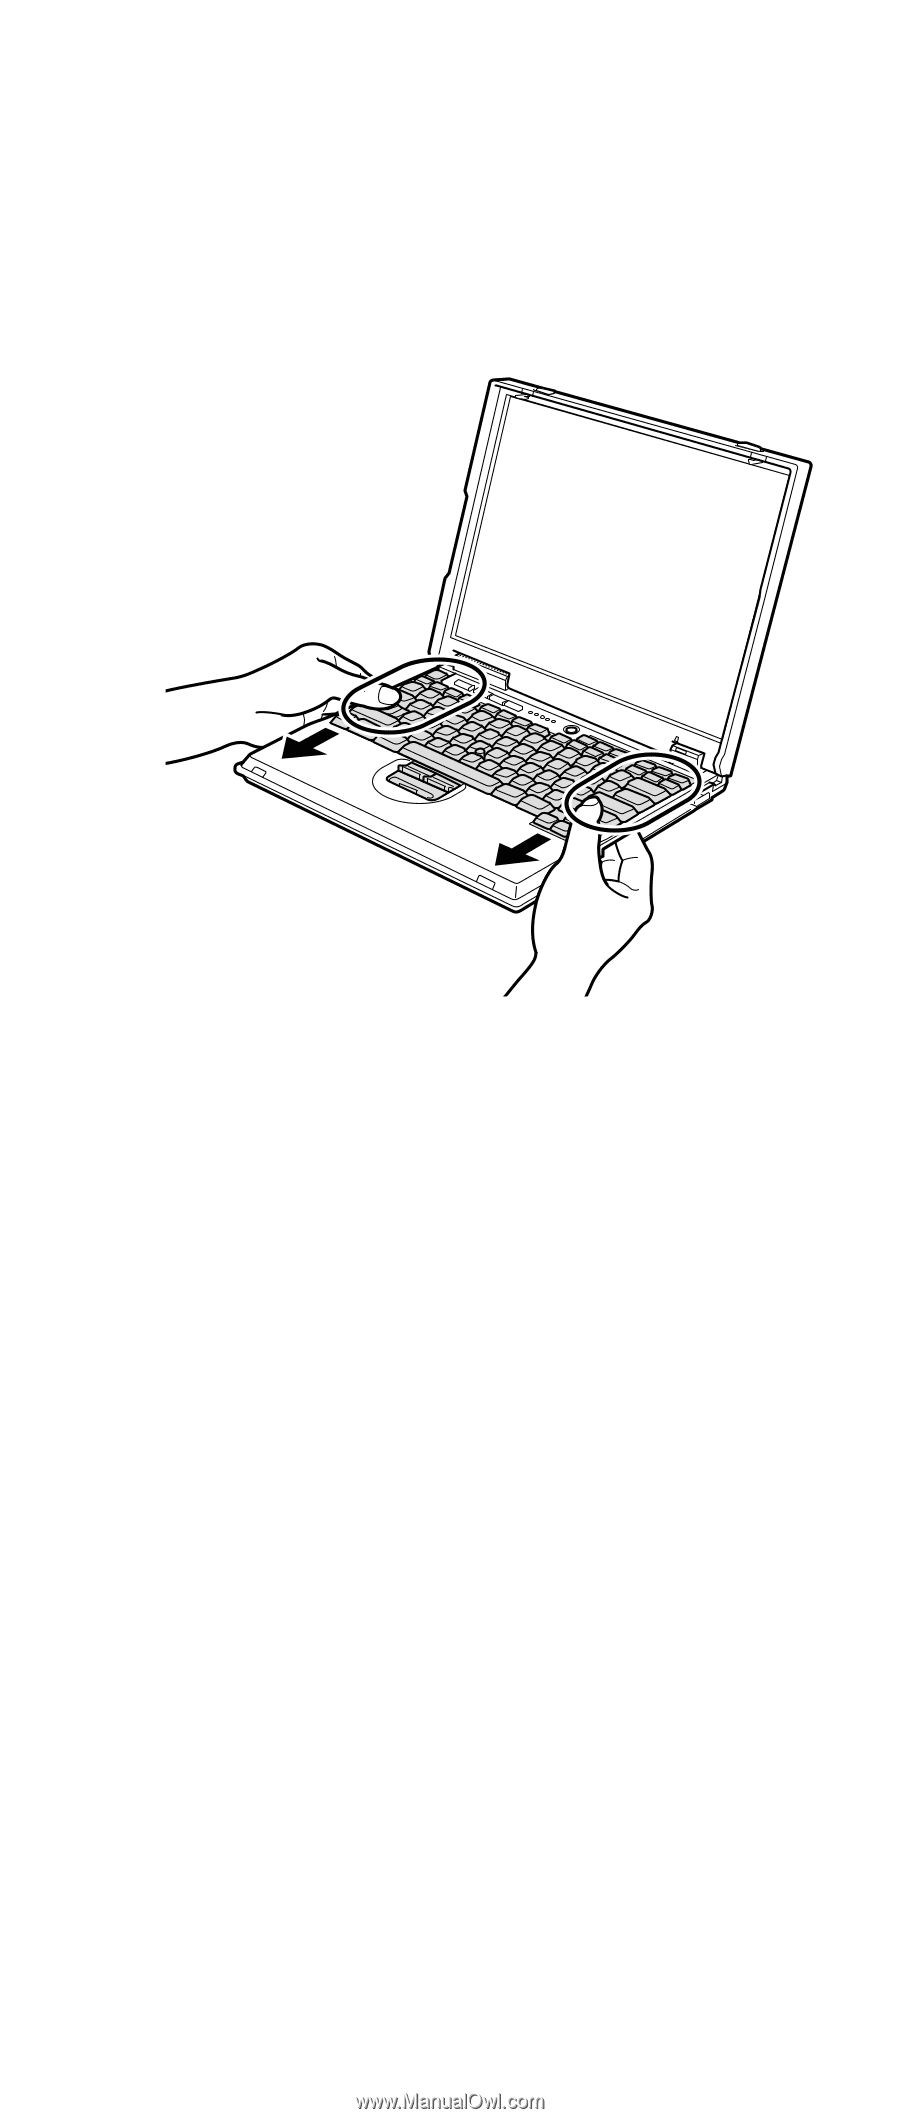
Removing and replacing a FRU 3. To make sure that the front side of the keyboard is housed firmly, gently press the Shift keys with your thumbs and try to slide the keyboard towards you. Do not push parts (A) and (B) on the keyboard strongly; to do so might cause distortion of the Ultrabay 2000 slot and the PC Card slot. (A) (B) 4. After the fastening of two screws of bottom side, push the Y key again to connect the keyboard firmly to the connector on the underside of the key. ThinkPad A21e, A22e, i 1800 71
-
 1
1 -
2
-
3
-
4
-
5
-
6
-
7
-
8
-
9
-
10
-
11
-
12
-
13
-
14
-
15
-
16
-
17
-
18
-
19
-
20
-
21
-
22
-
23
-
24
-
25
-
26
-
27
-
28
-
29
-
30
-
31
-
32
-
33
-
34
-
35
-
36
-
37
-
38
-
39
-
40
-
41
-
42
-
43
-
44
-
45
-
46
-
47
-
48
-
49
-
50
-
51
-
52
-
53
-
54
-
55
-
56
-
57
-
58
-
59
-
60
-
61
-
62
-
63
-
64
-
65
-
66
-
67
-
68
-
69
-
 70
70 -
 71
71 -
 72
72 -
 73
73 -
 74
74 -
 75
75 -
 76
76 -
 77
77 -
 78
78 -
 79
79 -
 80
80 -
81
-
82
-
83
-
84
-
85
-
86
-
87
-
88
-
89
-
90
-
91
-
92
-
93
-
94
-
95
-
96
-
97
-
98
-
99
-
100
-
101
-
102
-
103
-
104
-
105
-
106
-
107
-
108
-
109
-
110
-
111
-
112
-
113
-
114
-
115
-
116
-
117
-
118
-
119
-
120
-
121
-
122
-
123
-
124
-
125
-
126
-
127
-
128
-
129
-
130
-
131
-
132
-
133
-
134
-
135
-
136
-
137
-
138
-
139
-
140
-
141
-
142
 |
 |
3.
To make sure that the front side of the keyboard is
housed firmly, gently press the
Shift
keys with your
thumbs and try to slide the keyboard towards you. Do
not push parts
(A)
and
(B)
on the keyboard strongly; to
do so might cause distortion of the Ultrabay 2000 slot
and the PC Card slot.
(A)
(B)
4.
After the fastening of two screws of bottom side, push
the
Y
key again to connect the keyboard firmly to the
connector on the underside of the key.
Removing and replacing a FRU
ThinkPad A21e, A22e, i 1800
71