Lexmark X1270 User's Guide - Page 13
Creating fun projects, Replacing print cartridges - installation
 |
UPC - 734646398305
View all Lexmark X1270 manuals
Add to My Manuals
Save this manual to your list of manuals |
Page 13 highlights
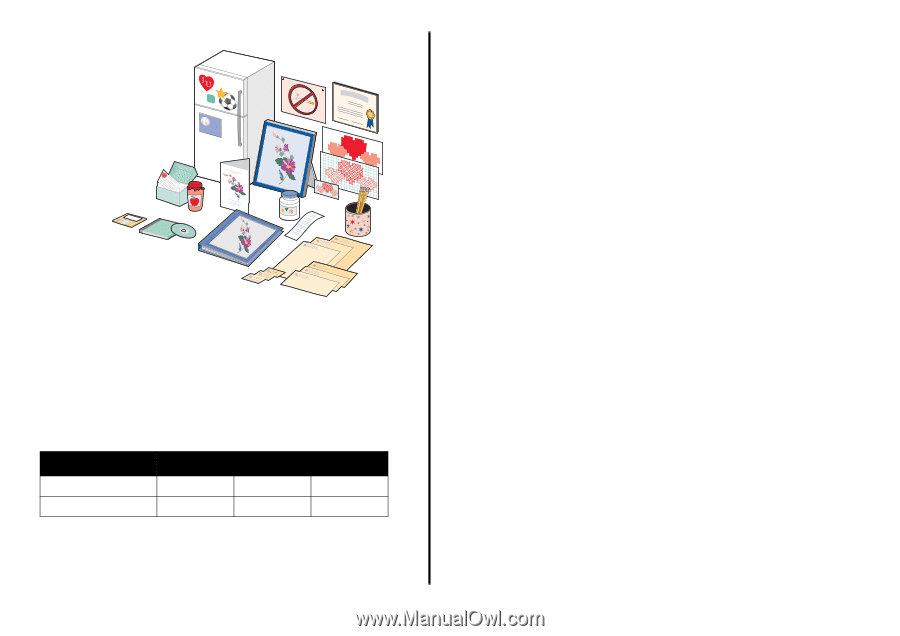
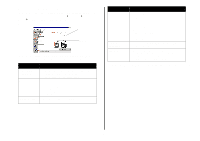
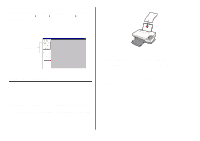
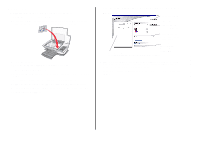
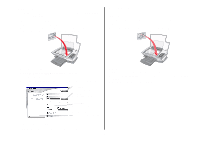
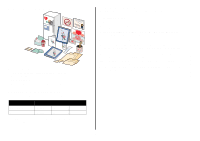
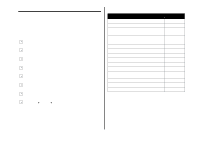
English Creating fun projects To create these and other fun projects: 1 Open the Lexmark Solution Center (see page 8). 2 Click How To. 3 Select a project. 4 Follow the instructions on the computer screen. Replacing print cartridges The Lexmark 1200 Series uses the following cartridges: Item: Part number: Black cartridge 10N0016 16 17 Color cartridge 10N0026 26 27 Note: For information about ordering supplies, see the Maintenance tab on page 8. 1 Make sure the All-In-One is on. 2 Lift the scanner unit until the scanner support keeps it open. The print cartridge carrier moves and stops at the loading position unless the All-In-One is busy. 3 Grasp the tabs on the cartridge lids, and then lift the lids. 4 Remove the old cartridges. Store them in an air-tight container or dispose of them. 5 If you are installing new cartridges, remove the stickers and transparent tape from the bottom of the cartridges. Warning: Do not touch the gold contact area on the cartridges. 6 Insert the new cartridges. Make sure the black print cartridge is secure in the right carrier and the color cartridge is secure in the left carrier, and then snap the lids closed. 7 Lift the scanner unit and push the scanner support back while lowering the scanner unit until it is completely closed. Lexmark's All-In-One warranty does not cover repair of failures or damage caused by a refilled cartridge. We do not recommend use of refilled cartridges. Refilling cartridges can affect print quality and cause damage to the All-In-One. For best results, use Lexmark supplies. 13
-
 1
1 -
2
-
3
-
4
-
5
-
6
-
7
-
 8
8 -
 9
9 -
 10
10 -
 11
11 -
 12
12 -
 13
13 -
 14
14 -
 15
15 -
 16
16 -
 17
17 -
 18
18 -
19
-
20
-
21
 |
 |