Lexmark X1270 User's Guide - Page 7
Using Print Properties
 |
UPC - 734646398305
View all Lexmark X1270 manuals
Add to My Manuals
Save this manual to your list of manuals |
Page 7 highlights
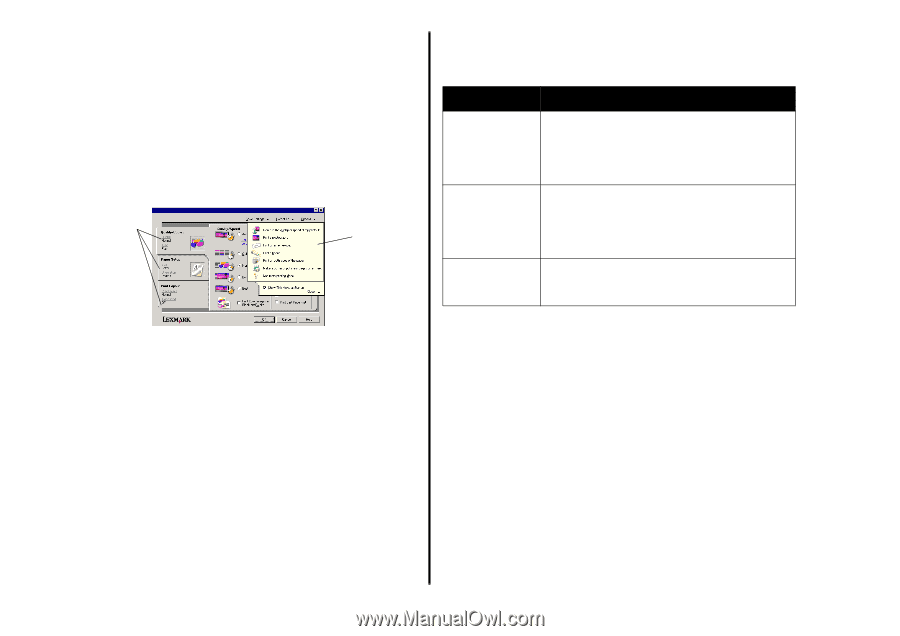
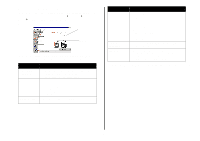
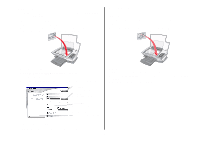
English Using Print Properties Print Properties is the software that controls the All-In-One printing function. You can change the settings in Print Properties based on the type of project you want to create. You can open Print Properties from almost any program: 1 From the program File menu, click Print. 2 In the Print dialog box, click Properties, Preferences, Options, or Setup (depending on the program). The Print Properties screen appears. Note: Some programs open Print Properties differently. Print Properties Quality Copies tab and I Want To menu Print Properties tabs Use the Quality/ Copies, Paper Setup, and Print Layout tabs to select the print settings. "I Want To" menu Select one of the projects from the menu to help print photos, banners, envelopes, posters, and more. Print Properties tabs All of the print settings are on the three main tabs of the Print Properties software: Quality/Copies, Paper Setup, and Print Layout. From this tab: Quality/Copies Paper Setup Print Layout You can change these settings: Quality/Speed - Select a Quality/Speed setting. Multiple Copies - Customize how the All-In-One prints several copies of a single print job, collated or normal. Print Color Images in Black and White - Select this to print color images in black and white. Type - Select the type of paper you are using. Paper Size - Select the size of the paper you are using. Orientation - Select how you want the document oriented on the printed page. You can print portrait or landscape. Layout - Select the layout you want to print. Duplexing - Select this when you want to print on both sides of the paper. Note: For additional information about these settings, right-click a setting on the screen, and then select the What's This? item. The "I Want To" menu The "I Want To" menu appears when you open Print Properties. It contains a variety of task wizards to help you select the correct print settings for your project. Close the menu for a full view of the Print Properties dialog box. Save Settings menu From the Save Settings menu, you can name and save the current Print Properties settings for future use. You can save up to five custom settings. Options menu Use the Options menu to make changes to the Quality Options, Layout Options, and Printing Status Options settings. For more information on these settings, open the tab dialog box from the menu, and then click the Help button on the dialog box. The Options menu also provides you with direct links to different parts of the Lexmark Solution Center (see page 8), as well as software version information. 7
-
 1
1 -
 2
2 -
 3
3 -
 4
4 -
 5
5 -
 6
6 -
 7
7 -
 8
8 -
 9
9 -
 10
10 -
 11
11 -
 12
12 -
13
-
14
-
15
-
16
-
17
-
18
-
19
-
20
-
21
 |
 |