Lexmark X9575 User's Guide - Page 100
Printing iron-on transfers, Printing transparencies, Printing a banner, Print, Properties, Preferences
 |
UPC - 734646041348
View all Lexmark X9575 manuals
Add to My Manuals
Save this manual to your list of manuals |
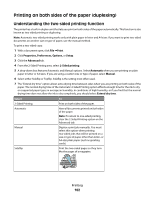
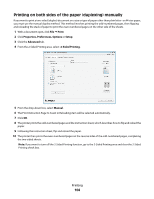
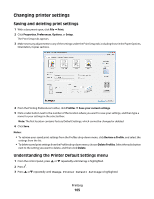
Page 100 highlights
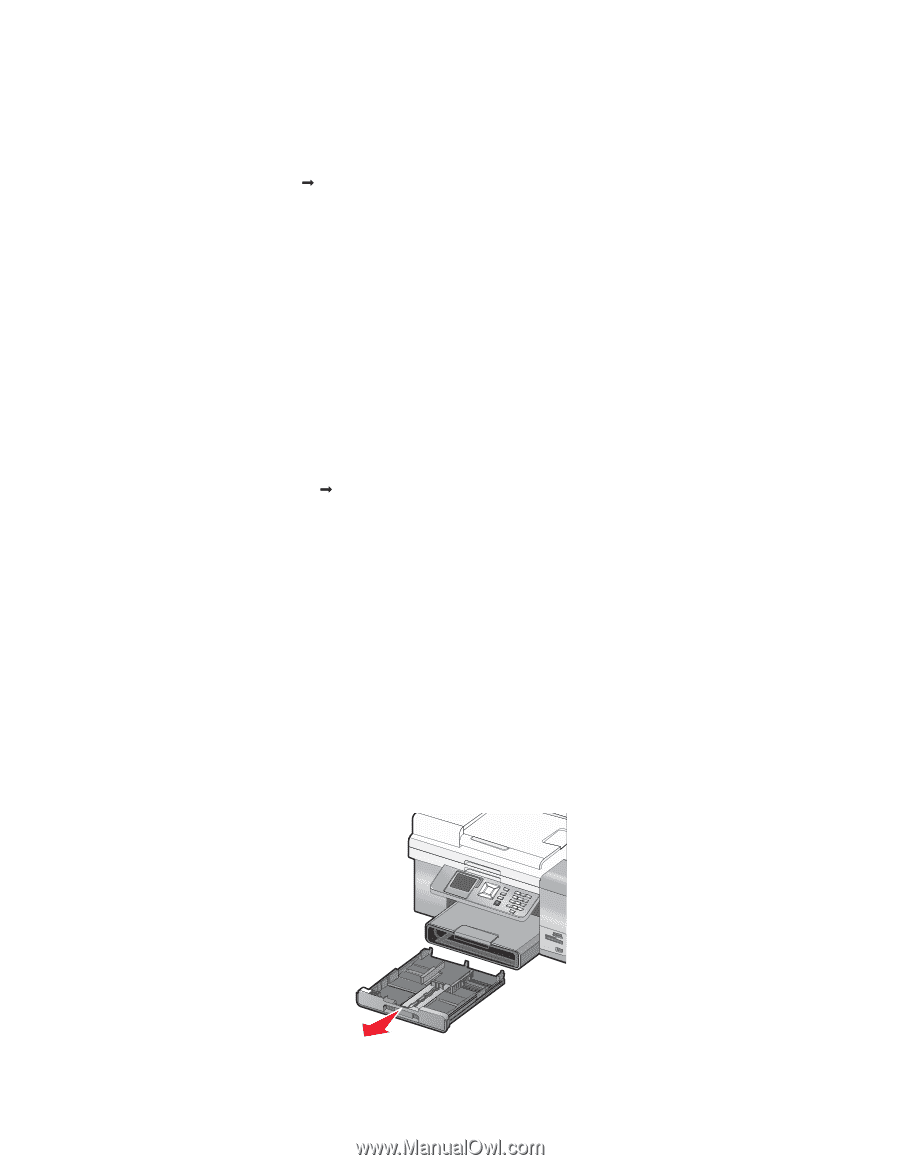
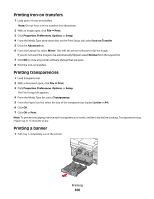
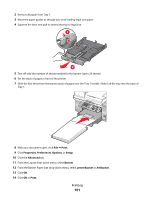
Printing iron-on transfers 1 Load up to 10 iron-on transfers. Note: Do not force iron-on transfers into the printer. 2 With an image open, click File ΠPrint. 3 Click Properties, Preferences, Options, or Setup. 4 From the Media Type drop-down box on the Print Setup tab, select Iron-on Transfer. 5 Click the Advanced tab. 6 From the Layout list, select Mirror. This tells the printer software to flip the image. If you do not want the image to be automatically flipped, select Normal from the Layout list. 7 Click OK to close any printer software dialogs that are open. 8 Print the iron-on transfers. Printing transparencies 1 Load transparencies. 2 With a document open, click File ΠPrint. 3 Click Properties, Preferences, Options, or Setup. The Print Setup tab appears. 4 From the Media Type list, select Transparency. 5 From the Paper Size list, select the size of the transparencies loaded (Letter or A4). 6 Click OK. 7 Click OK or Print. Note: To prevent smudging, remove each transparency as it exits, and let it dry before stacking. Transparencies may require up to 15 minutes to dry. Printing a banner 1 Pull Tray 1 completely out of the printer. Printing 100
-
 1
1 -
2
-
3
-
4
-
5
-
6
-
7
-
8
-
9
-
10
-
11
-
12
-
13
-
14
-
15
-
16
-
17
-
18
-
19
-
20
-
21
-
22
-
23
-
24
-
25
-
26
-
27
-
28
-
29
-
30
-
31
-
32
-
33
-
34
-
35
-
36
-
37
-
38
-
39
-
40
-
41
-
42
-
43
-
44
-
45
-
46
-
47
-
48
-
49
-
50
-
51
-
52
-
53
-
54
-
55
-
56
-
57
-
58
-
59
-
60
-
61
-
62
-
63
-
64
-
65
-
66
-
67
-
68
-
69
-
70
-
71
-
72
-
73
-
74
-
75
-
76
-
77
-
78
-
79
-
80
-
81
-
82
-
83
-
84
-
85
-
86
-
87
-
88
-
89
-
90
-
91
-
92
-
93
-
94
-
 95
95 -
 96
96 -
 97
97 -
 98
98 -
 99
99 -
 100
100 -
 101
101 -
 102
102 -
 103
103 -
 104
104 -
 105
105 -
106
-
107
-
108
-
109
-
110
-
111
-
112
-
113
-
114
-
115
-
116
-
117
-
118
-
119
-
120
-
121
-
122
-
123
-
124
-
125
-
126
-
127
-
128
-
129
-
130
-
131
-
132
-
133
-
134
-
135
-
136
-
137
-
138
-
139
-
140
-
141
-
142
-
143
-
144
-
145
-
146
-
147
-
148
-
149
-
150
-
151
-
152
-
153
-
154
-
155
-
156
-
157
-
158
-
159
-
160
-
161
-
162
-
163
-
164
-
165
-
166
-
167
-
168
-
169
-
170
-
171
-
172
-
173
-
174
-
175
-
176
-
177
-
178
-
179
-
180
-
181
-
182
-
183
-
184
-
185
-
186
-
187
-
188
-
189
-
190
-
191
-
192
-
193
-
194
-
195
-
196
-
197
-
198
-
199
-
200
-
201
-
202
-
203
-
204
-
205
-
206
-
207
-
208
-
209
-
210
-
211
-
212
-
213
-
214
-
215
-
216
-
217
-
218
-
219
-
220
-
221
-
222
-
223
-
224
-
225
-
226
-
227
-
228
-
229
-
230
-
231
-
232
-
233
-
234
-
235
-
236
-
237
-
238
-
239
-
240
-
241
-
242
-
243
-
244
-
245
-
246
-
247
-
248
-
249
-
250
-
251
-
252
-
253
-
254
-
255
-
256
-
257
-
258
-
259
-
260
-
261
-
262
-
263
-
264
-
265
-
266
-
267
-
268
-
269
-
270
-
271
-
272
-
273
-
274
-
275
-
276
-
277
-
278
-
279
-
280
-
281
-
282
-
283
-
284
-
285
-
286
-
287
-
288
-
289
-
290
 |
 |