Linksys WRT54GP2A-AT User Guide - Page 19
How to Access the Web-based Utility, The Setup Tab - Basic Setup, Status, Internet Setup - voice admin page password
 |
UPC - 745883561346
View all Linksys WRT54GP2A-AT manuals
Add to My Manuals
Save this manual to your list of manuals |
Page 19 highlights
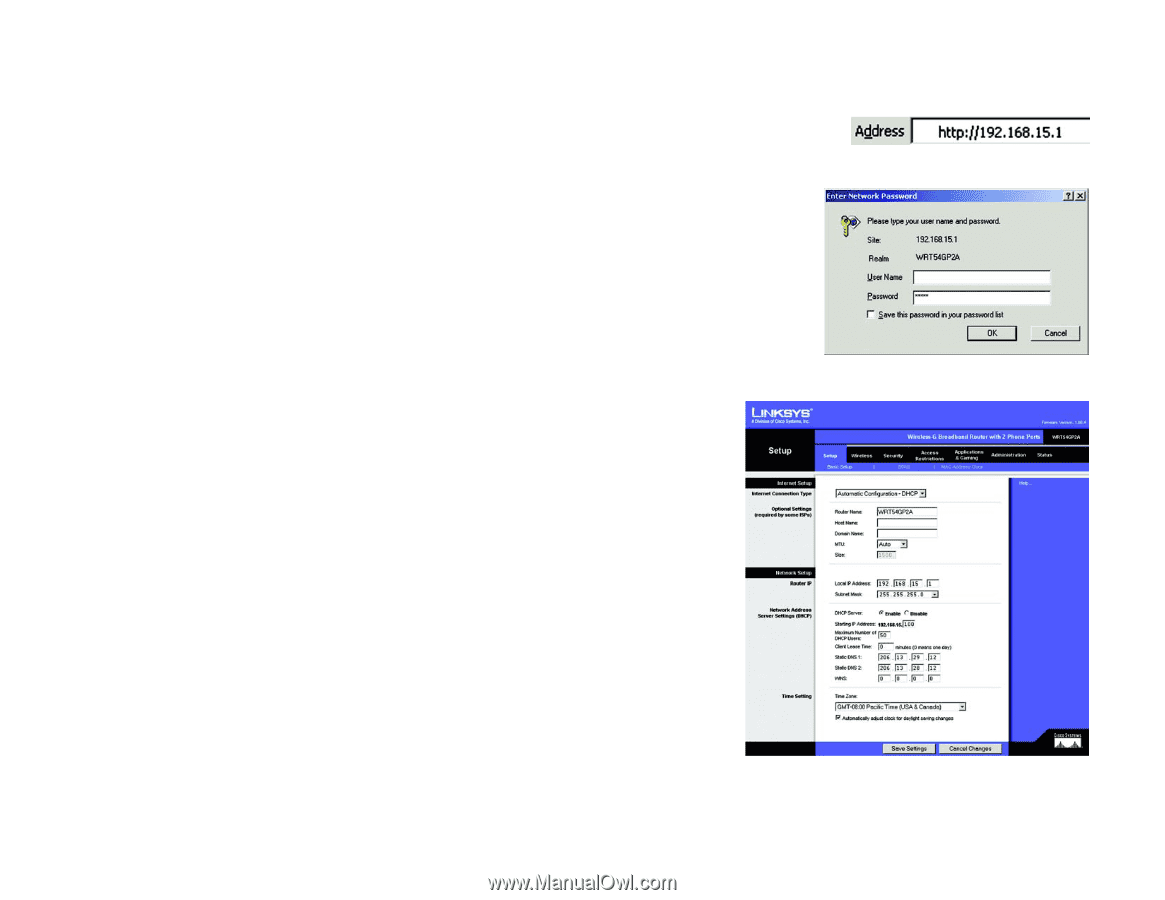
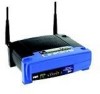
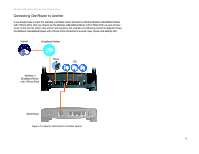
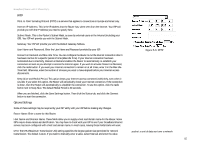
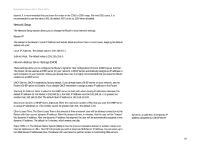
Broadband Router with 2 Phone Ports Status • Router. This screen provides status information about the Router. • Local Network. This provides status information about the local network. • Wireless. The settings for your wireless network are displayed on this screen. • Voice. This screen provides status information about the Internet phone lines. How to Access the Web-based Utility To access the Web-based Utility of the Router, launch Internet Explorer or Netscape Navigator, and enter the Router's default IP address, 192.168.15.1, in the Address field. Press the Enter key. A screen will appear asking you for your User Name and Password. Leave the User Name field blank, and enter admin in the Password field. Then click the OK button. Make the necessary changes through the Utility. When you have finished making changes to a screen, click the Save Settings button to save the changes, or click the Cancel Changes button to undo your changes. For help information on a tab, click Help. The Setup Tab - Basic Setup The Basic Setup screen is the first screen you see when you access the Web-based Utility. Internet Setup The Internet Setup section configures the Router for your Internet connection type. This information can be obtained from your ISP. Internet Connection Type The Router supports four connection types: Automatic Configuration (DHCP), Static IP, PPPoE, and PPTP. Each Basic Setup screen and available features will differ depending on what kind of connection type you select. Automatic Configuration (DHCP) By default, the Router's Internet Connection Type is set to Automatic Configuration (DHCP), and it should be used only if your ISP supports DHCP or you are connecting through a dynamic IP address. Chapter 5: Configuring the Router How to Access the Web-based Utility Figure 5-1: Router's IP Address Figure 5-2: Router Login Figure 5-3: Setup Tab - Basic Setup Automatic Configuration (DHCP) 13
-
 1
1 -
2
-
3
-
4
-
5
-
6
-
7
-
8
-
9
-
10
-
11
-
12
-
13
-
 14
14 -
 15
15 -
 16
16 -
 17
17 -
 18
18 -
 19
19 -
 20
20 -
 21
21 -
 22
22 -
 23
23 -
 24
24 -
25
-
26
-
27
-
28
-
29
-
30
-
31
-
32
-
33
-
34
-
35
-
36
-
37
-
38
-
39
-
40
-
41
-
42
-
43
-
44
-
45
-
46
-
47
-
48
-
49
-
50
-
51
-
52
-
53
-
54
-
55
-
56
-
57
-
58
-
59
-
60
-
61
-
62
-
63
-
64
-
65
-
66
-
67
-
68
-
69
-
70
-
71
-
72
-
73
-
74
-
75
-
76
-
77
-
78
-
79
-
80
-
81
-
82
-
83
-
84
-
85
-
86
 |
 |