Linksys WRV54G Cisco WRV54G Wireless-G VPN Broadband Router User Guide - Page 21
Connecting the Wireless-G VPN Broadband Router - repeater
 |
UPC - 745883556687
View all Linksys WRV54G manuals
Add to My Manuals
Save this manual to your list of manuals |
Page 21 highlights
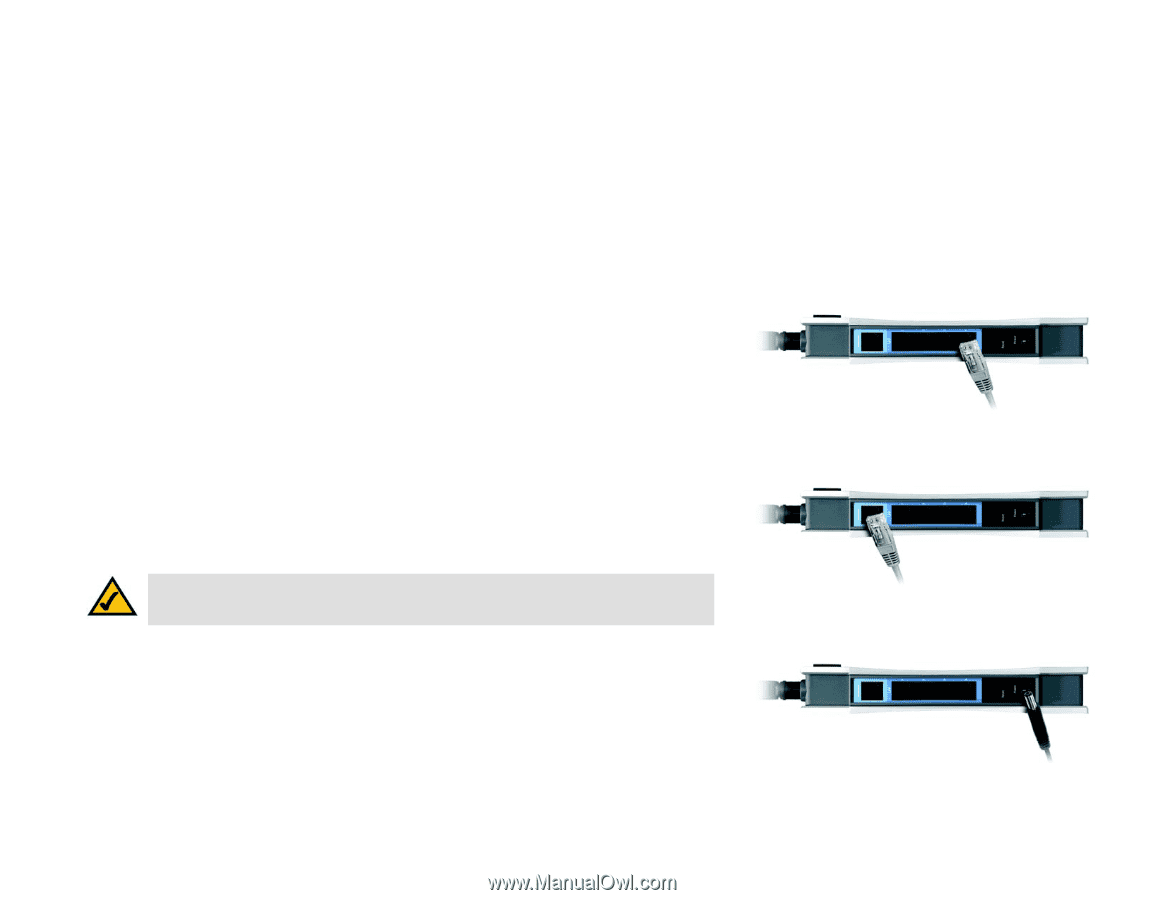
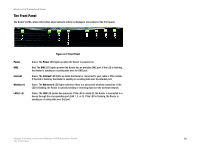
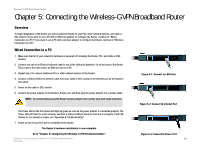
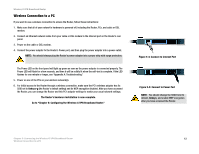
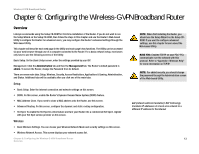
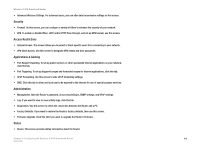
Wireless-G VPN Broadband Router Chapter 5: Connecting the Wireless-G VPN Broadband Router Overview To begin installation of the Router, you will connect the Router to your PCs, other network devices, and cable or DSL modem. If you want to use a PC with an Ethernet adapter to configure the Router, continue to "Wired Connection to a PC." If you want to use a PC with a wireless adapter to configure the Router, continue to "Wireless Connection to a PC." Wired Connection to a PC 1. Make sure that all of your network's hardware is powered off, including the Router, PCs, and cable or DSL modem. 2. Connect one end of an Ethernet network cable to one of the LAN ports (labeled 1-4) on the back of the Router. Then connect the other end to an Ethernet port on a PC. 3. Repeat step 2 to connect additional PCs or other network devices to the Router. 4. Connect a different Ethernet network cable from your cable or DSL modem to the Internet port on the Router's rear panel. 5. Power on the cable or DSL modem. 6. Connect the power adapter to the Router's Power port, and then plug the power adapter into a power outlet. NOTE: You should always plug the Router's power adapter into a power strip with surge protection. The Power LED on the front panel will light up green as soon as the power adapter is connected properly. The Power LED will flash for a few seconds, and then it will be solidly lit when the self-test is complete. If the LED flashes for one minute or longer, see "Appendix A: Troubleshooting." 7. Power on one of your PCs that is connected to the Router. The Router's hardware installation is now complete. Go to "Chapter 6: Configuring the Wireless-G VPN Broadband Router." Chapter 5: Connecting the Wireless-G VPN Broadband Router Overview Figure 5-1: Connect to LAN Ports Figure 5-2: Connect to Internet Port Figure 5-3: Connect to Power Port 11
-
 1
1 -
2
-
3
-
4
-
5
-
6
-
7
-
8
-
9
-
10
-
11
-
12
-
13
-
14
-
15
-
 16
16 -
 17
17 -
 18
18 -
 19
19 -
 20
20 -
 21
21 -
 22
22 -
 23
23 -
 24
24 -
 25
25 -
 26
26 -
27
-
28
-
29
-
30
-
31
-
32
-
33
-
34
-
35
-
36
-
37
-
38
-
39
-
40
-
41
-
42
-
43
-
44
-
45
-
46
-
47
-
48
-
49
-
50
-
51
-
52
-
53
-
54
-
55
-
56
-
57
-
58
-
59
-
60
-
61
-
62
-
63
-
64
-
65
-
66
-
67
-
68
-
69
-
70
-
71
-
72
-
73
-
74
-
75
-
76
-
77
-
78
-
79
-
80
-
81
-
82
-
83
-
84
-
85
-
86
-
87
-
88
-
89
-
90
-
91
-
92
-
93
-
94
-
95
-
96
-
97
-
98
-
99
-
100
-
101
-
102
-
103
-
104
-
105
-
106
-
107
-
108
-
109
-
110
-
111
-
112
-
113
-
114
-
115
-
116
-
117
-
118
-
119
-
120
-
121
-
122
-
123
-
124
-
125
-
126
-
127
-
128
-
129
-
130
-
131
-
132
-
133
-
134
-
135
-
136
-
137
-
138
-
139
-
140
-
141
-
142
-
143
-
144
-
145
 |
 |