Maytag MEW6530DDW Use and Care Guide - Page 10
Broiling, Chart
 |
UPC - 719881126029
View all Maytag MEW6530DDW manuals
Add to My Manuals
Save this manual to your list of manuals |
Page 10 highlights
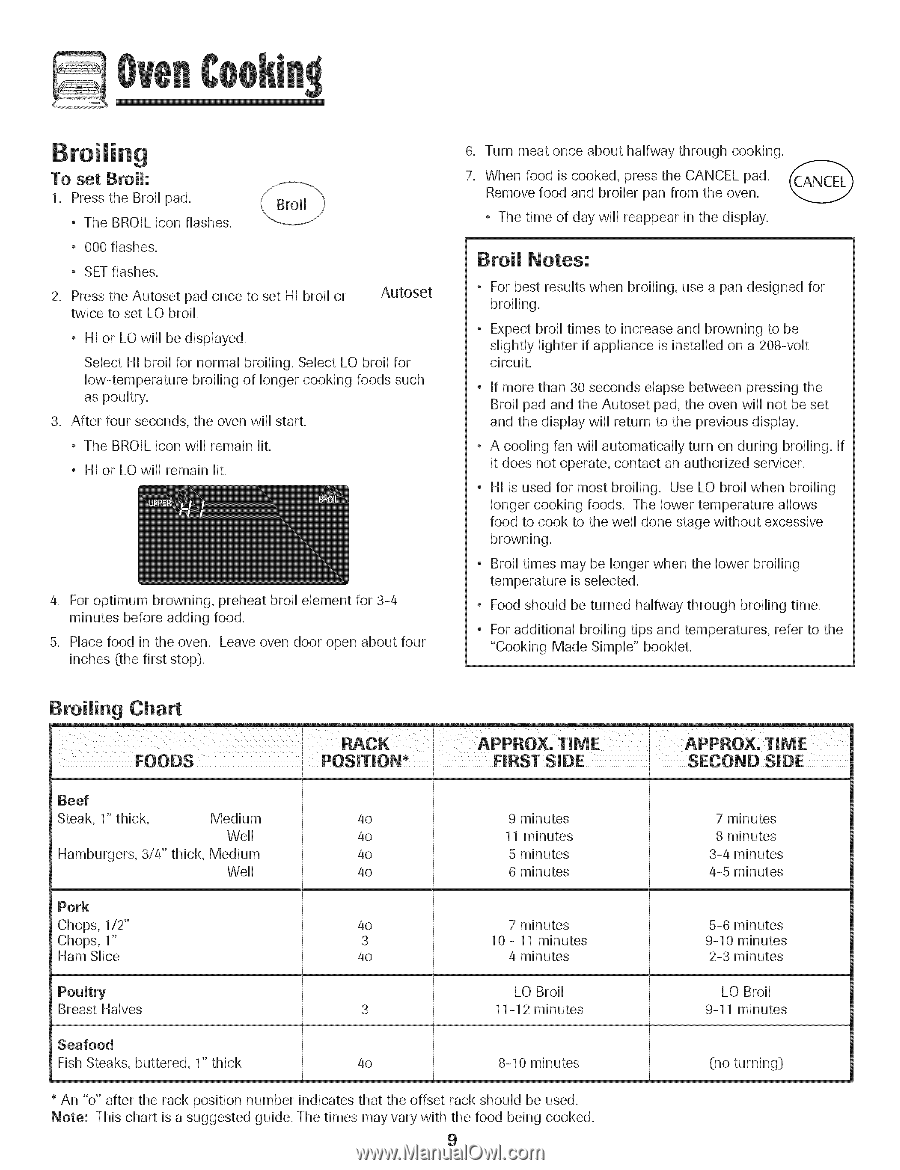
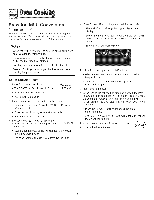
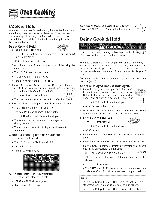
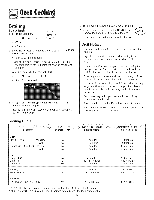
@ To set Broil: 1. Press the Broii pad. , The BROIL icon flashes. , 00Oflashes. , SETflashes. 2. Press the Autoset pad once to set Hi broi[ or twice to set LO broil Autoset . Hi or LO will[ be dispiayed. Seiect Hi broi[ for norma[ broiiing. Seiect LO broi[ for How-temperature broihng of [onger cooking foods such as pouitry. 3. After four seconds, the oven will[ start. , The BROIL icon will[ remain Hit. . Hi or LO will[ remain Hit. 4. For optimum browning, preheat broil element for 3-4 minutes before adding food. 5. Piace food in the oven. Leave oven door open about four inches (the first stop}. 8. Turn meat once about halfway through cooking. 7. When food is cooked, press the CANCEL pad. Remove food and broiler pan from the oven. , The time of day will reappear in the display. Broil @ores: , For best results when broiling, use a pan designed for broiling. ° Expect broil times to increase and browning to be slightly lighter if appliance is installed on a 208-volt circuit. , if more than 30 seconds elapse between pressing the Broil pad and the Autoset pad, the oven wiil not be set and the display wiil return to the previous display. ° A cooling fan wiil automatically turn on during broiling, if it does not operate, contact an authorized servicer. , Hi is used for most broiling. Use LO broil when broiling longer cooking foods. The lower temperature allows food to cook to the weil done stage without excessive browning. , Broil times may be longer when the lower broiling , Food should be turned halfway through broiling time. ° For additional broiling tips and temperatures, refer to the "Cooking Made Simple" bookleL Broiling Chart FOODS POSiTiON* _ FIRST SiDE Beef Steak, 1" thick, Medium 4o Well 40 Hamburgers, 3/4" thick, Medium 40 Well 4o 9 minutes 11 minutes 5 minutes 8 minutes Pork Chops, 1/2" Chops, 1" Ham Slice 4o 7 minutes 3 10 - 11 minutes 4o 4 minutes Poultry Breast Halves 3 Seafood Fish Steaks, buttered, 1" thick 4o LO Broil 11-12 minutes 8-10 minutes * An "o" after the rack position number indicates that the offset rack should be used. Note: This chart is a suggested guide. The times may vary with the food being cooked. 9 SECOND SiDE 7 minutes 8 minutes 3-4 minutes 4-5 minutes 5-8 minutes 9-10 minutes 2-3 minutes LO Broil 9-11 minutes (no turning}
-
 1
1 -
2
-
3
-
4
-
 5
5 -
 6
6 -
 7
7 -
 8
8 -
 9
9 -
 10
10 -
 11
11 -
 12
12 -
 13
13 -
 14
14 -
 15
15 -
16
-
17
-
18
-
19
-
20
-
21
-
22
-
23
-
24
-
25
-
26
-
27
-
28
-
29
-
30
-
31
-
32
-
33
-
34
-
35
-
36
-
37
-
38
-
39
-
40
-
41
-
42
-
43
-
44
-
45
-
46
-
47
-
48
-
49
-
50
-
51
-
52
-
53
-
54
-
55
-
56
-
57
-
58
-
59
-
60
-
61
-
62
-
63
-
64
-
65
-
66
-
67
-
68
 |
 |