Meade EclipseView 82mm Instruction Manual - Page 29
Step 4, Step 5, Step 6
 |
View all Meade EclipseView 82mm manuals
Add to My Manuals
Save this manual to your list of manuals |
Page 29 highlights
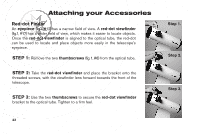
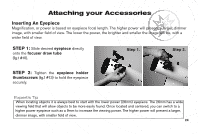
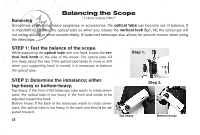
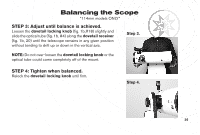
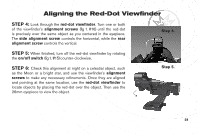
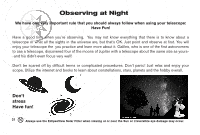
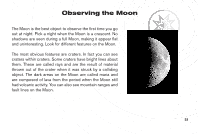
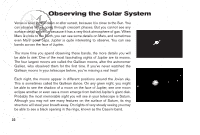
Aligning the Red-Dot Viewfinder STEP 4: Look through the red-dot viewfinder. Turn one or both of the viewfinder's alignment screws (fig 1. #16) until the red-dot is precisely over the same object as you centered in the eyepiece. The side alignment screw controls the horizontal, while the rear alignment screw controls the vertical. Step 4. STEP 5: When finished, turn off the red-dot viewfinder by rotating the on/off switch (fig 1. #15) counter-clockwise. STEP 6: Check this alignment at night on a celestial object, such as the Moon or a bright star, and use the viewfinder's alignment screws to make any necessary refinements. Once they are aligned and pointing at the same location, use the red-dot viewfinder to locate objects by placing the red-dot over the object. Then use the 26mm eyepiece to view the object. Step 5. 29 28
-
 1
1 -
2
-
3
-
4
-
5
-
6
-
7
-
8
-
9
-
10
-
11
-
12
-
13
-
14
-
15
-
16
-
17
-
18
-
19
-
20
-
21
-
22
-
23
-
 24
24 -
 25
25 -
 26
26 -
 27
27 -
 28
28 -
 29
29 -
 30
30 -
 31
31 -
 32
32 -
 33
33 -
 34
34 -
35
-
36
-
37
-
38
-
39
-
40
-
41
-
42
-
43
-
44
-
45
-
46
-
47
-
48
-
49
-
50
-
51
-
52
-
53
-
54
-
55
-
56
 |
 |
