NEC LT170 LT170 user's manual - Page 13
To connect SCART output RGB, Using the projector in portrait mode
 |
UPC - 050927243561
View all NEC LT170 manuals
Add to My Manuals
Save this manual to your list of manuals |
Page 13 highlights
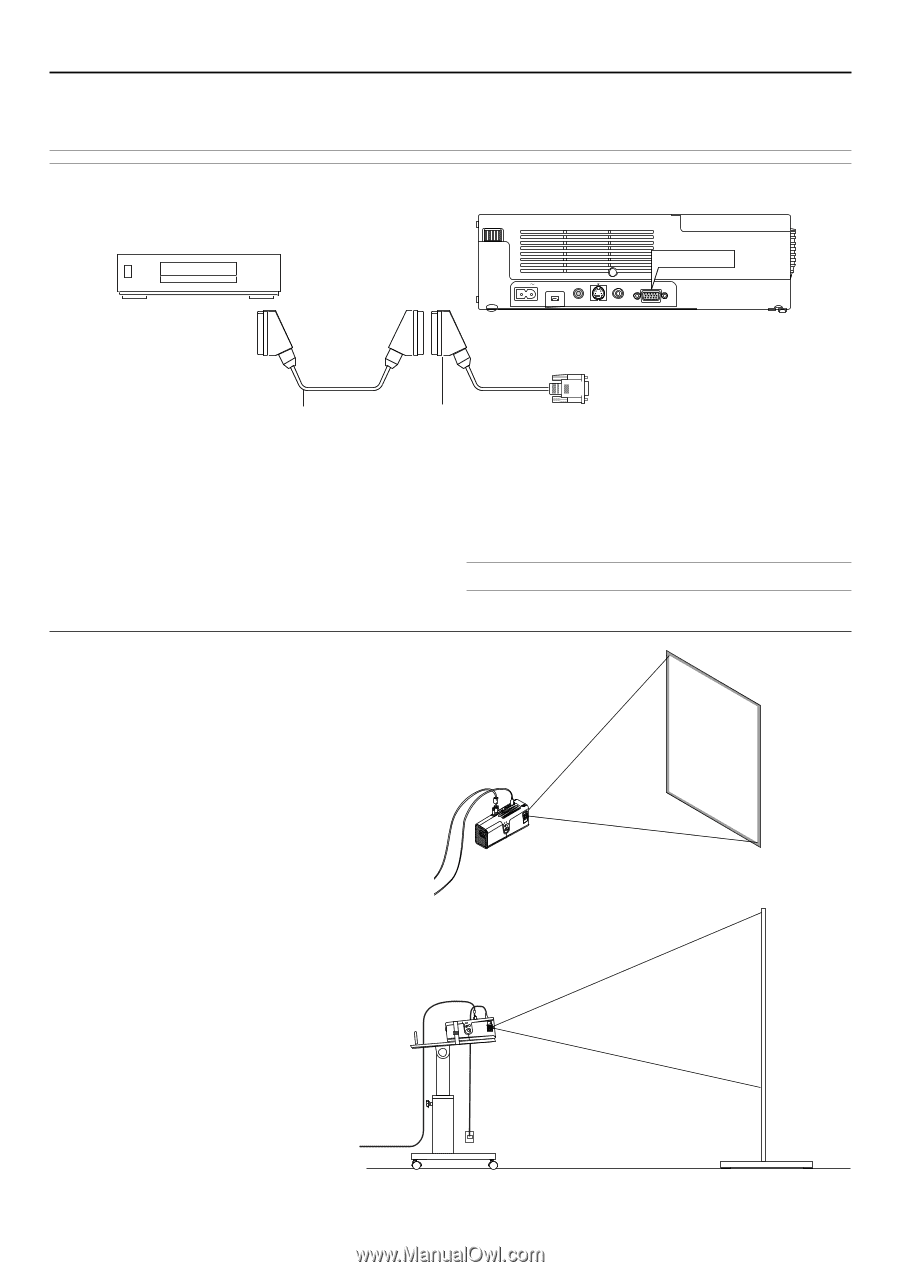
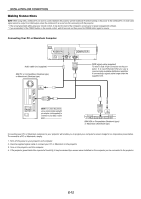
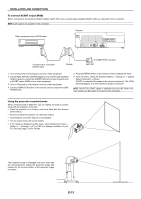
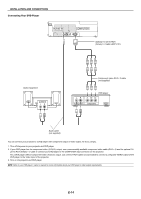
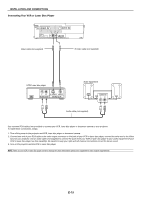
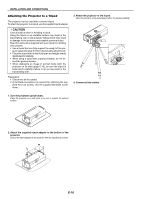
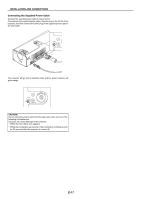
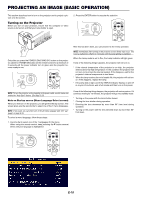
INSTALLATION AND CONNECTIONS To connect SCART output (RGB) Before connections: An exclusive SCART adapter (ADP-SC1) and a commercially available SCART cable are required for this connection. NOTE: Audio signal is not available for this connection. Video equipment such as DVD player Projector COMPUTER AC IN AUDIO IN S-VIDEO IN VIDEO IN COMPUTER Commercially available SCART cable Female To COMPUTER connector ADP-SC1 1. Turn off the power to the projector and your video equipment. 2. Use the NEC ADP-SC1 SCART adapter and a commercially available SCART cable to connect the COMPUTER input of your projector and a SCART output (RGB) of your video equipment. 3. Turn on the power to the projector and your video equipment. 4. Use the COMPUTER button on the remote control to select the COMPUTER input. 5. Press the MENU button on the remote control to display the menu. 6. From the menu, select [To Advanced Menu] → [Setup 2] → [Signal Select Computer] → [Scart]. SCART is a standard European audio-visual connector for TVs, VCRs and DVD players. It is also referred to as Euro-connector. NOTE: The ADP-SC1 SCART adapter is obtainable from your NEC dealer in Europe. Contact your NEC dealer in Europe for more information. Using the projector in portrait mode When connecting with a Tablet PC, you can display an image in portrait mode with the projector on its side. • Place the projector on a location such as a table with the terminal panel side up. • Be sure to place the projector on a flat level surface. • Auto Keystone correction feature is not available. • The on-screen menu will not be rotated. • If the image is displayed upside down, select [Advanced menu] → [Setup 1] → [Portrait] → [0°] or [180°] for display orientation of your PC. See also page E-33 for Portrait. AUDIO IN S-VIDEO IN VIDEO IN PUSH COMPUTER FOCUS ZOOM LAMP STATUS POWER MENU ON/STAND BY SELECT SOURCE ENTER The projected image is displayed at a lower level than the normal position. Adjust the projection angle and position for the correct position of the projected image on screen. E-13
-
 1
1 -
2
-
3
-
4
-
5
-
6
-
7
-
 8
8 -
 9
9 -
 10
10 -
 11
11 -
 12
12 -
 13
13 -
 14
14 -
 15
15 -
 16
16 -
 17
17 -
 18
18 -
19
-
20
-
21
-
22
-
23
-
24
-
25
-
26
-
27
-
28
-
29
-
30
-
31
-
32
-
33
-
34
-
35
-
36
-
37
-
38
-
39
-
40
-
41
-
42
-
43
-
44
-
45
 |
 |