Netgear WN511T WN511T User Manual - Page 16
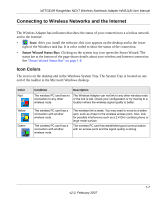
Use the Smart Wizard to set up your Wireless Notebook Adapter., When prompted
 |
UPC - 606449047332
View all Netgear WN511T manuals
Add to My Manuals
Save this manual to your list of manuals |
Page 16 highlights
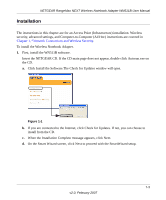
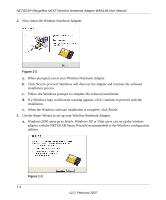
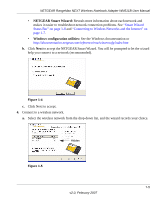
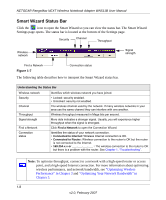
NETGEAR RangeMax NEXT Wireless Notebook Adapter WN511B User Manual 2. Now, insert the Wireless Notebook Adapter. Figure 1-2 a. When prompted, insert your Wireless Notebook Adapter. b. Click Next to proceed. Windows will discover the adapter and continue the software installation process. c. Follow the Windows prompts to complete the software installation. d. If a Windows logo certification warning appears, click Continue to proceed with the installation. e. When the Windows software installation is complete, click Finish. 3. Use the Smart Wizard to set up your Wireless Notebook Adapter. a. Windows 2000 users go to Step b. Windows XP or Vista users can set up the wireless adapter with the NETGEAR Smart Wizard (recommended) or the Windows configuration utilities. Figure 1-3 1-4 v2.0, February 2007
-
 1
1 -
2
-
3
-
4
-
5
-
6
-
7
-
8
-
9
-
10
-
 11
11 -
 12
12 -
 13
13 -
 14
14 -
 15
15 -
 16
16 -
 17
17 -
 18
18 -
 19
19 -
 20
20 -
 21
21 -
22
-
23
-
24
-
25
-
26
-
27
-
28
-
29
-
30
-
31
-
32
-
33
-
34
-
35
-
36
-
37
-
38
-
39
-
40
-
41
-
42
-
43
-
44
-
45
-
46
-
47
-
48
-
49
-
50
-
51
-
52
 |
 |
