Olympus STYLUS TOUGH-8000 STYLUS TOUGH-8000 Instruction Manual (English) - Page 40
Rotating images, Adding sound to still images, Erasing images, ERASE]
 |
View all Olympus STYLUS TOUGH-8000 manuals
Add to My Manuals
Save this manual to your list of manuals |
Page 40 highlights
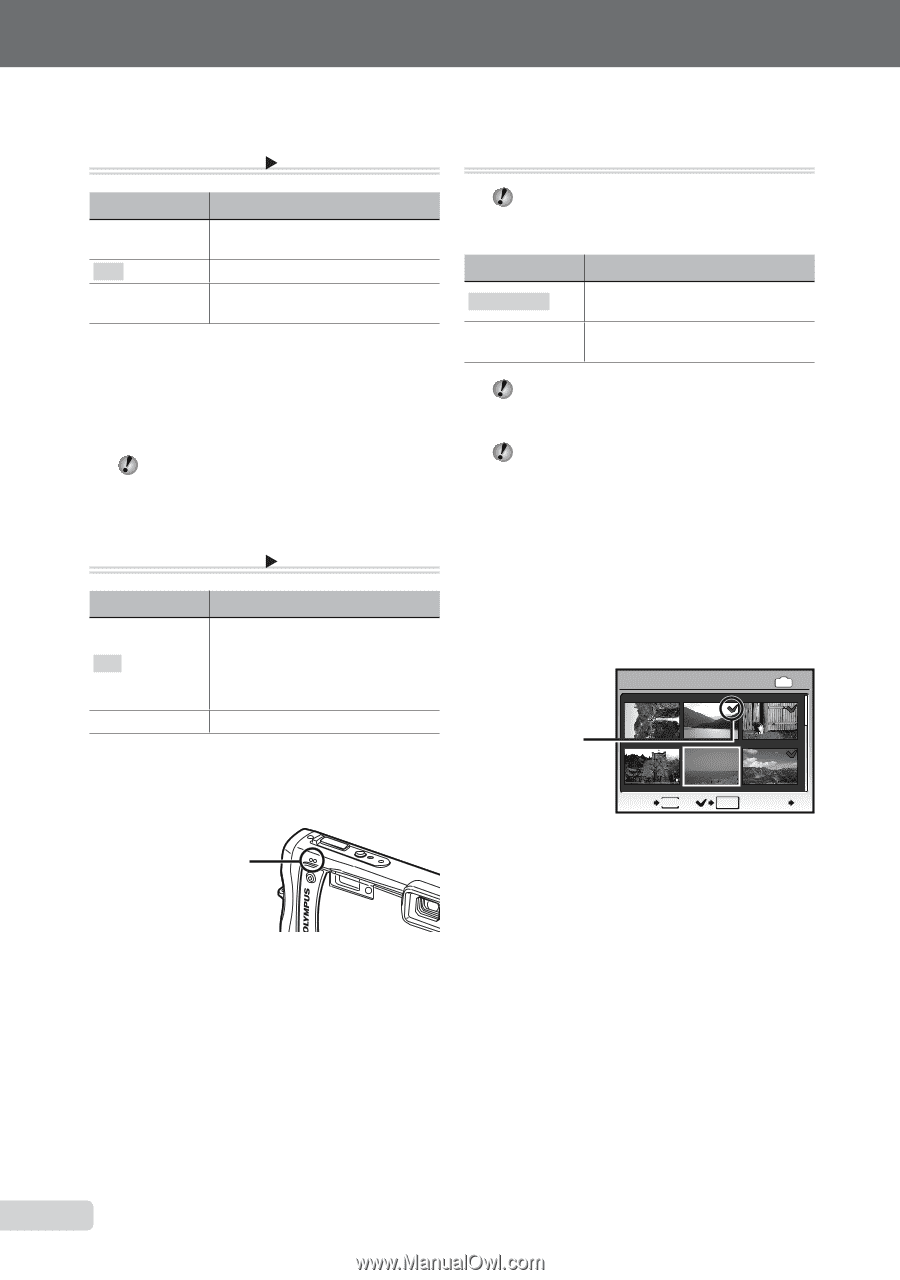
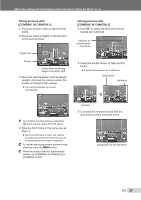
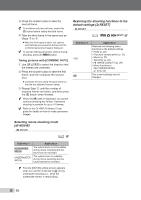
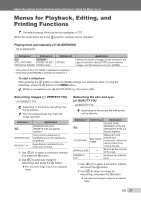
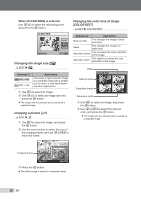
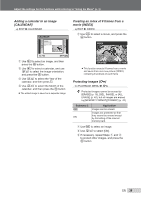
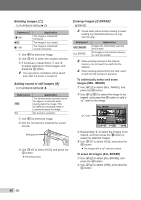
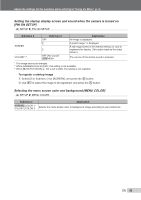
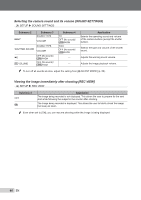
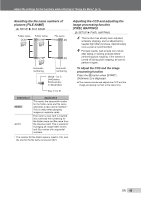
Rotating images [y] J PLAYBACK MENU X y Erasing images [K ERASE] K ERASE Submenu 2 U +90° V 0° t -90° Application The image is rotated 90° clockwise. The image is not rotated. The image is rotated 90° counter-clockwise. 1 Use GH to select an image. 2 Use EF to select the rotation direction. 3 If necessary, repeat Steps 1 and 2 to adjust settings for other images, and press the o button. The new picture orientation will be saved even after the power is turned off. Adding sound to still images [R] J PLAYBACK MENU X R Submenu 2 YES NO Application The camera adds (records) sound for approx. 4 seconds while playing back the image. This is useful for recording notes or comments about the image. No sound is recorded. 1 Use GH to select an image. 2 Aim the microphone towards the sound source. Check each picture before erasing to avoid erasing any important pictures you may want to keep. Submenu 1 SEL. IMAGE ALL ERASE Application Images are individually selected and erased. All images in the internal memory or card are erased. When erasing pictures in the internal memory, do not insert the card into the camera. When erasing pictures from the card, insert a card into the camera in advance. To individually select and erase images [SEL. IMAGE] 1 Use EF to select [SEL. IMAGE], and press the o button. 2 Use EFGH to select the image to be erased, and press the o button to add a R mark to the image. SEL. IMAGE IN R mark 1 4 BACK MENU 2 3 5 6 OK GO D Microphone 3 Use EF to select [YES], and press the o button. ● Recording starts. 3 Repeat Step 2 to select the images to be erased, and then press the D button to erase the selected images. 4 Use EF to select [YES], and press the o button. ● The images with a R mark are erased. To erase all images [ALL ERASE] 1 Use EF to select [ALL ERASE], and press the o button. 2 Use EF to select [YES], and press the o button. 40 EN
-
 1
1 -
2
-
3
-
4
-
5
-
6
-
7
-
8
-
9
-
10
-
11
-
12
-
13
-
14
-
15
-
16
-
17
-
18
-
19
-
20
-
21
-
22
-
23
-
24
-
25
-
26
-
27
-
28
-
29
-
30
-
31
-
32
-
33
-
34
-
 35
35 -
 36
36 -
 37
37 -
 38
38 -
 39
39 -
 40
40 -
 41
41 -
 42
42 -
 43
43 -
 44
44 -
 45
45 -
46
-
47
-
48
-
49
-
50
-
51
-
52
-
53
-
54
-
55
-
56
-
57
-
58
-
59
-
60
-
61
-
62
-
63
-
64
-
65
-
66
-
67
-
68
-
69
-
70
-
71
-
72
-
73
-
74
-
75
-
76
-
77
-
78
-
79
-
80
-
81
-
82
-
83
-
84
-
85
-
86
 |
 |