Palsonic PAB3600 Owners Manual - Page 9
Special Note, Warning
 |
View all Palsonic PAB3600 manuals
Add to My Manuals
Save this manual to your list of manuals |
Page 9 highlights
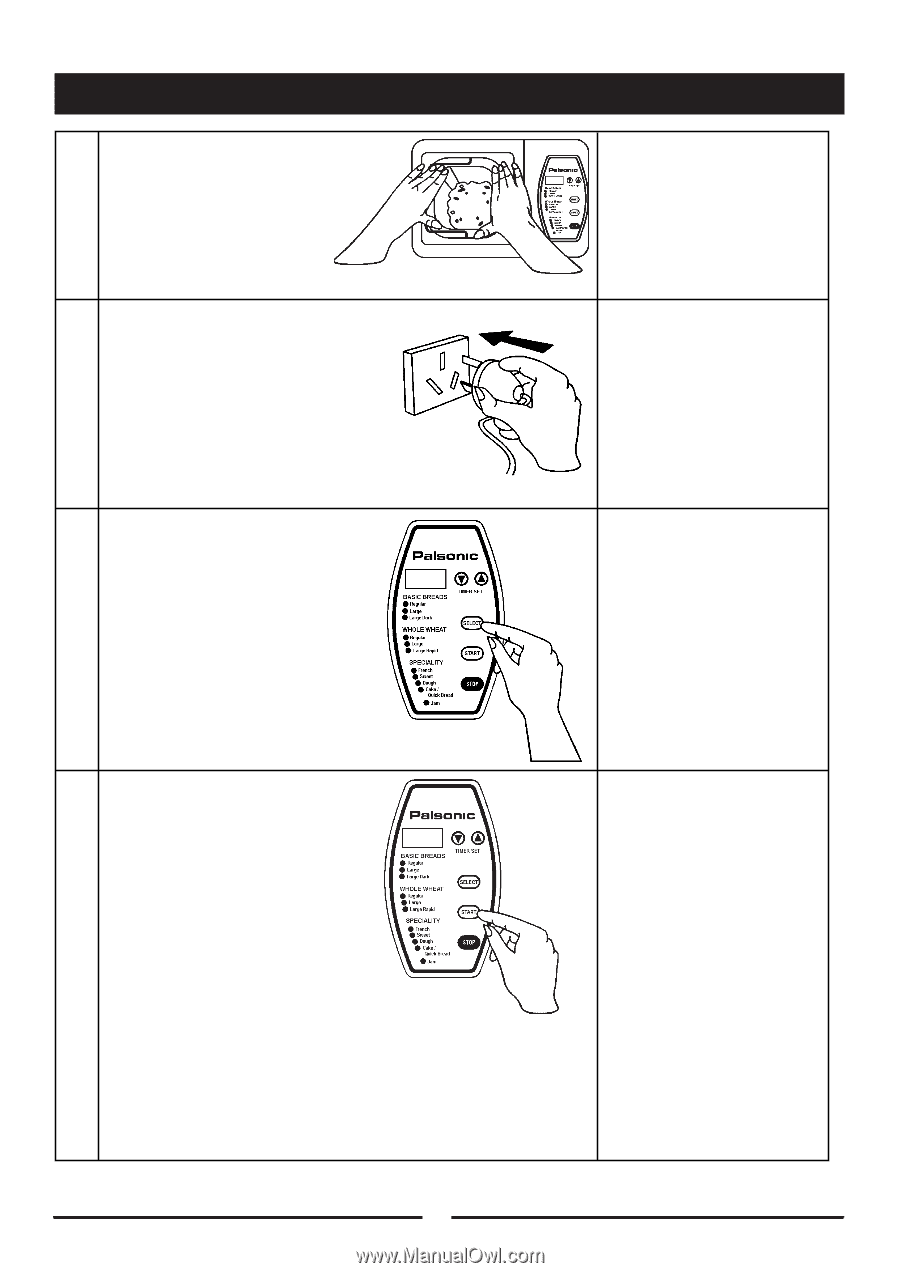
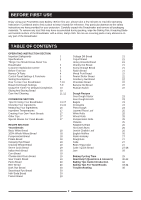
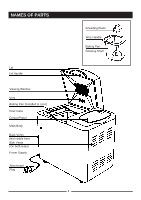
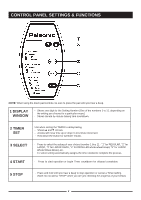
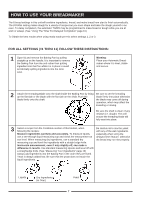
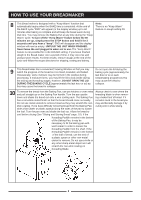
HOW TO USE YOUR BREADMAKER 4 Place the Baking Pan back into the unit with the word FRONT on the upper rim of the Pan facing toward the front of the Breadmaker. Push down on the Pan until you hear it click firmly into place. Fold the handle down. 5 Close the lid and connect the plug to an outlet. You will hear a beep sound and the display window is empty. Special Note: If the baking pan is not installed in the proper orientation or firmly clicked into place the kneading blade will fail to operate The baking pan can only be installed in one position as indicated. 6 Select the appropriate setting for your recipe (#1 thru 11) by pressing the SELECT button on the pad. Each time SELECT is pressed, the number in the display window will advance to the next setting. 7 Press the START pad. The Baking time in hours and minutes will appear in the display. For example, if you choose a recipe using the Basic Bread setting (#1) for Regular the display will show 2:45. It will count down the remaining bake time in one-minute decrements (2:44, 2:43, etc) until the bread is done. When the baking time is completed, a signal tone will sound three times and the display window will flash "END". Warning: Do not place the baking pan or any other object on the top of the unit. To avoid damaging the bread maker's surface, do not put any object or the hot baking pan on top of the unit. 8
-
 1
1 -
2
-
3
-
 4
4 -
 5
5 -
 6
6 -
 7
7 -
 8
8 -
 9
9 -
 10
10 -
 11
11 -
 12
12 -
 13
13 -
 14
14 -
15
-
16
-
17
-
18
-
19
-
20
-
21
-
22
-
23
-
24
-
25
-
26
-
27
-
28
-
29
-
30
-
31
-
32
-
33
-
34
-
35
-
36
 |
 |