Panasonic SAPM91D SAPM91 User Guide - Page 21
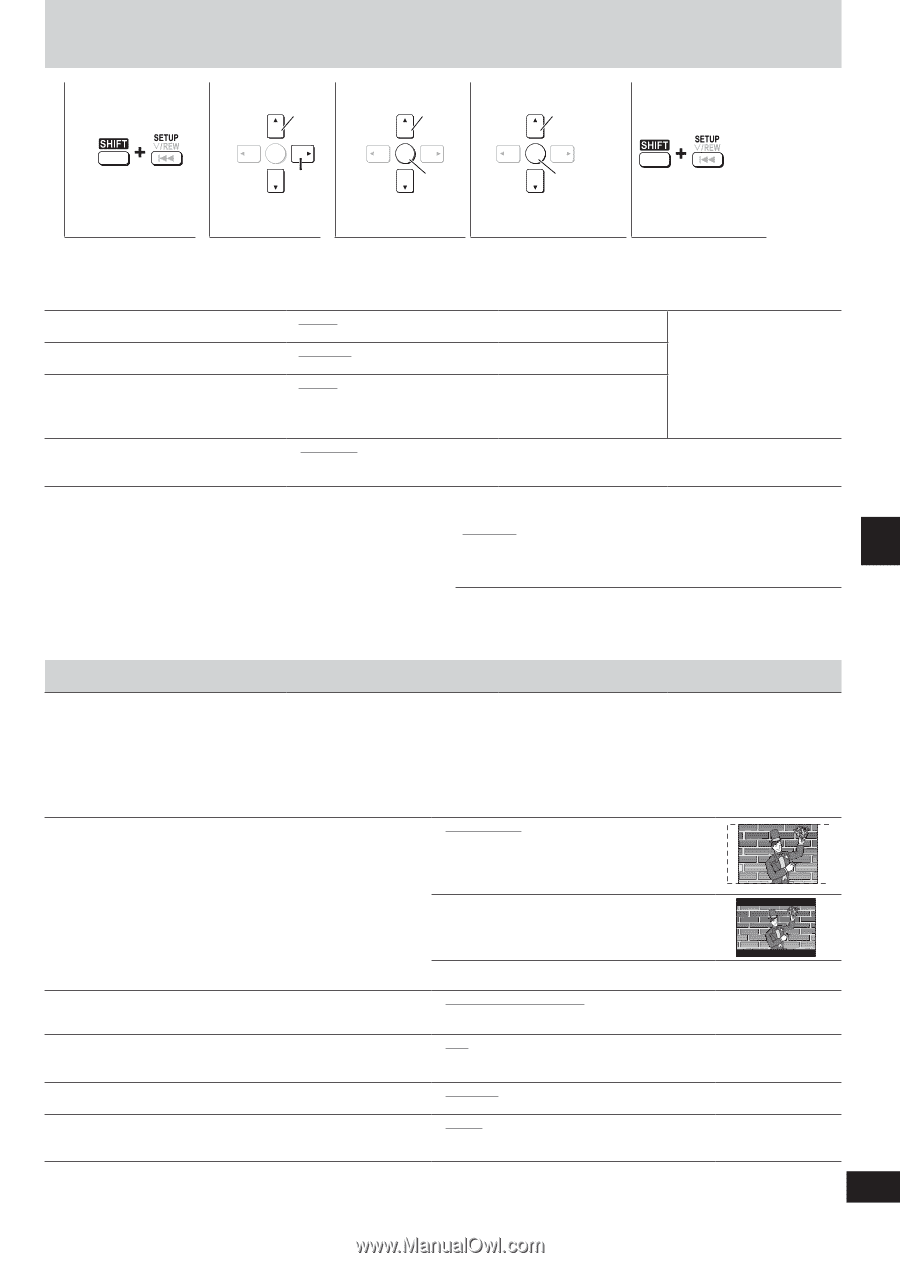
DISCS - CHANGING THE PLAYER'S SETTINGS, Show the, Setup menu., Select the, menu tab., Select the item.
 |
View all Panasonic SAPM91D manuals
Add to My Manuals
Save this manual to your list of manuals |
Page 21 highlights
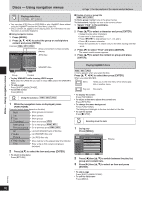
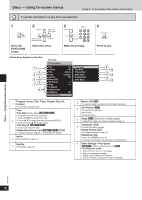
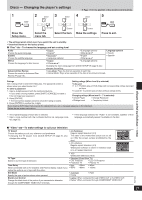
Discs - Changing the player's settings 1 2 Select 3 Select ➡ Page 11 for the position of the remote control buttons. 4 Select 5 Show the Setup menu. ENTER Go right ENTER Confirm Select the menu tab. Select the item. ENTER Confirm Make the settings. Press to exit. • The settings remain intact even if you switch the unit to standby. • Underlined items are the factory preset. ■ "Disc" tab-To choose the language and set a rating level Audio Choose the audio language. Subtitle Choose the subtitle language. Menus Choose the language for disc menus. Advanced Disc Review Choose the mode for Advanced Disc Review (➡ page 19). • English • (Language options) Language options • Original#1 • Other 2 • French • Automatic#3 • English • Spanish • (Language options) • Other 2 • English • (Language options) • Other 2 Changing the menu language from QUICK SETUP (➡ page 9) also changes this setting. • Intro Mode: Plays the first few seconds of each title. • Interval Mode: Plays a few seconds of the disc at ten-minute intervals. Ratings Setting ratings (When level 8 is selected) Set a ratings level to limit DVD-Video play. The password screen is shown when you select levels 0 to 7. To enter a password 1. Input a 4-digit password with the numbered buttons. • 8 No Limit • 1 to 7: Prohibits play of DVD-Video with corresponding ratings recorded on them. • 0 Lock All: To prevent play of discs without ratings levels. • If you enter a wrong number, press [SHIFT]+[CANCEL] to erase it. • Do not forget your password. 2. Press [ENTER]. • The lock symbol appears closed to show the rating is locked. Changing ratings (When level 0 - 7 is selected) • Unlock Player • Change Password • Change Level • Temporary Unlock 3. Press [ENTER] to confirm the 4 digits. If you insert a DVD-Video that exceeds the ratings limit you set, a message appears on the television. Follow the on-screen instructions. #1 The original language of each disc is selected. #2 Input a code number with the numbered buttons (➡ Language code list, page 22). #3 If the language selected for "Audio" is not available, subtitles of that language automatically appear if available on the disc. Discs - Changing the player's settings ■ "Video" tab-To make settings to suit your television TV Aspect • 4:3 Pan&Scan: Choose the setting to suit your television and preference. Regular aspect television (4:3) • Changing the TV aspect from QUICK SETUP (➡ page 9) also The sides of the widescreen picture are cut off changes this setting. so it fills the screen (unless prohibited by the disc). • 4:3 Letterbox: Regular aspect television (4:3) Widescreen software is shown in letterbox style on a 4:3 aspect television. TV Type Select to suit the type of television. Time Delay When connected with an AV amplifier and Plasma display, adjust if you notice the audio is out of sync with the video. Still Mode Specify the type of picture shown when paused. Black Level Control Change the black level of the picture if you connected a television through the COMPONENT VIDEO OUT terminals. • 16:9 Widescreen television (16:9) • Standard (Direct View TV) • CRT Projector • LCD TV/Projector • Projection TV • Plasma TV • 0ms • 20ms • 60ms • 80ms • 40ms • 100ms • Automatic • Frame • Field • Lighter: When connected through VIDEO OUT or S-VIDEO OUT. • Darker: When connected through COMPONENT VIDEO OUT. RQT7932 21
-
 1
1 -
2
-
3
-
4
-
5
-
6
-
7
-
8
-
9
-
10
-
11
-
12
-
13
-
14
-
15
-
 16
16 -
 17
17 -
 18
18 -
 19
19 -
 20
20 -
 21
21 -
 22
22 -
 23
23 -
 24
24 -
 25
25 -
 26
26 -
27
-
28
-
29
-
30
-
31
-
32
-
33
-
34
-
35
-
36
 |
 |