Panasonic WJHD316A WJHD309A User Guide - Page 17
Startup - wj hd316a default password
 |
View all Panasonic WJHD316A manuals
Add to My Manuals
Save this manual to your list of manuals |
Page 17 highlights
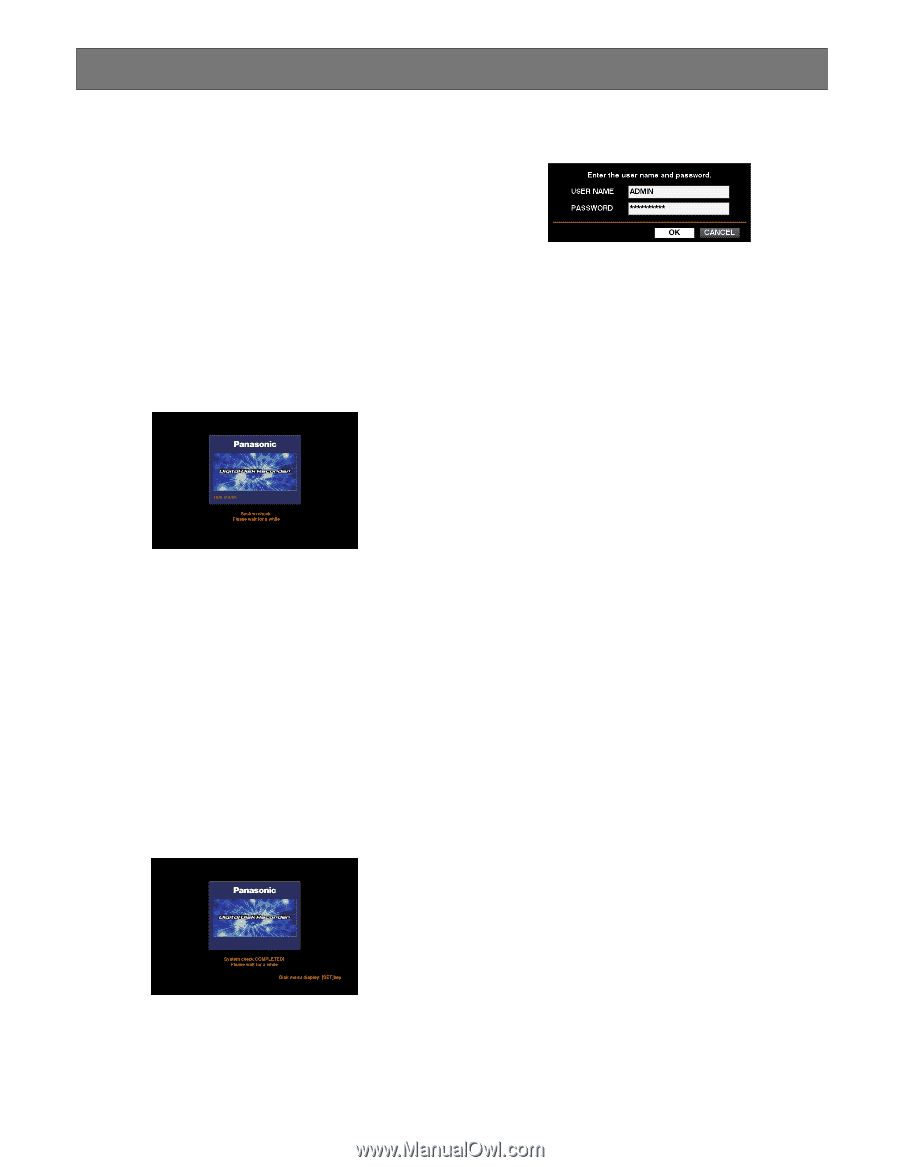
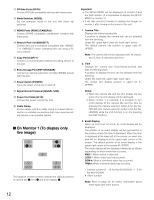
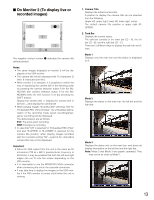
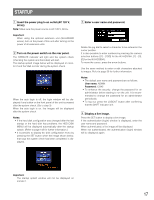
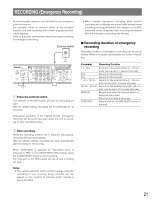
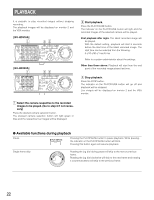
STARTUP z Insert the power plug to an outlet (AC 120 V, 60 Hz) Note: Make sure the power source is AC 120 V, 60 Hz. Important: When using the optional extension unit (WJ-HDE300 series), turn on the power of this unit after turning on the power of all extension units. x Turn on the power switch on the rear panel. The OPERATE indicator will light and the system check (checking the system and hard disk) will start. The startup splash image below will be displayed on monitor 2 and the VGA monitor during the system check. When the auto login is off, the login window will be displayed if any button on the front panel of this unit is pressed after the system check. (Go to step 3) When the auto login is on, live images will be displayed after the system check. Notes: • If the hard disk configuration was changed after the last startup or the hard disk has problems, the HDD DISK MENU will be displayed automatically after the startup splash. (Refer to page 143 for further information.) • It is possible to display the disk configuration menu by pressing the SET button when the image shown below, that says the system check has been completed, is displayed. c Enter a user name and password. Rotate the jog dial to select a character to be entered in the cursor position. It is also possible to enter numbers by pressing the camera selection buttons ([1] - [10/0] for the WJ-HD316A, [1] - [9], [0] for the WJ-HD309A). To move the cursor, press the arrow buttons. Use the same method to enter or edit characters attached to images. Refer to page 59 for further information. Notes: • The default user name and password are as follows: User name: ADMIN Password: 12345 • To enhance the security, change the password for an administrator before starting to run the unit. It is recommended to change the password for an administrator periodically. • To log out, press the LOGOUT button after confirming that the SHIFT indicator is lit. v Display a live image. Press the SET button to display a live image. If the authentication (login) window is displayed, enter the user name and password. When authenticated, a live image will be displayed. When not authenticated, the authentication (login) window will be displayed again. Important: The startup splash window will not be displayed on monitor 1. 17
-
 1
1 -
2
-
3
-
4
-
5
-
6
-
7
-
8
-
9
-
10
-
11
-
 12
12 -
 13
13 -
 14
14 -
 15
15 -
 16
16 -
 17
17 -
 18
18 -
 19
19 -
 20
20 -
 21
21 -
 22
22 -
23
-
24
-
25
-
26
-
27
-
28
-
29
-
30
-
31
-
32
-
33
-
34
-
35
-
36
-
37
-
38
-
39
-
40
-
41
-
42
-
43
-
44
-
45
-
46
-
47
-
48
-
49
-
50
-
51
-
52
-
53
-
54
-
55
-
56
-
57
-
58
-
59
-
60
-
61
-
62
-
63
-
64
-
65
-
66
-
67
-
68
-
69
-
70
-
71
-
72
-
73
-
74
-
75
-
76
-
77
-
78
-
79
-
80
-
81
-
82
-
83
-
84
-
85
-
86
-
87
-
88
-
89
-
90
-
91
-
92
-
93
-
94
-
95
-
96
-
97
-
98
-
99
-
100
-
101
-
102
-
103
-
104
-
105
-
106
-
107
-
108
-
109
-
110
-
111
-
112
-
113
-
114
-
115
-
116
-
117
-
118
-
119
-
120
-
121
-
122
-
123
-
124
-
125
-
126
-
127
-
128
-
129
-
130
-
131
-
132
-
133
-
134
-
135
-
136
-
137
-
138
-
139
-
140
-
141
-
142
-
143
-
144
-
145
-
146
-
147
-
148
-
149
-
150
-
151
-
152
-
153
-
154
-
155
-
156
-
157
-
158
-
159
-
160
-
161
-
162
-
163
-
164
-
165
-
166
-
167
-
168
-
169
-
170
-
171
-
172
-
173
-
174
-
175
-
176
-
177
-
178
-
179
-
180
-
181
-
182
 |
 |