Panasonic WJHDE300 WJHDE300 User Guide - Page 7
Rear View, Serial out connector [OUT1] [OUT2]
 |
View all Panasonic WJHDE300 manuals
Add to My Manuals
Save this manual to your list of manuals |
Page 7 highlights
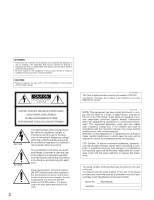
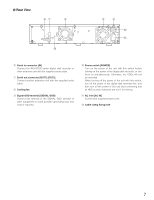
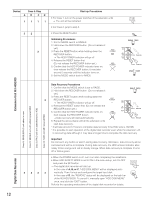
● Rear View yu i EXT IN OUT 21 !2 i o SIGNAL GND POWER AC IN !0 !1 y Serial in connector [IN] Connect the WJ-HD300 series digital disk recorder or other extension unit with the supplied serial cable. u Serial out connector [OUT1] [OUT2] Connect another extension unit with the supplied serial cable. i Cooling fan o Signal GND terminal [SIGNAL GND] Connect this terminal to the SIGNAL GND terminal of other equipment to avoid possible grounding loop and noise if required. !0 Power switch [POWER] Turn on the power of the unit with this switch before turning on the power of the digital disk recorder, or turn them on simultaneously. Otherwise, the HDDs will not be mounted. When turning off the power of the unit with this switch, turn off the power of the digital disk recorder first, and then turn off the power of this unit after confirming that all HDD access indicators are not lit or blinking. !1 AC inlet [AC IN] Connect the supplied power cord. !2 Cable clamp fixing hole 7
-
 1
1 -
 2
2 -
 3
3 -
 4
4 -
 5
5 -
 6
6 -
 7
7 -
 8
8 -
 9
9 -
 10
10 -
 11
11 -
 12
12 -
13
-
14
-
15
-
16
-
17
-
18
-
19
-
20
 |
 |
