Pfaff quilt ambition 630 Manual - Page 46
Stitch Length/Stitch Density, Elongation, Thread Tension, on the fabric, batting, thread etc
 |
View all Pfaff quilt ambition 630 manuals
Add to My Manuals
Save this manual to your list of manuals |
Page 46 highlights
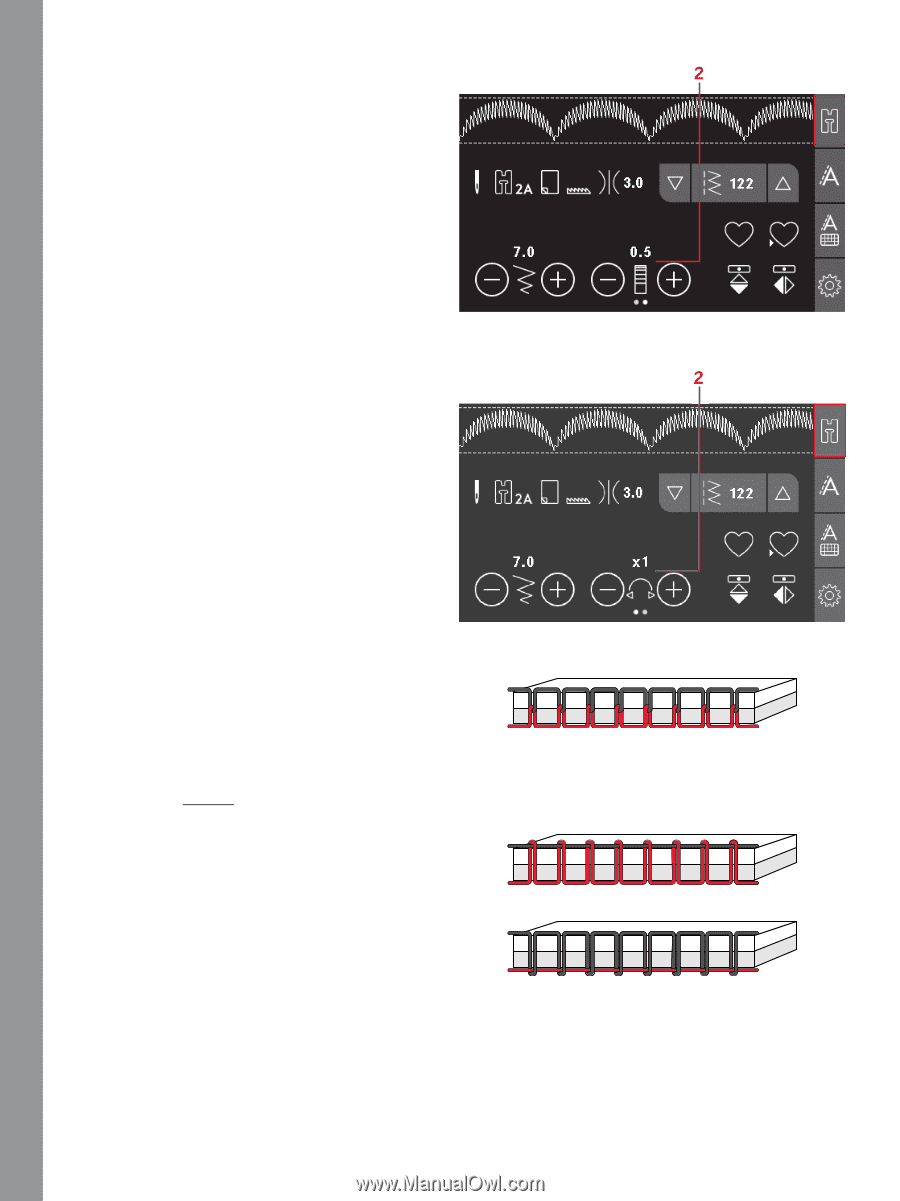
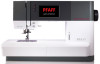
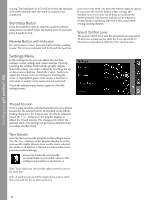
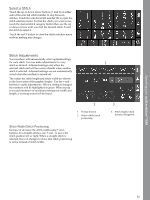
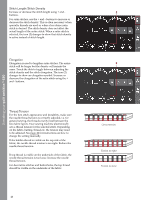
Operating your quilt ambition™ 630 Stitch Length/Stitch Density Increase or decrease the stitch length using + and buttons. For satin stitches, use the + and - buttons to increase or decrease the stitch density. This is often necessary when specialty threads are used or when a less dense satin stitch is desired. The stitch density does not affect the actual length of the entire stitch. When a satin stitch is selected, the icon (2) changes to show that stitch density is active instead of stitch length. Elongation Elongation is used to lengthen satin stitches. The entire stitch will be longer but the density will remain the same. Touch the dots to toggle between adjusting the stitch density and the stitch elongation. The icon (2) changes to show an elongation symbol. Increase or decrease the elongation of the satin stitch using the + and - buttons. Thread Tension For the best stitch appearance and durability, make sure the needle thread tension is correctly adjusted, i.e. for general sewing, the threads evenly meet between the two fabric layers. Your sewing machine electronically sets a thread tension for the selected stitch. Depending on the fabric, batting, thread etc, the tension may need to be adjusted. See page 42 for instructions on how to change the setting manually. If the bobbin thread is visible on the top side of the fabric, the needle thread tension is too tight. Reduce the needle thread tension. If top thread is visible on the underside of the fabric, the needle thread tension is too loose. Increase the needle thread tension. For decorative stitches and buttonholes, the top thread should be visible on the underside of the fabric. 46 Correct tension Tension too tight Tension too loose
-
 1
1 -
2
-
3
-
4
-
5
-
6
-
7
-
8
-
9
-
10
-
11
-
12
-
13
-
14
-
15
-
16
-
17
-
18
-
19
-
20
-
21
-
22
-
23
-
24
-
25
-
26
-
27
-
28
-
29
-
30
-
31
-
32
-
33
-
34
-
35
-
36
-
37
-
38
-
39
-
40
-
 41
41 -
 42
42 -
 43
43 -
 44
44 -
 45
45 -
 46
46 -
 47
47 -
 48
48 -
 49
49 -
 50
50 -
 51
51 -
52
-
53
-
54
-
55
-
56
-
57
-
58
-
59
-
60
-
61
-
62
-
63
-
64
-
65
-
66
-
67
-
68
 |
 |