Philips LC3136 User Manual - Page 22
Computer adjustments
 |
View all Philips LC3136 manuals
Add to My Manuals
Save this manual to your list of manuals |
Page 22 highlights
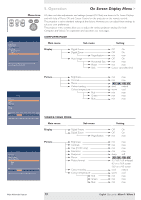
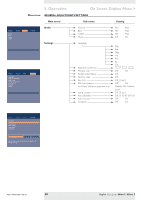
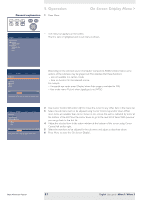
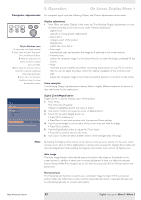
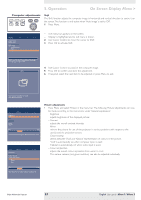
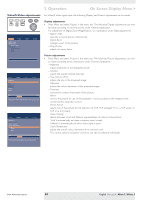
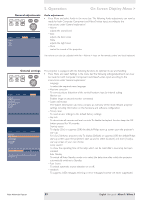
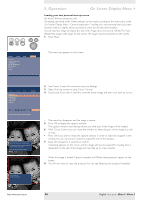
5. Operation On Screen Display Menu > Computer adjustments For computer signal input, the following 'Display' and 'Picture' adjustments can be made. AV Mute Stand by Source Lamp Temp Menu OK Tip for Windows users To adjust size and phase correctly 1 Select 'Start' and then 'Shut down' from the Windows Taskbar. 2 Adjust the projectors size control, so that no vertical bars are visible. 3 Now adjust the projectors phase control for maximum brightness of the projected image. 4 Press 'No' in the Windows shutdown screen to cancel the shutdown action. Display adjustments • Press Menu and select 'Display' in the menu bar.The following 'Display' adjustments can now be made according to the instructions under 'General explanation': - Digital Freeze captures a moving picture (still picture); - Digital Zoom enlarges a part of the picture; - Magnification adjusts the zoom factor; - Auto image automatically sizes and positions the image to fit optimally in the screen picture; - Horizontal size adjusts the computer image in a horizontal direction to make the image completely fill the screen; - Phase minimises picture imperfections. When connecting the projector to your PC for the first time, be sure to adjust the phase control for optimal readability of the projected text; - Shift adjusts the computer image in horizontal and vertical direction to centre it on the screen. Some examples The following 'Display' adjustment procedures, follow a slightly different sequence of actions, or may need some further explanation. Display Picture Digital Freeze Digital Zoom Magnification Auto Image Horizontal size Phase Shift... Audio Settings off on Digital Zoom is used to enlarge part of the picture. Digital Zoom/Magnification 'Digital Zoom' is used to enlarge a part of the picture. 1 Press Menu. - The menu bar will appear. 'Display' is highlighted and its sub menu is shown. 2 Use Cursor Control to move the cursor to 'Digital Zoom'. 3 Select 'On' to switch 'Digital Zoom' on. • Press OK to continue, or • Press Menu to exit and continue with the previous Zoom settings. 4 Use the zoom target to select centre of the screen area you wish to enlarge. • Press OK to confirm. 5 Use the Magnification slider to adjust the Zoom factor. • Press OK to confirm and exit the menu. 6 Use Cursor Control to select another section of the enlarged area ('Panning'). Note By pressing the D(igital) Zoom button on the remote control you enter directly into the zoom centre selection screen (step 4). When Digital Zoom is already active, pressing the D(igital) Zoom button will show the Magnification slider; pressing the D(igital) Zoom button twice will turn off Digital Zoom. Auto image The Auto Image function automatically sizes and positions the image to fit optimally in the screen picture. In addition it takes care for phase adjustment. It does not affect the selected picture format. When Auto Image is set to On, the Horizontal size, Shift and Phase options are greyed out. Horizontal size The Horizontal size function is used to size a computer image to make it fit the projected picture. When the OSD menu is active and the horizontal size option is selected, the level will be indicated graphically on a linear scale (slider). Philips Multimedia Projector 22 English User guide bSure1 / bSure 2
-
 1
1 -
2
-
3
-
4
-
5
-
6
-
7
-
8
-
9
-
10
-
11
-
12
-
13
-
14
-
15
-
16
-
 17
17 -
 18
18 -
 19
19 -
 20
20 -
 21
21 -
 22
22 -
 23
23 -
 24
24 -
 25
25 -
 26
26 -
 27
27 -
28
-
29
-
30
-
31
-
32
-
33
-
34
 |
 |