Pioneer SC-LX501 Basic Manual English/French - Page 20
Step7: Power On & Initial Setup
 |
View all Pioneer SC-LX501 manuals
Add to My Manuals
Save this manual to your list of manuals |
Page 20 highlights
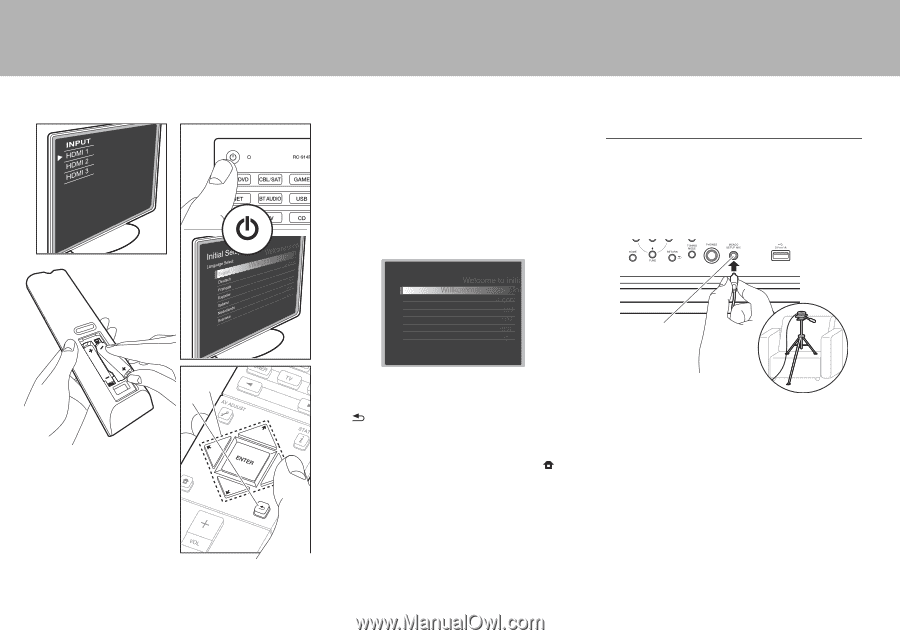
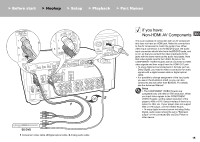
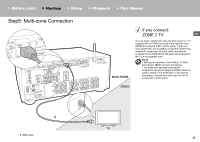
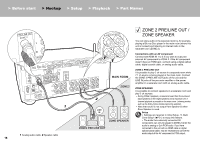
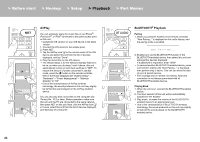
> Before start > Hookup > Setup > Playback > Part Names Step7: Power On & Initial Setup Initial Setup starts automatically Once all connections are complete, change the TV's input to the input for this unit, inset batteries in the remote controller, and press Í to turn the power on. When you turn the unit on for the first time, Initial Setup is automatically shown on the TV to enable you to make settings required for startup using simple operations following onscreen guidance. These instructions will guide you through some items that you need to check beforehand. Read beforehand so the setup goes smoothly. Initial Setup Language Select English Deutsch Français Español Italiano Nederlands Svenska 1. Full Auto MCACC Place the supplied speaker setup microphone in the listening position, measure the test tones emitted by the speakers, then the unit automatically sets the optimum volume level for each speaker, the crossover frequencies, and the distance from the listening position. This also enables correction of distortion caused by the acoustic environment of the room. MCACC SETUP MIC a b Operation Select the item with the cursors of the remote controller and press ENTER (a). To return to the previous screen, press (b). To redo the Initial Setup If you terminate the procedure on the way or want to change a setting made during Initial Setup, press on the remote controller, select "System Setup" - "Miscellaneous" - "Initial Setup" from Home, and press ENTER. 0 When putting the speaker setup microphone on a tripod, refer to the illustration when putting it in place. 0 The subwoofer sound may not be detected since it is extremely low frequencies. Set the subwoofer volume to more than halfway. 0 Calibration takes several minutes to be completed. The speakers emit the test tone at high volume during measurement, so be careful of your surroundings. Keep the room as quiet as possible during measurement. If the measurement is interrupted, turn off the household appliances. 20
-
 1
1 -
2
-
3
-
4
-
5
-
6
-
7
-
8
-
9
-
10
-
11
-
12
-
13
-
14
-
 15
15 -
 16
16 -
 17
17 -
 18
18 -
 19
19 -
 20
20 -
 21
21 -
 22
22 -
 23
23 -
 24
24 -
 25
25 -
26
-
27
-
28
-
29
-
30
-
31
-
32
-
33
-
34
-
35
-
36
-
37
-
38
-
39
-
40
-
41
-
42
-
43
-
44
-
45
-
46
-
47
-
48
-
49
-
50
-
51
-
52
-
53
-
54
-
55
-
56
-
57
-
58
-
59
-
60
-
61
-
62
-
63
-
64
-
65
-
66
-
67
-
68
 |
 |