Ridgid LM-100 Owners Manual - Page 10
Set-Up and Operation, micro LM-100 Controls and Settings
 |
View all Ridgid LM-100 manuals
Add to My Manuals
Save this manual to your list of manuals |
Page 10 highlights
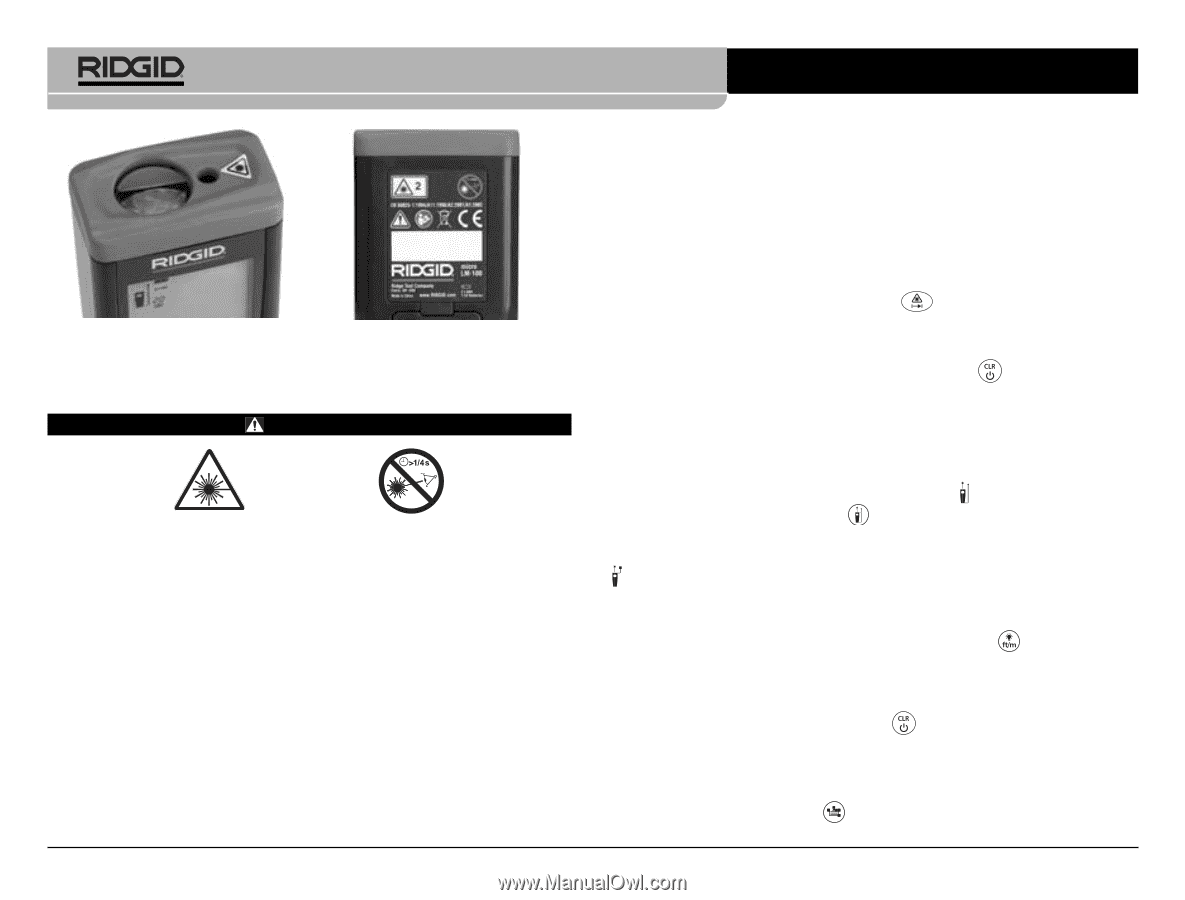
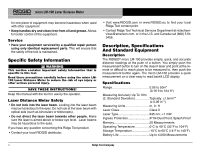
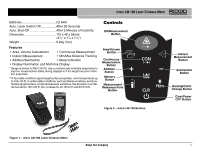
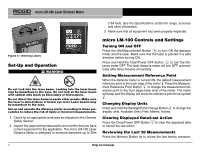
micro LM-100 Laser Distance Meter (164 feet). See the Specifications section for range, accuracy and other information. 3. Make sure that all equipment has been properly inspected. Figure 6 - Warning Labels Set-Up and Operation WARNING Do not look into the laser beam. Looking into the laser beam may be hazardous to the eyes. Do not look at the laser beam with optical aids (such as binoculars or telescopes). Do not direct the laser beam towards other people. Make sure the laser is aimed above or below eye level. Laser beams may be hazardous to the eyes. Set up and operate the distance meter according to these procedures to reduce the risk of injury or incorrect measurements. 1. Check for an appropriate work area as indicated in the General Safety Section. 2. Inspect the object being measured to and confirm that you have correct equipment for the application. The micro LM-100 Laser Distance Meter is designed to measure distances up to 50m micro LM-100 Controls and Settings Turning ON and OFF Press the ON/Measurement Button to turn ON the distance meter and the laser. Make sure that the laser is pointed in a safe direction before turning ON. Press and Hold the Clear/Power OFF Button to turn the Distance meter OFF. The laser distance meter will turn OFF automatically after three minutes of inactivity. Setting Measurement Reference Point When the distance meter is turned ON, the default measurement reference point is the back edge of the meter . Press the Measurement Reference Point Button to change the measurement reference point to the front edge (laser end) of the meter. The meter will beep and the display will show the reference point front symbol . Changing Display Units Press and Hold the Backlight/Unit Change Button to change the display units. Available Units: Feet, Meters, Inches. Clearing Displayed Data/Last Action Press the Clear/Power OFF Button to clear the displayed data or cancel the last action. Reviewing the Last 20 Measurements Press the Memory Button to review the last twenty measure- 8 Ridge Tool Company
-
 1
1 -
2
-
3
-
4
-
 5
5 -
 6
6 -
 7
7 -
 8
8 -
 9
9 -
 10
10 -
 11
11 -
 12
12 -
 13
13 -
 14
14 -
 15
15 -
16
-
17
-
18
-
19
-
20
-
21
-
22
-
23
-
24
-
25
-
26
-
27
-
28
-
29
-
30
-
31
-
32
-
33
-
34
-
35
-
36
-
37
-
38
-
39
-
40
-
41
-
42
-
43
-
44
-
45
-
46
-
47
-
48
-
49
-
50
-
51
-
52
-
53
-
54
-
55
-
56
-
57
-
58
-
59
-
60
-
61
-
62
-
63
-
64
-
65
-
66
-
67
-
68
-
69
-
70
-
71
-
72
-
73
-
74
-
75
 |
 |