Ridgid LM-100 Owners Manual - Page 9
Pre-Operation Inspection, Electromagnetic Compatibility EMC, Installing Wrist Strap, Changing/
 |
View all Ridgid LM-100 manuals
Add to My Manuals
Save this manual to your list of manuals |
Page 9 highlights
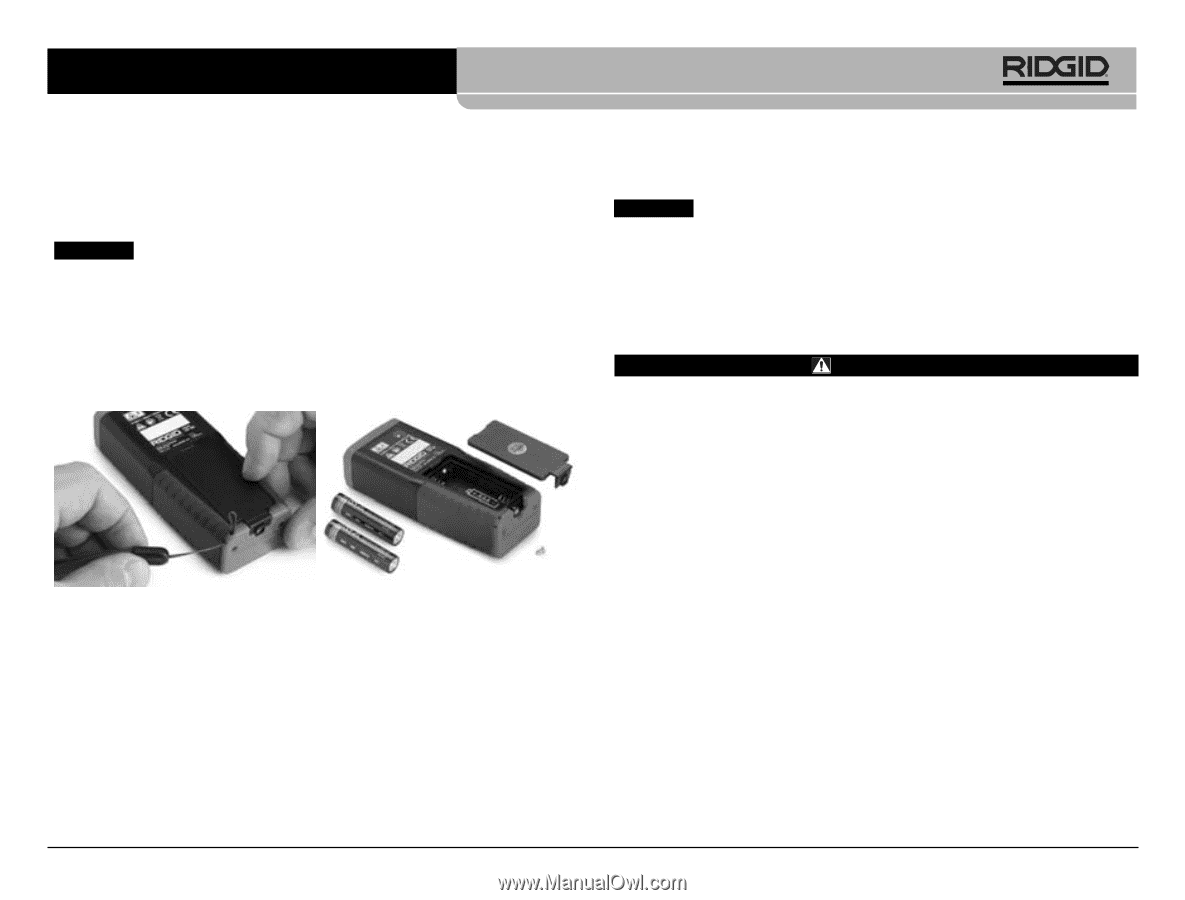
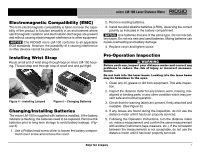
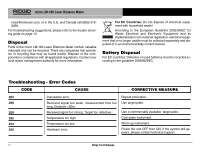
micro LM-100 Laser Distance Meter Electromagnetic Compatibility (EMC) The term electromagnetic compatibility is taken to mean the capability of the product to function smoothly in an environment where electromagnetic radiation and electrostatic discharges are present and without causing electromagnet interference to other equipment. NOTICE The RIDGID micro LM-100 conforms to all applicable ECM standards. However, the possibility of it causing interference in other devices cannot be precluded. Installing Wrist Strap Route small end of wrist strap through loop on micro LM-100 housing. Thread strap end through loop of small end and pull tight. Figure 4 - Installing Lanyard Figure 5 - Changing Batteries Changing/Installing Batteries The micro LM-100 is supplied with batteries installed. If the battery indicator is flashing, the batteries need to be replaced. Remove the batteries prior to long term storage to avoid battery leakage. (Figure 5) 1. Use a Phillips head screw driver to loosen the battery compartment cover screw and remove the cover. 2. Remove existing batteries. 3. Install two AAA alkaline batteries (LR03), observing the correct polarity as indicated in the battery compartment. NOTICE Use batteries that are of the same type. Do not mix battery types. Do not mix new and used batteries. Mixing batteries can cause overheating and battery damage. 4. Replace cover and tighten screw. Pre-Operation Inspection WARNING Before each use, inspect your distance meter and correct any problems to reduce the risk of injury or incorrect measurements. Do not look into the laser beam. Looking into the laser beam may be hazardous to the eyes. 1. Clean any oil, grease or dirt from equipment. This aids inspection. 2. Inspect the distance meter for any broken, worn, missing, misaligned or binding parts, or any other condition which may prevent safe and normal operation. 3. Check that the warning labels are present, firmly attached and readable. (See Figure 6.) 4. If any issues are found during the inspection, do not use the distance meter until it has been properly serviced. 5. Following the Operation Instructions, turn the distance meter on, make a measurement and confirm the same measurement with another instrument (tape measure, etc.). If the correlation between the measurements is not acceptable, do not use the distance meter until it has been properly serviced. Ridge Tool Company 7
-
 1
1 -
2
-
3
-
 4
4 -
 5
5 -
 6
6 -
 7
7 -
 8
8 -
 9
9 -
 10
10 -
 11
11 -
 12
12 -
 13
13 -
 14
14 -
15
-
16
-
17
-
18
-
19
-
20
-
21
-
22
-
23
-
24
-
25
-
26
-
27
-
28
-
29
-
30
-
31
-
32
-
33
-
34
-
35
-
36
-
37
-
38
-
39
-
40
-
41
-
42
-
43
-
44
-
45
-
46
-
47
-
48
-
49
-
50
-
51
-
52
-
53
-
54
-
55
-
56
-
57
-
58
-
59
-
60
-
61
-
62
-
63
-
64
-
65
-
66
-
67
-
68
-
69
-
70
-
71
-
72
-
73
-
74
-
75
 |
 |