Samsung EC-ES15 User Manual - Page 35
Exposure compensation, How to Enable Functions Using the MENU Button
 |
View all Samsung EC-ES15 manuals
Add to My Manuals
Save this manual to your list of manuals |
Page 35 highlights
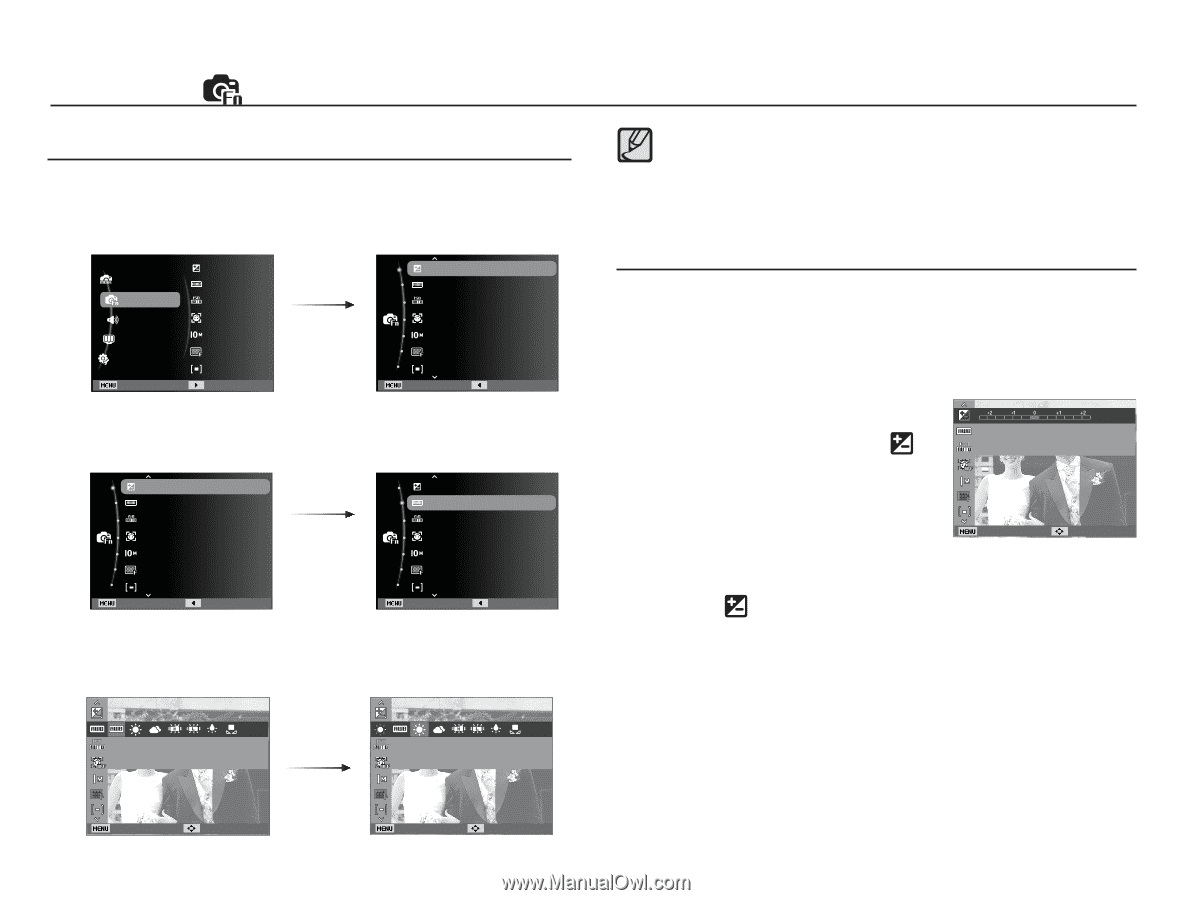
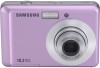
Functions ( ) How to Enable Functions Using the MENU Button 1. Press the MENU button in an available mode. 2. Press the Up / Down button to select the [Functions] menu and press the Right/OK button. Mode Functions Sound Display Settings Exit EV White Balance ISO Face Detection Photo Size Quality Metering Change Right/OK button EV White Balance ISO Face Detection Photo Size Quality Metering Exit Back 3. Select a desired menu by pressing the Up / Down button and then press the OK button. EV White Balance ISO Face Detection Photo Size Quality Metering Exit Back Up / Down button EV White Balance ISO Face Detection Photo Size Quality Metering Exit Back 4. Select a desired menu by pressing the Left / Right button and then press the OK button. White Balance Adjust the white balance according to the light source. Daylight Appropriate for outdoor photography on a clear day. Left / Right button Back Move Back Move 34 Use the Fn button on the rear of the camera to bring up the menus that enable frequently used functions faster. Exposure compensation This camera automatically adjusts the exposure according to the ambient lighting conditions. You can also select the exposure value by using the [EV] menu. Ê Compensating Exposure 1. Click the Up/Down button from the Functions menu to select [EV] ( ). EV Set exposure value to adjust brightness. 2. Use the LEFT and RIGHT buttons to set the desired exposure compensation factor. 3. Press the OK button. The value you Back Move set will be saved and the Exposure Compensation setup mode will be closed. If you change the exposure value, the exposure indicator ( ) will be displayed on the Left of the LCD monitor. Ä A negative exposure compensation value reduces the exposure. Note that a positive exposure compensation value increases the exposure and the LCD monitor will appear white or you may not get good pictures.
-
 1
1 -
2
-
3
-
4
-
5
-
6
-
7
-
8
-
9
-
10
-
11
-
12
-
13
-
14
-
15
-
16
-
17
-
18
-
19
-
20
-
21
-
22
-
23
-
24
-
25
-
26
-
27
-
28
-
29
-
 30
30 -
 31
31 -
 32
32 -
 33
33 -
 34
34 -
 35
35 -
 36
36 -
 37
37 -
 38
38 -
 39
39 -
 40
40 -
41
-
42
-
43
-
44
-
45
-
46
-
47
-
48
-
49
-
50
-
51
-
52
-
53
-
54
-
55
-
56
-
57
-
58
-
59
-
60
-
61
-
62
-
63
-
64
-
65
-
66
-
67
-
68
-
69
-
70
-
71
-
72
-
73
-
74
-
75
-
76
-
77
-
78
-
79
-
80
-
81
-
82
-
83
-
84
-
85
-
86
-
87
-
88
-
89
-
90
-
91
-
92
-
93
-
94
-
95
-
96
-
97
-
98
 |
 |