Sony CPD-L133 Operating Instructions (primary manual) - Page 7
Getting, Started
 |
View all Sony CPD-L133 manuals
Add to My Manuals
Save this manual to your list of manuals |
Page 7 highlights
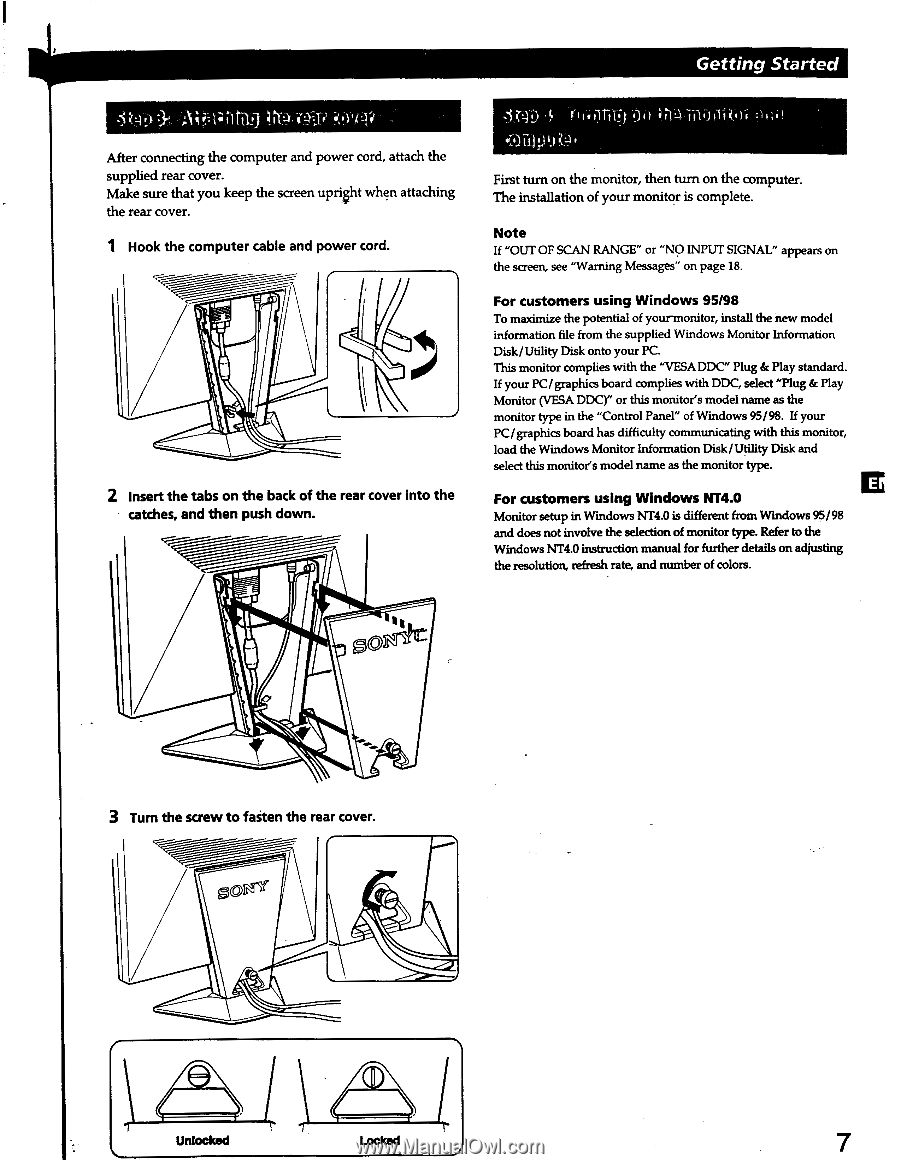
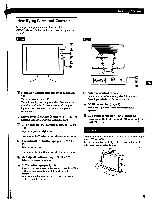
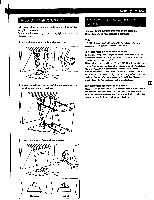
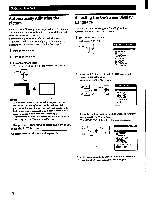
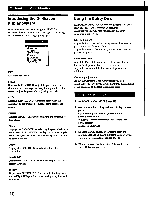
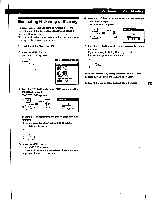
Getting Started - After connecting the computer and power cord, attach the supplied rear cover. Make sure that you keep the screen upright when attaching the rear cover. 1 Hook the computer cable and power cord. 2 Insert the tabs on the back of the rear cover into the catches, and then push down. First turn on the monitor, then turn on the computer. The installation of your monitor is complete. Note If "OUT OF SCAN RANGE" or "NO INPUT SIGNAL" appears on the screen, see "Warning Messages" on page 18. For customers using Windows 95/98 To maximize the potential of yourmonitor, install the new model information file from the supplied Windows Monitor Information Disk/Utility Disk onto your PC. This monitor complies with the "VESA DDC" Plug & Play standard. If your PC/graphics board complies with DDC, select "Plug & Play Monitor (VESA DDC)" or this monitor's model name as the monitor type in the "Control Panel" of Windows 95/98. If your PC/graphics board has difficulty communicating with this monitor, load the Windows Monitor Information Disk/Utility Disk and select this monitor's model name as the monitor type. For customers using Windows NT4.0 LI Monitor setup in Windows NT4.0 is different from Windows 95/98 and does not involve the selection of monitor type. Refer to the Windows NT4.0 instruction manual for further details on ad casting the resolution, refresh rate, and number of colors. me. 3 Turn the screw to faiten the rear cover. 0 Unlocked Locked 7
-
 1
1 -
 2
2 -
 3
3 -
 4
4 -
 5
5 -
 6
6 -
 7
7 -
 8
8 -
 9
9 -
 10
10 -
 11
11 -
 12
12 -
13
-
14
-
15
-
16
-
17
-
18
-
19
-
20
 |
 |